GitHub Actions Integration Guide
Code signing using GitHub actions. For this, we create a workflow in our desired repository in GitHub and perform code signing using the script.
Prerequisites
- A GitHub repository (You’ll require an admin account)
- Signtool installed and configured
- ECSigning KSP installed and configured.
Installation & Configuration
To install and configure Signtool and the ECSigning KSP, please follow the steps mentioned here.
Before we get started, we will need to configure a runner. Runner will be set up in the device where you have SIgntool and ECSigning KSP installed and configured.
To set up the runner, follow the steps below:
-
Navigate to your GitHub repository
You’ll need to have an admin account for this.
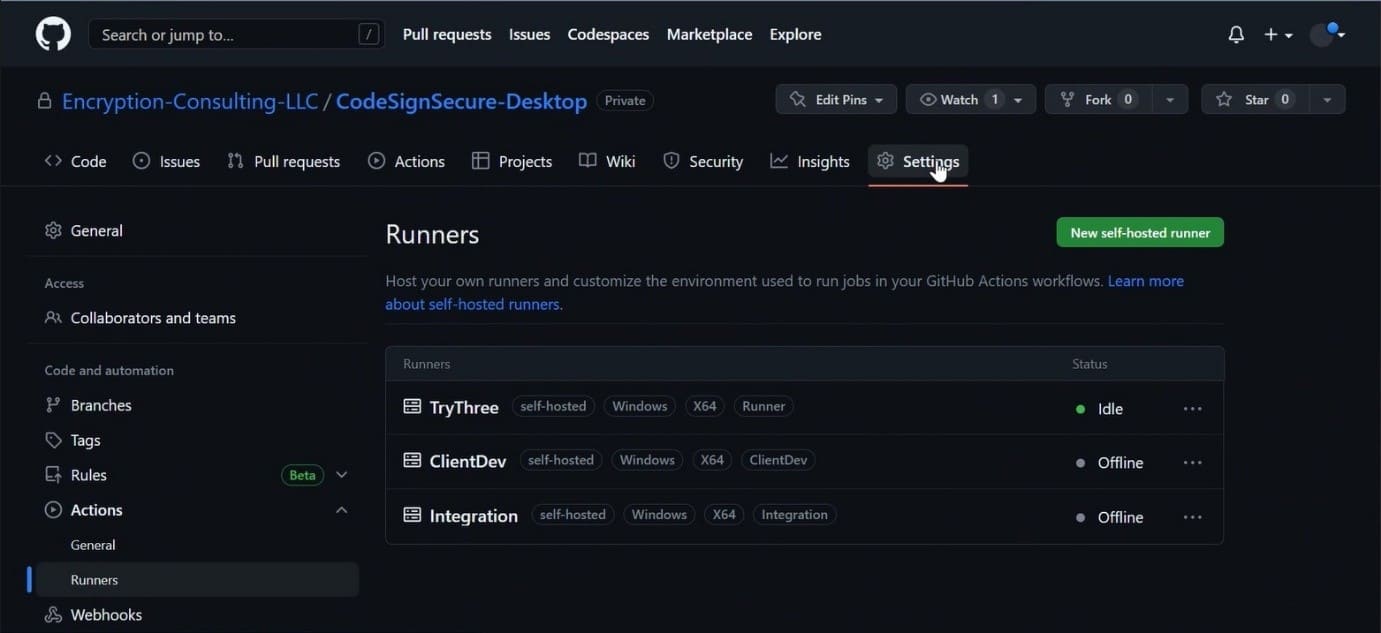
- Navigate to the Settings of the Repository.
- Scroll down to Actions and select Runner from the dropdown menu.
- Click on New Self-Hosted Runner.
-
After doing so, you can click on the runner image (macOS/Linux/Windows) of your choice. The instructions below are for Windows. You’ll see a number of commands to be followed on the screen.
Run the commands that were shown in the runner configuration. The commands are also given below:
mkdir actions-runner; cd actions-runner
Invoke-WebRequest -Uri https://github.com/actions/runner/releases/download/v2.303.0/actions-runner-win-x64-2.303.0.zip -OutFile actions-runner-win-x64-2.303.0.zipAdd-Type -AssemblyName System.IO.Compression.FileSystem ; [System.IO.Compression.ZipFile]::ExtractToDirectory("$PWD/actions-runner-win-x64-2.303.0.zip", "$PWD")./config.cmd --url https://github.com/Encryption-Consulting-LLC/CodeSignSecure-Desktop --token <token_number>
-
Once you see GitHub Actions written on your screen, you’ll be asked for runner registration.
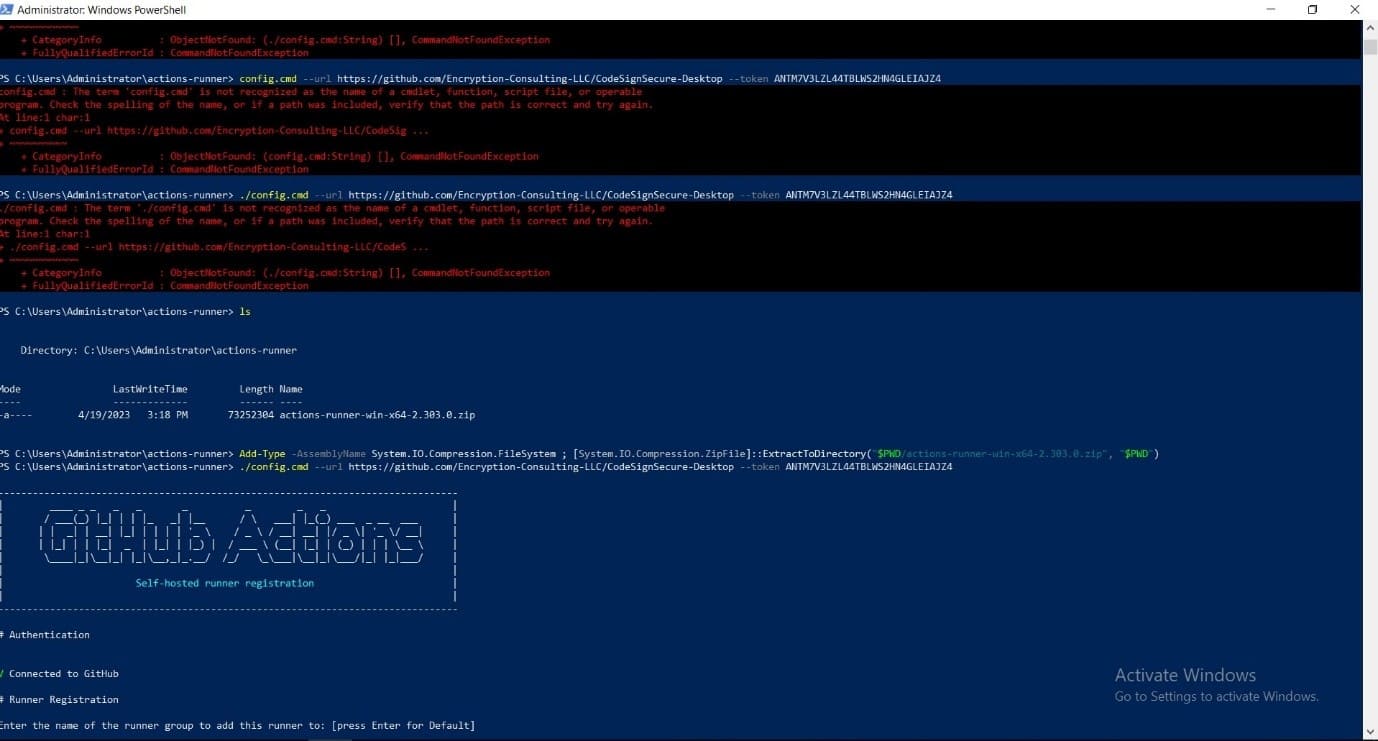
- Enter the name of the runner group to add this runner to: [press Enter for Default] (You can leave this to default).
- Enter the name of the runner: [press Enter for CLIENT] (You can enter the desired name for your runner).
-
This runner will have the following labels: ‘self-hosted’, ‘Windows’, ‘X64’
Enter any additional labels (ex., label-1,label-2): [press Enter to skip] (Please enter a label here, it can be anything, do not leave/skip this step. The same name will be used later to call the runner in the script).
-
The following will be prompted on your screen once it’s done
- Runner successfully added
- Runner connection is good
- Runner settings: Enter name of work folder: [press Enter for _work] (You can leave this to the default, or you can specify a folder of your choice)
-
Settings Saved:
- Would you like to run the runner as a service? (Y/N) [press Enter for N] (Enter Y)
-
User account to use for the service [press Enter for NT AUTHORITY\NETWORK SERVICE] (Make sure you enter Administrator here)
Administrator privilege is required to run the command. Hence, it is a MUST to set the user as an administrator. - Password for the account CLIENT\Administrator (Provide password of your Administrator account)
- Once done, you’ll see the following prompt on your screen. It will be prompted as Service actions.runner.<repository name>.<runner_name>
Granting file permissions to ‘CLIENT\Administrator’.
Service actions.runner.Encryption-Consulting-LLC-CodeSignSecure-Desktop.TryThree successfully installed
Service actions.runner.Encryption-Consulting-LLC-CodeSignSecure-Desktop.TryThree successfully set recovery option
Service actions.runner.Encryption-Consulting-LLC-CodeSignSecure-Desktop.TryThree is successfully set to delayed auto start
Service actions.runner.Encryption-Consulting-LLC-CodeSignSecure-Desktop.TryThree successfully configured
Waiting for service to start…
Service actions.runner.Encryption-Consulting-LLC-CodeSignSecure-Desktop.TryThree started successfully
-
Once the runner is set up on your device, navigate to your repository in GitHub.
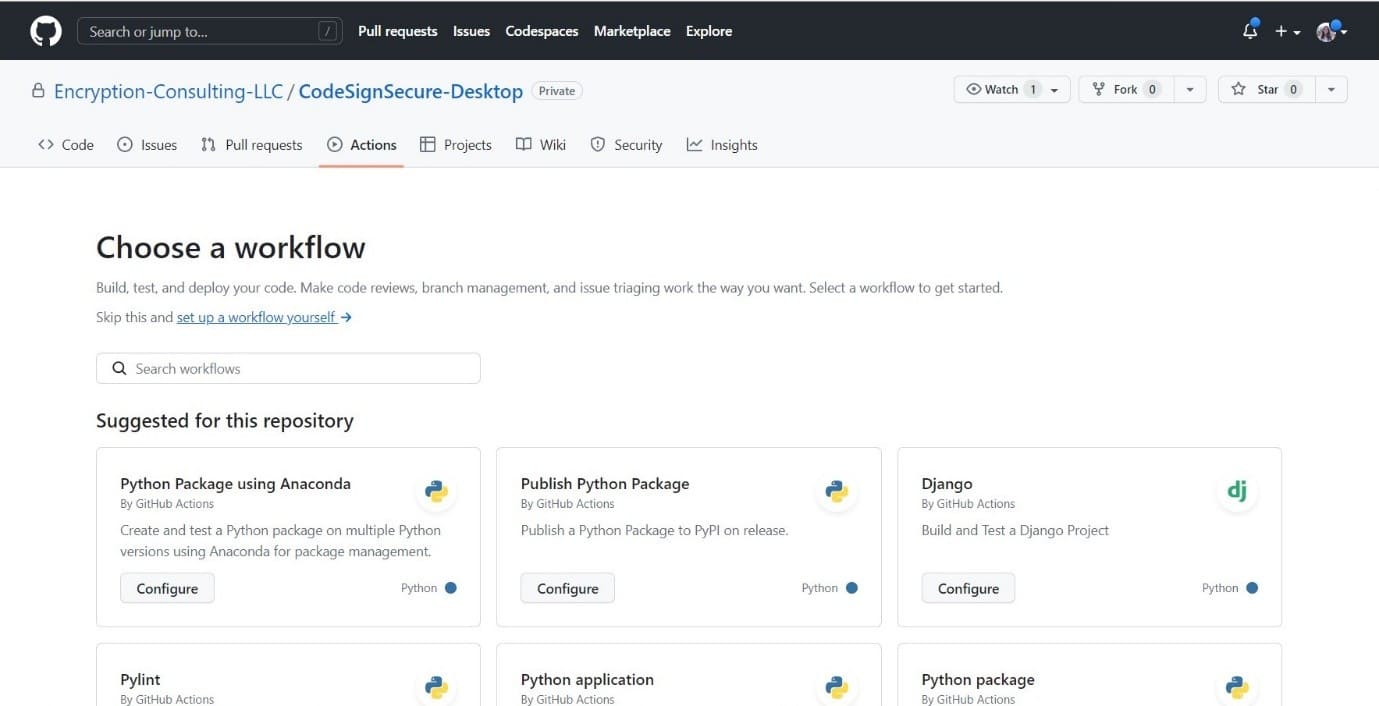
- Go to Actions
- Click on New Workflow
-
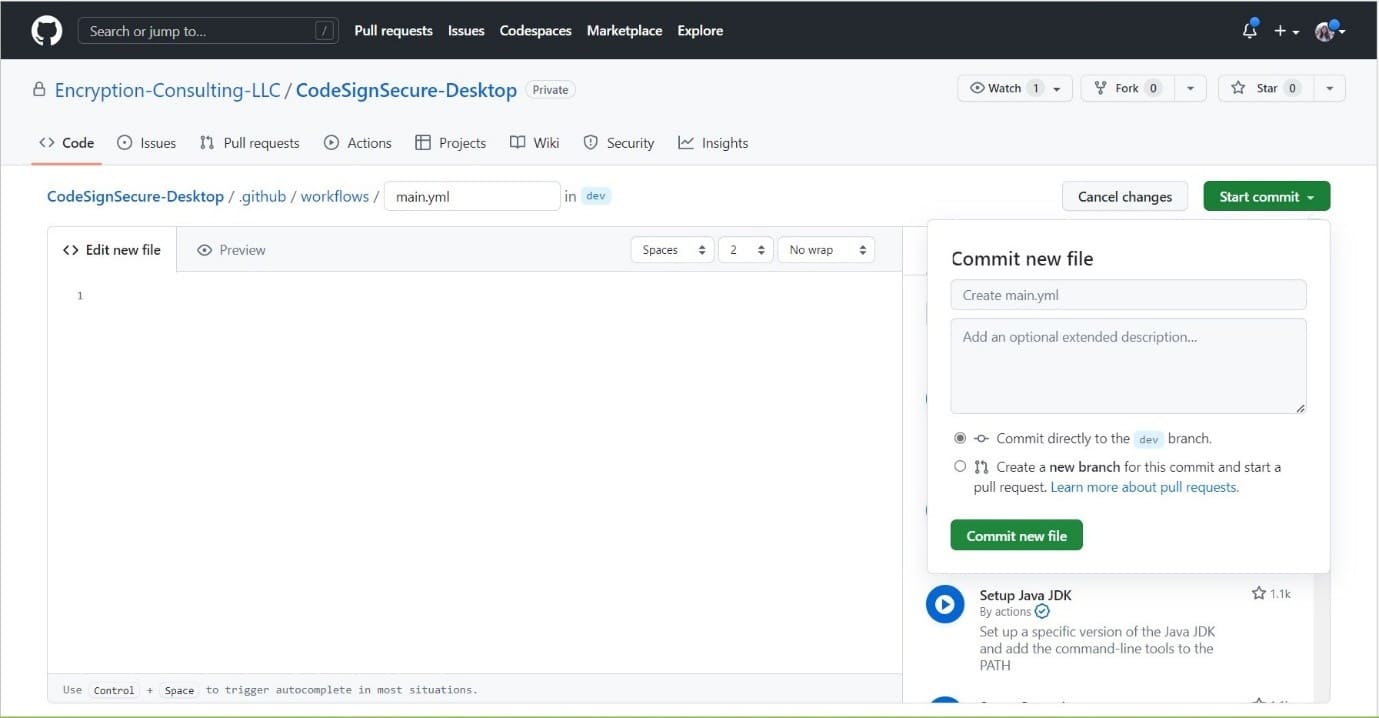
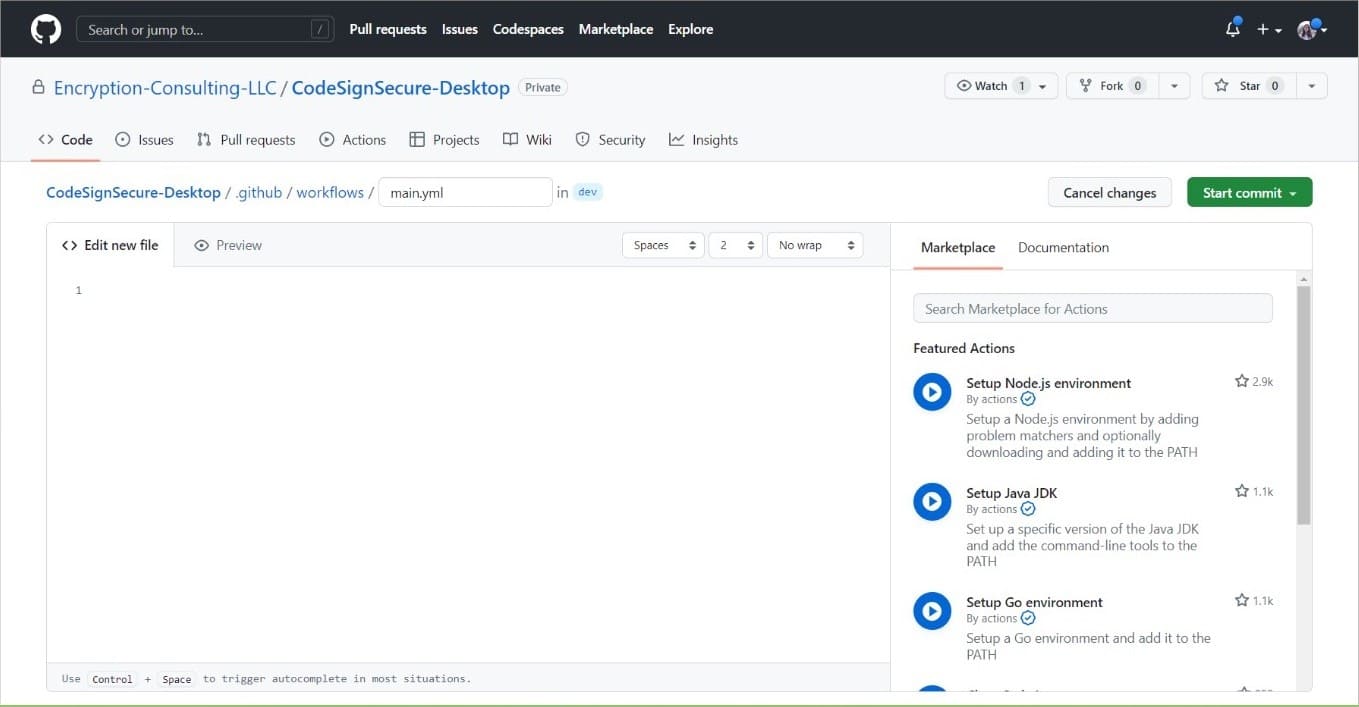
Click on Set up a workflow yourself
This is how your editor will look. You can rename your .yaml file or leave the name as is.
-
Add the script below to your editor after making some changes or updating the variables.
                                            name: Code Signing

                                    on:
                                    push:
                                        branches: <[ Your Branch Name ]>

                                    jobs:
                                    build:
                                        runs-on: <Your runner name>
                                        steps:
                                        - name: Checkout code
                                            uses: actions/checkout@v2

                                        - name: Sign code
                                            run: |
                                            signtool sign /csp "Encryption Consulting Key Storage provider" /kc <Key Name> /fd <hashing algorithm> /f "<Certificate Location>" /tr <timestampserver> /td SHA256 "<file path>"
Please replace the variables specified under <variable name>. A short description of the expected variable is given below:
- <file path>: This is where you provide the path of the file that you want to sign. Example C:\<Folder_name>\<File_name>. Make sure you have provided a file name with the proper extension.
- <key name>: This refers to the cryptographic key used to sign the code. Example: evcodesigning.
-
<certificate location>: An example of what can be put in this field is C:\testing.pem. The certificate.pem file MUST be included in this input. You can generate a pem file of the certificate for codesigning if you have the key name using ECSigningKSP. To do so, follow the commands below:
In your device where you have ECSigningKSP installed and configured, navigate to the folder of ECSigningKSP, which is usually present in “C:\Program Files\Encryption Consulting\SigningKSP”
In your command prompt, reach this directory. Then, use the following command to get the certificate PEM file.
ECGetCert.exe <Key_Name>
example: ECGetCert.exe evcodesigning
Provide the location of the certificate saved.
-
<hashing algorithm>: You need provide the name of hashing algorithm such as SHA256, SHA384, or SHA512. It must be one of these three values.
-
<time stamp server>: A timestamp server provides proof that a digital signature was performed at a specific time, allowing verification in the future that a file was signed at a particular time. The one we generally use is http://timestamp.digicert.com
The Command I used for signing was
signtool sign /csp "Encryption Consulting Key Storage provider" /kc evcodesigning /fd SHA256 /f "C:\Users\Administrator\Desktop\ForTesting\evcodesigning.pem" /tr http://timestamp.digicert.com /td SHA256 "C:\Users\Administrator\Desktop\ForTesting\AgentService.exe"The Script I used was:
Name: Code Signing on: push: branches: [ Github_Actions ] jobs: build: runs-on: runner steps: - name: Checkout code uses: actions/checkout@v2 - name: Sign code run: | signtool sign /csp "Encryption Consulting Key Storage provider" /kc evcodesigning /fd SHA256 /f "C:\Users\Administrator\Desktop\ForTesting\evcodesigning.pem" /tr http://timestamp.digicert.com /td SHA256 "C:\Users\Administrator\Desktop\ForTesting\AgentService.exe" -
Once you’ve edited your script, click on commit. You can commit directly to your default branch or commit to a new branch. Make sure you update the name of your branch inside the code. After committing, the job will run.