
GitHub Actions is a continuous integration and continuous development (CI/CD) platform that allows user to automate their build, test, and deployment pipeline. Users may design workflows that build and test every pull and push request to their repository or deploy merged pull requests to production. GitHub Actions is a powerful tool that allows developers to automate workflows within their GitHub repositories.
Each workflow is made up of one or more jobs, which are made up of one or more steps. Each step is a set of commands that are executed on a runner, which is a virtual machine that runs your workflows.
Getting Started with GitHub Actions
To get started with GitHub Actions, you’ll need a GitHub account and a repository. Once you’ve created your repository, you can create a new workflow by adding a YAML file to the .github/workflows directory in your repository.
Some of the terms that are used in the YAML file defining workflow are listed below. Let’s break down this workflow to understand how it works:
-
name: This is the name of the workflow. -
on: This specifies when the workflow should be triggered. For example, the workflow can run when a pull request is opened on a branch. -
jobs: This is a list of jobs that will be executed as part of the workflow. -
run-on: This specifies the operating system and environment for the job. We can set up a self-hosted runner for our job. We are setting up a self-hosted runner for this.
-
steps: This specifies a list of steps that will be executed as part of the job.
-
uses: This is a shortcut for using an existing action from the GitHub Marketplace. In our script, we’re using the actions/checkout action to checkout the repository code.
-
name: This is the name of the step. -
run: This is a shell command that will be executed as part of the step.
Codesigning Using GitHub Actions
Code signing is the process of digitally signing software code to verify its authenticity and integrity. It is a security measure that helps ensure that the code has not been tampered with and comes from a trusted source.
We can perform codesigning using GitHub actions. For this, we create a workflow in our desired repository in GitHub and perform codesigning using the script.
Prerequisites for performing this task include:
- A GitHub repository (You’ll require an admin account).
- A Runner where Signtool and ECSigning KSP is installed and configured.
Before we get started, we will need to configure a runner. Runner will be setup in the device where you have Signtool and ECSigning KSP installed and configured. To do so in your device follow the steps below.
To Setup and Configure Signtool follow the steps below:
Signtool can be downloaded as part of the Windows SDK. Download Windows SDK: (developer.microsoft.com/en-us/windows/downloads/windows-10-sdk/)
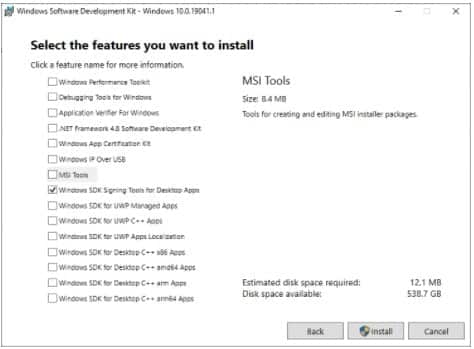
You can choose to install only the Windows SDK Signing Tools for Desktop Apps.
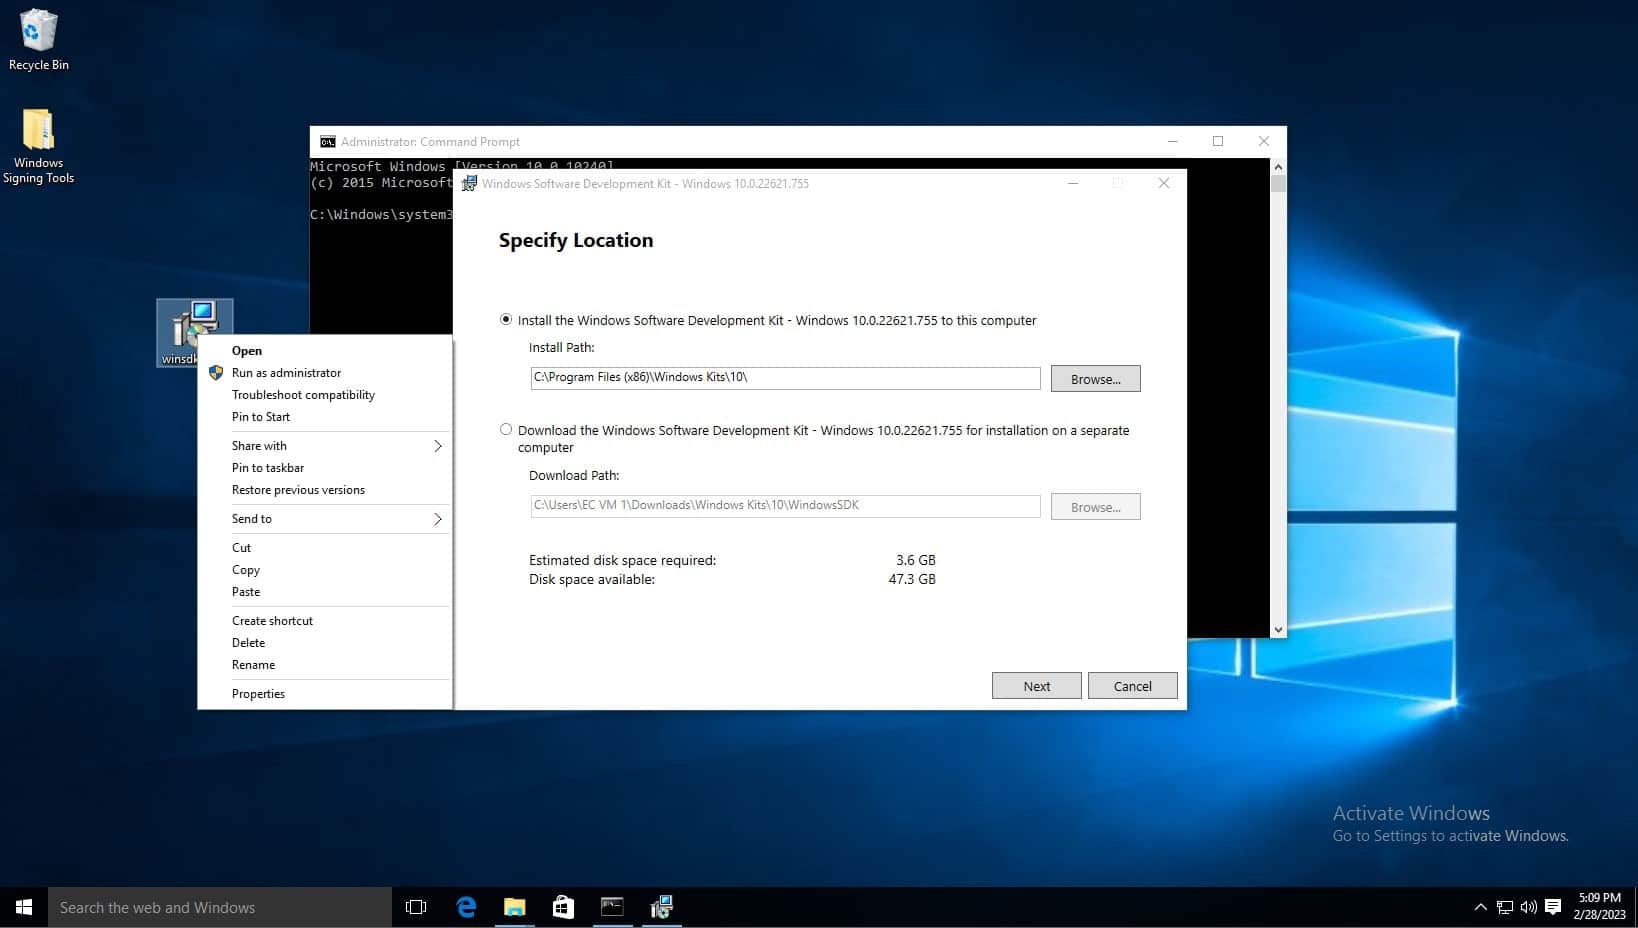
Open the winsdksetup.exe file. Remember the default path shown in the install path, as this will be helpful with running these commands from the command prompt.
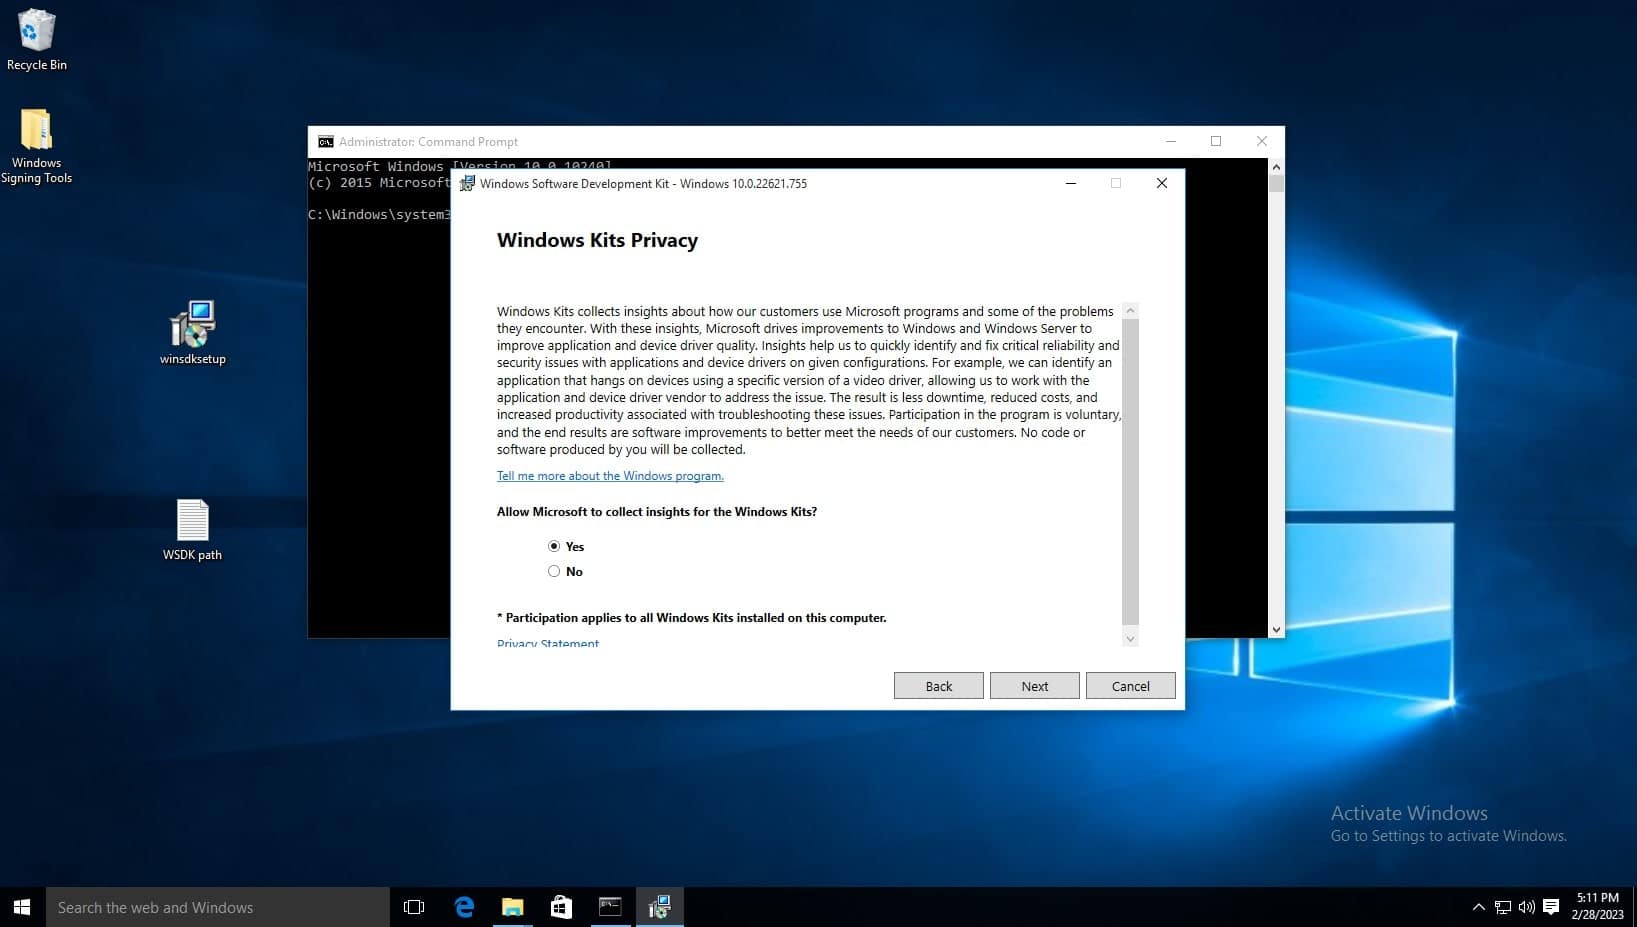
On the Windows Kits Privacy page, either option for allowing Microsoft to collect insights is okay. Click next.
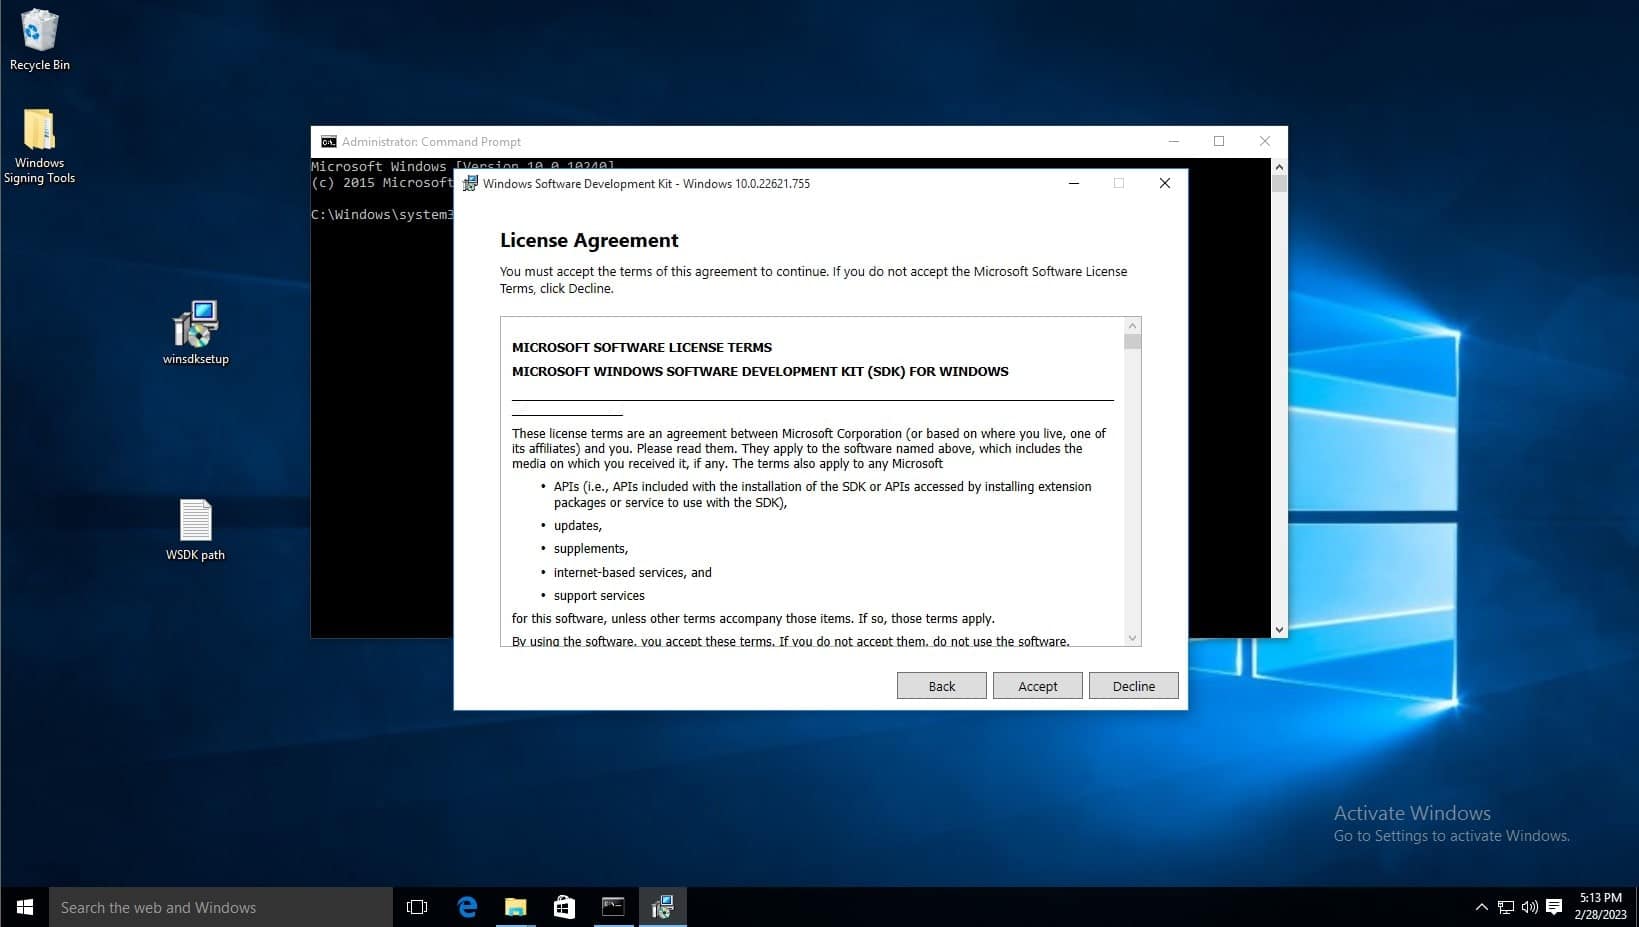
Accept the license agreement
Deselect every feature except for Windows SDK Signing Tools for Desktop Apps, then select install.
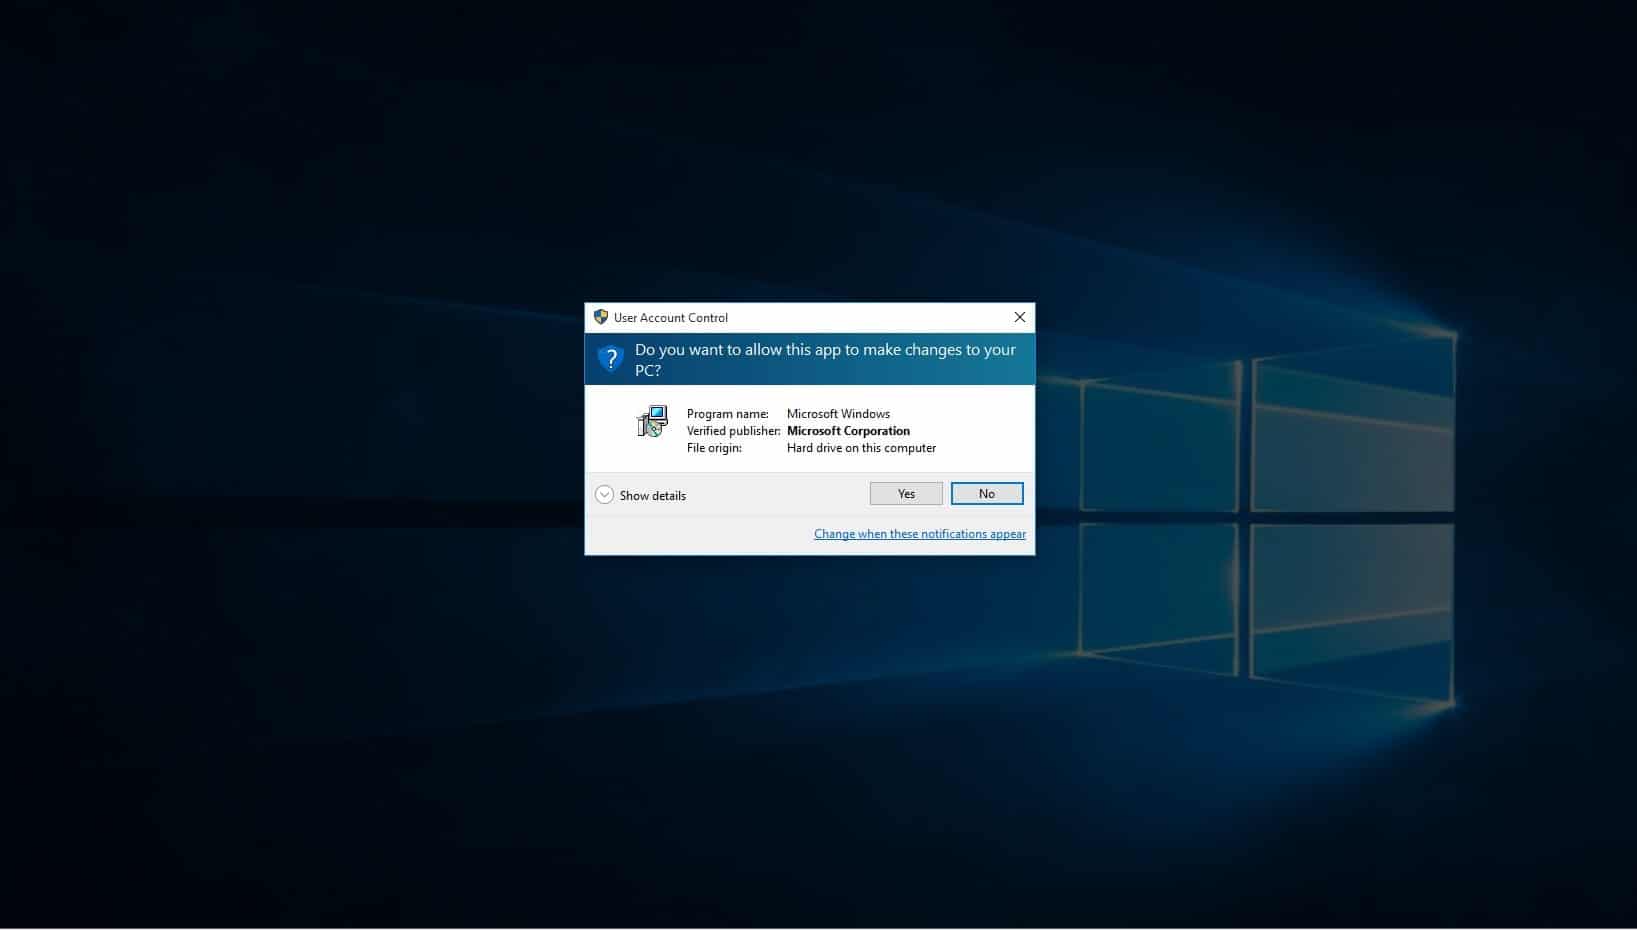
When prompted if you want to allow this app to make changes, select yes.

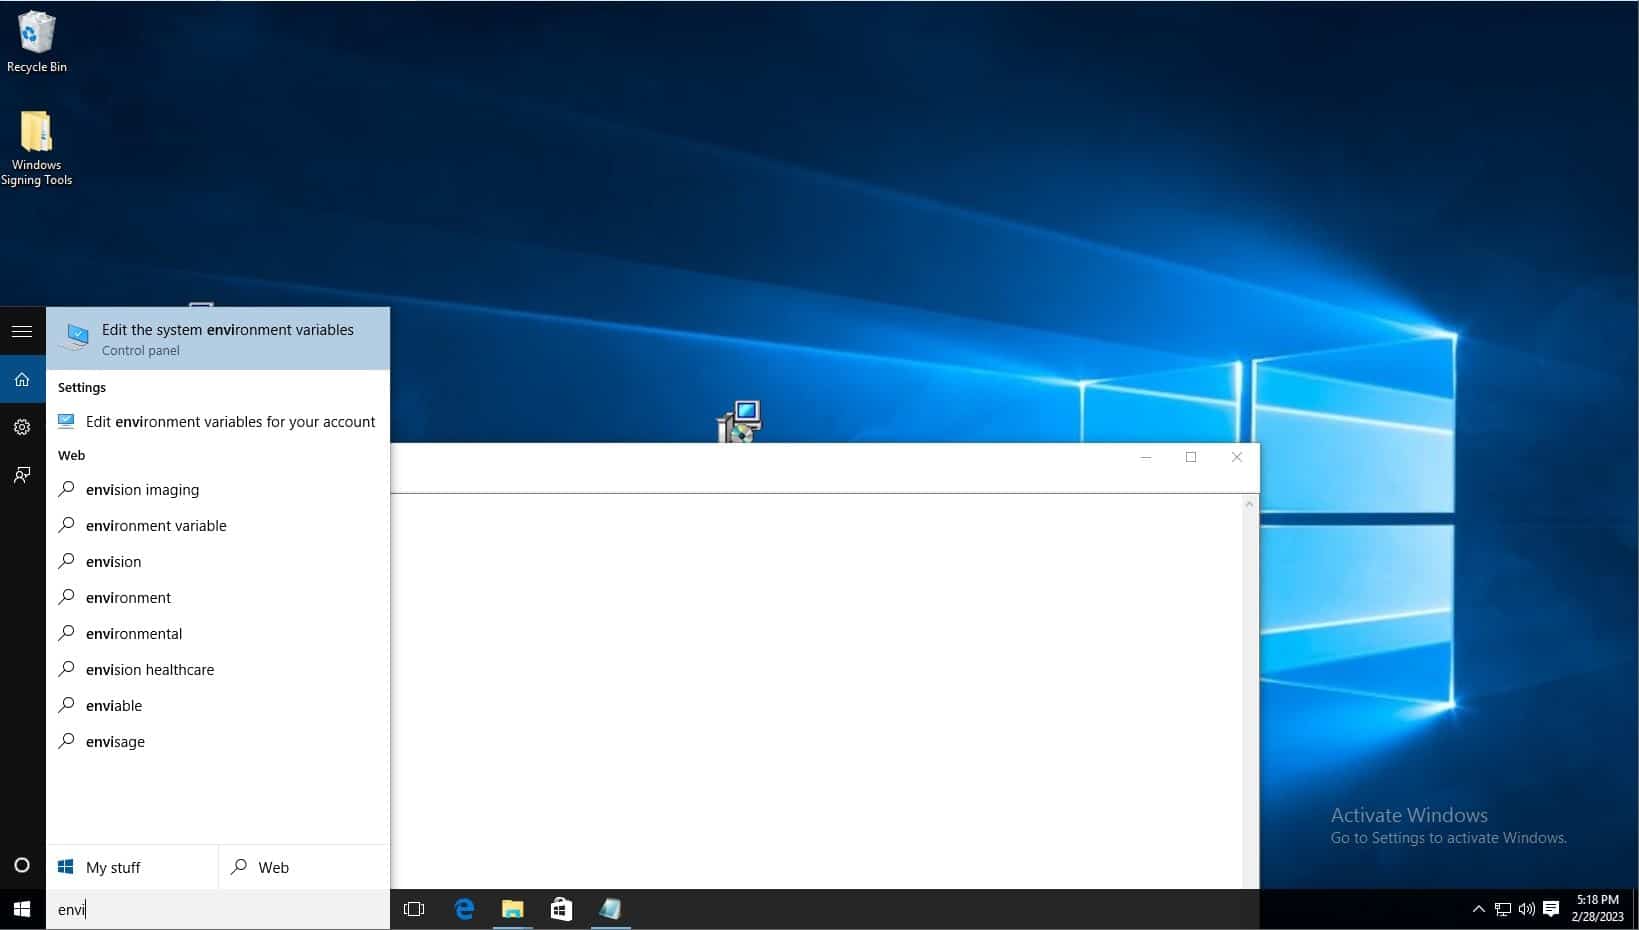
Click on windows search bar on task bar and type “Edit the system environment variables” and select the control panel option of the same name.
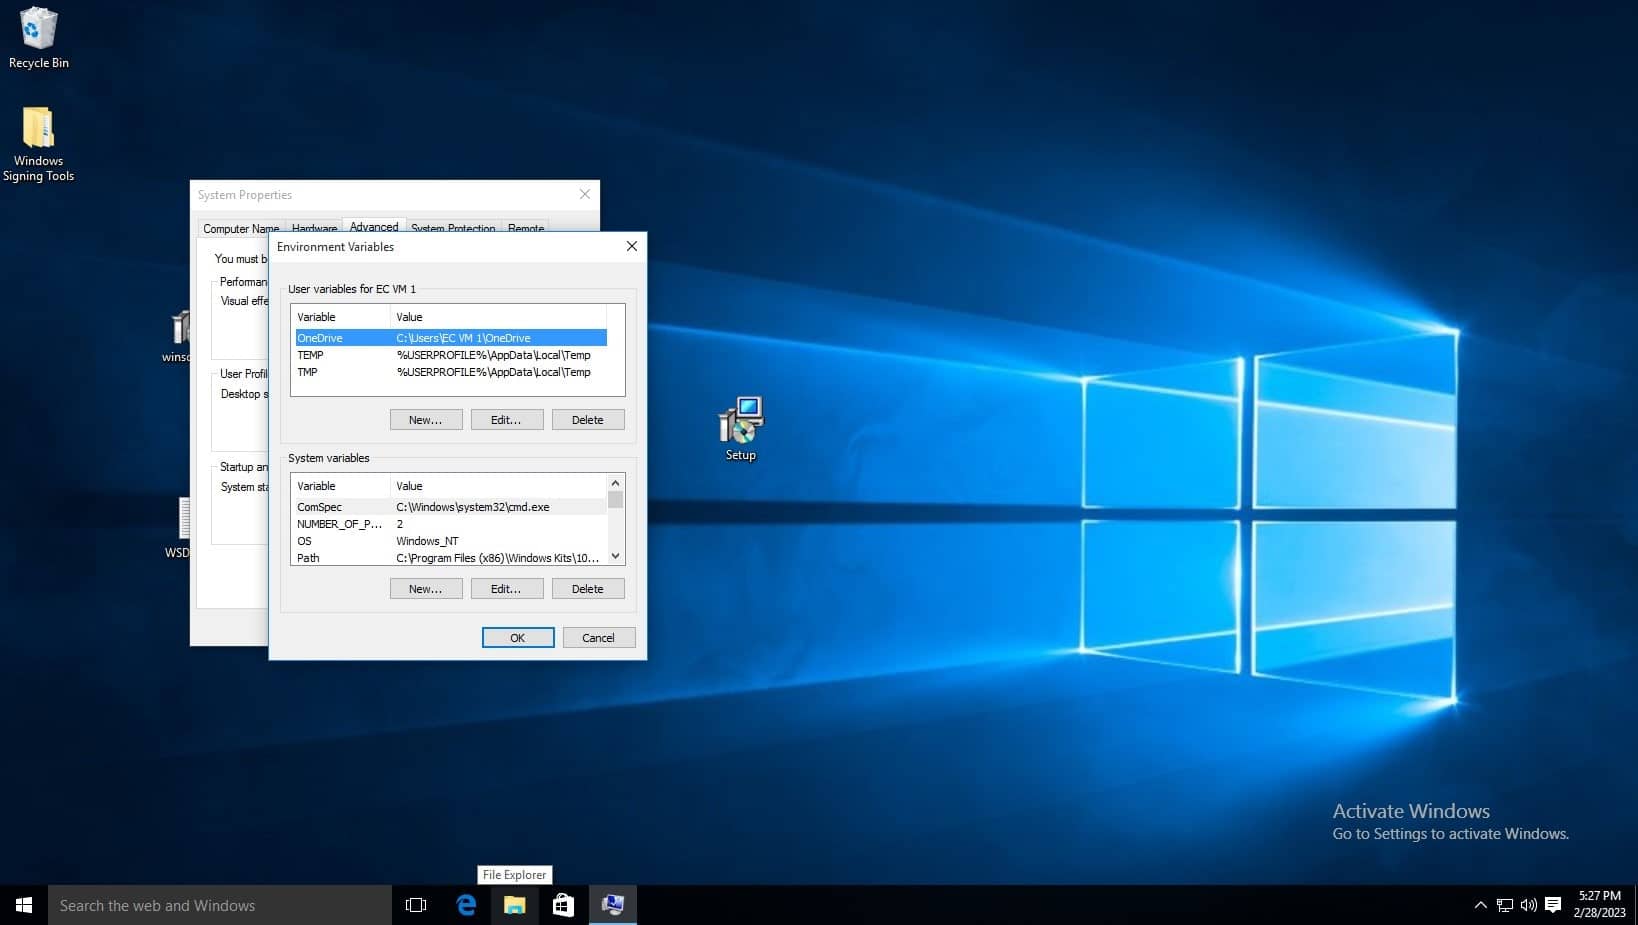
Click environment variables.
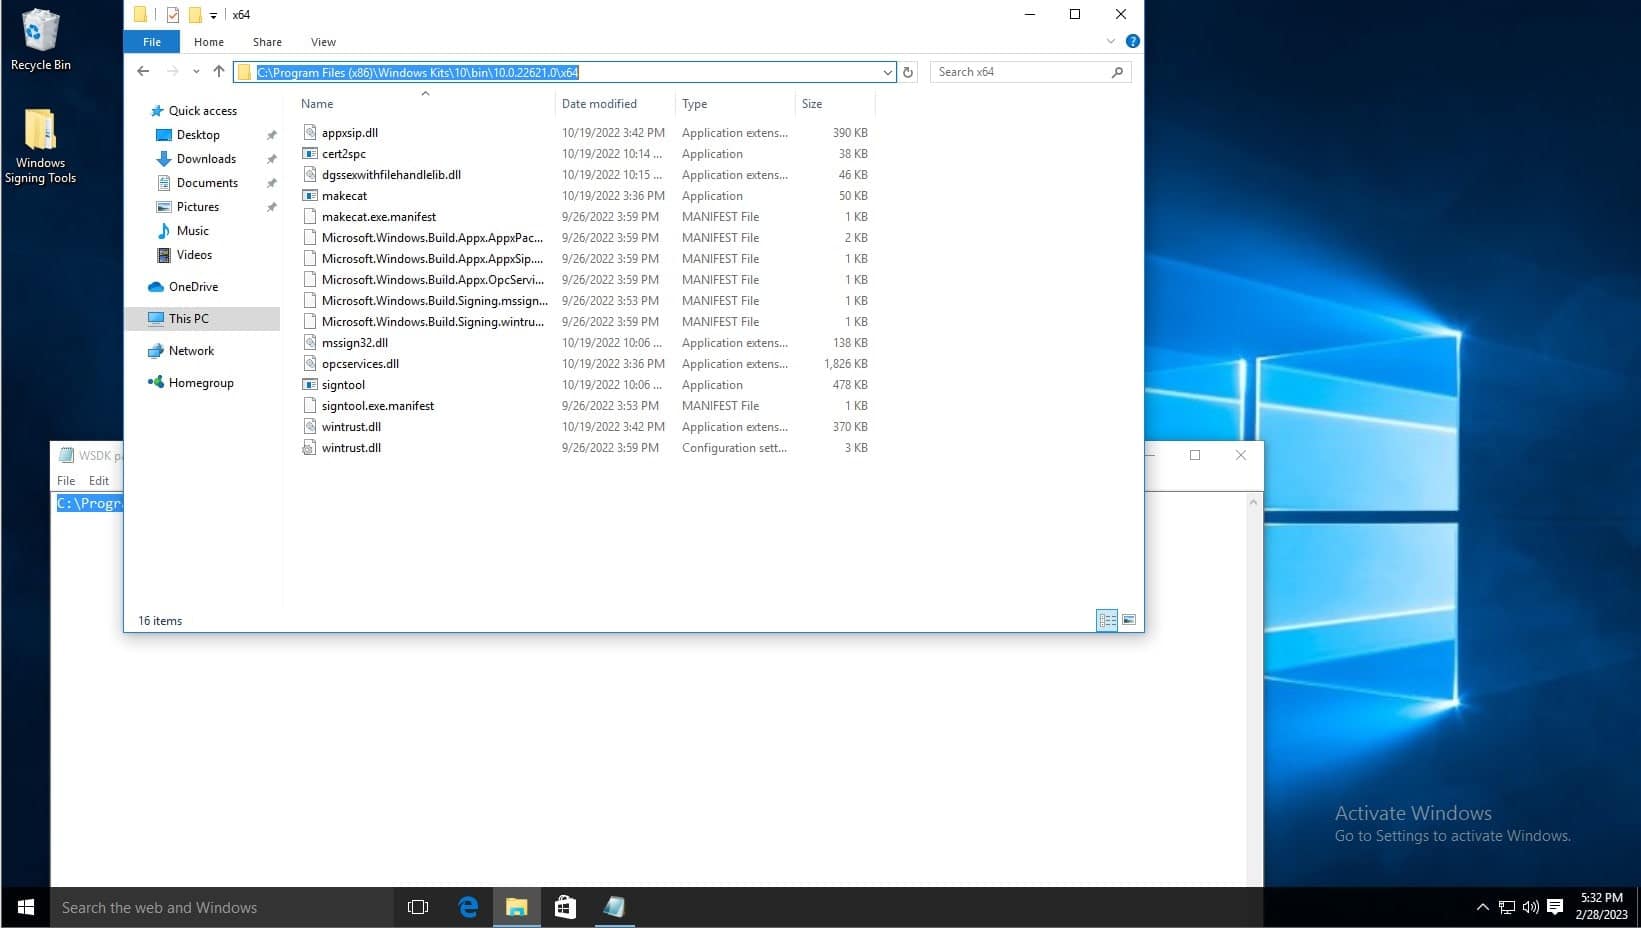
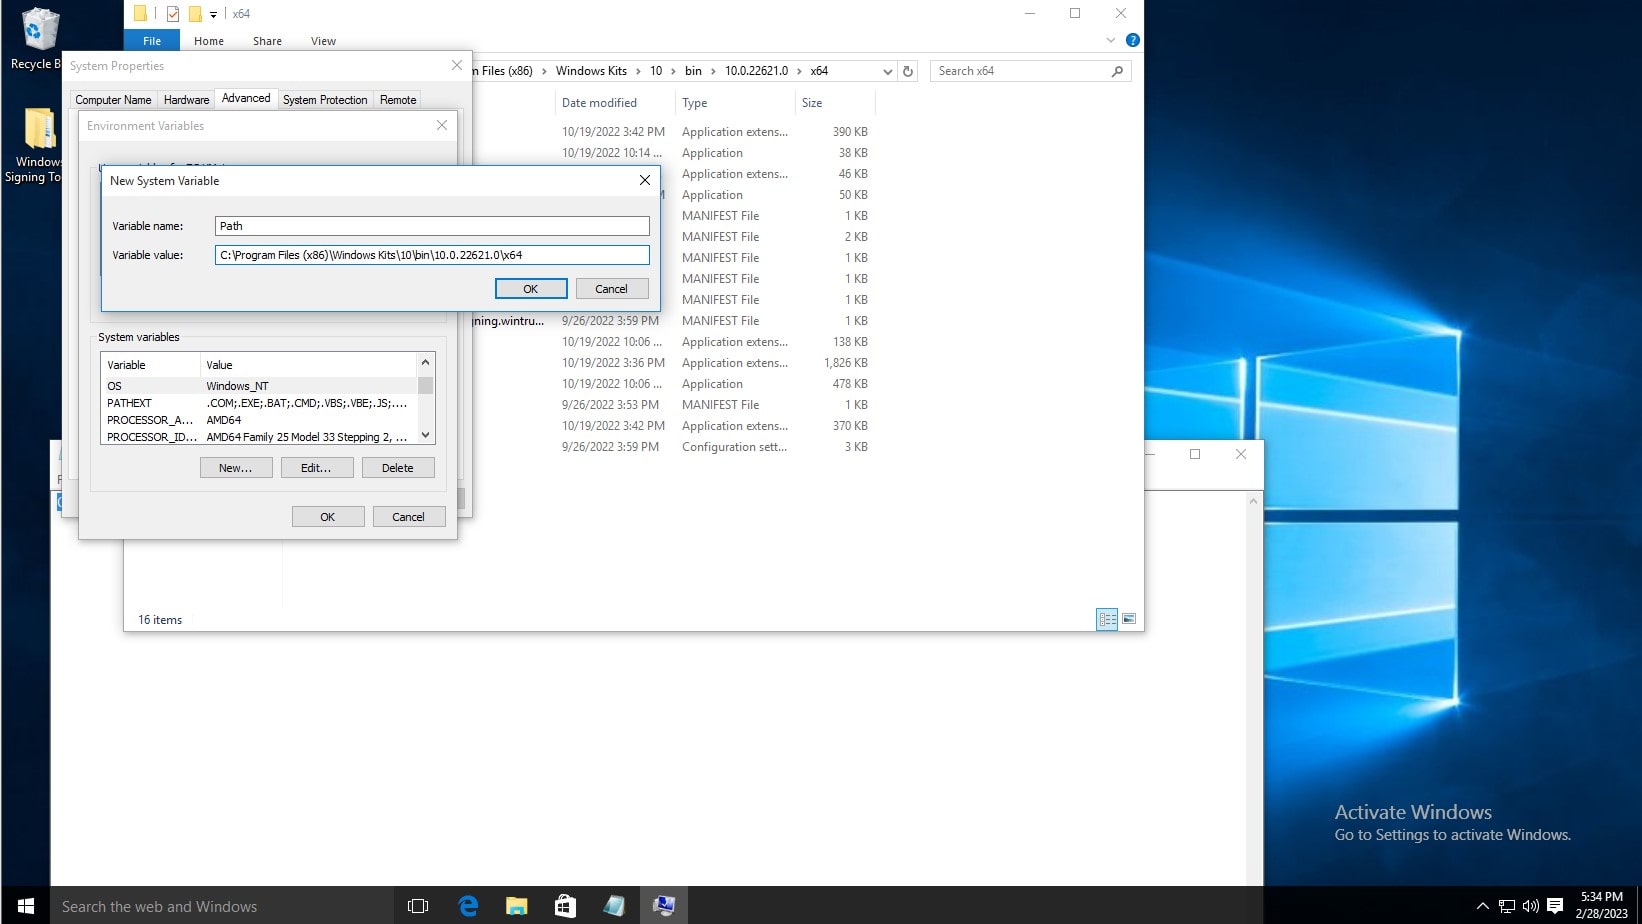
Before editing the variable list, navigate to where the Windows SDK is installed to using file explorer, you must copy the path of the folder which contains the signtool application, the default path is C:\Program Files (x86)\Windows Kits\10\bin\10.0.22621.0\x64, refer to the below screenshot. Make sure to right click and copy the path as shown. You can also see the signtool application at the bottom of the file list, this is the command you will run.
In the System Variables list, click new. Then type Path as the variable name, and copy and paste the aforementioned path. Then click OK on the environment variables window and system properties window.
To test the installation, open command prompt, and type signtool, and the output should be as shown below.
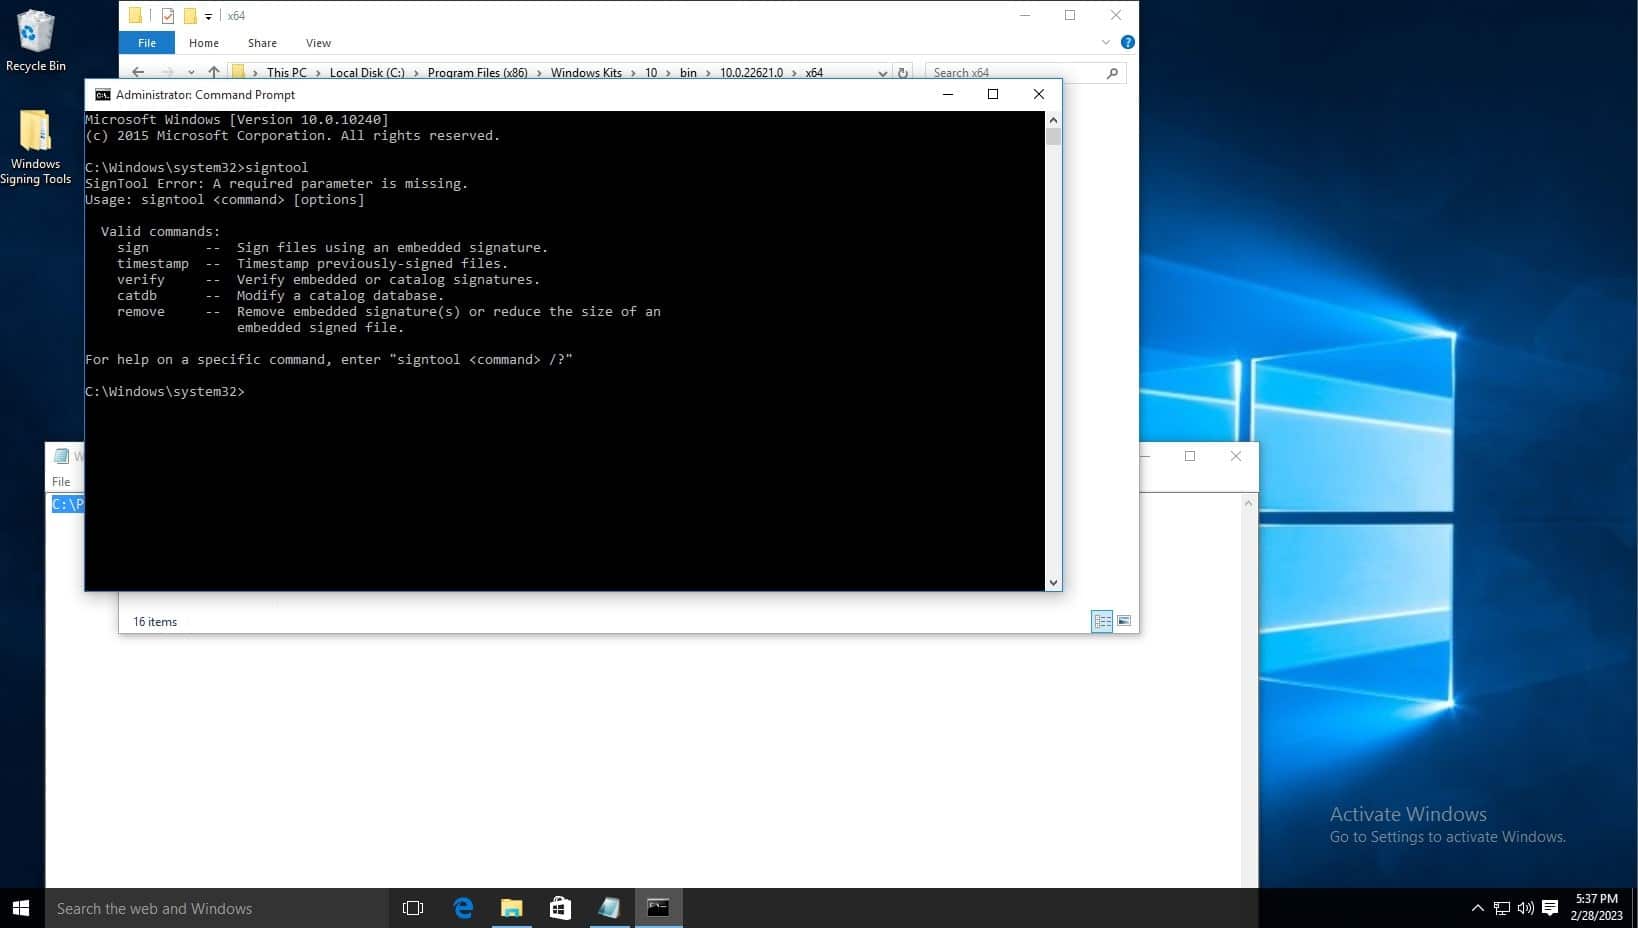
The default signtool installation location is, for example: C:\Program Files (x86)\Windows Kits\10\bin\10.0.22621.0\x64
To set up KSP follow the steps below:
Encryption Consulting provides you with this solution, CodeSignSecure. This solution can help you with tamper-proof storage for the keys and complete visibility and control of Code Signing activities. The private keys of the code-signing certificate can be stored in an HSM to eliminate the risks associated with stolen, corrupted, or misused keys.
If you’re using our solution you can download the KSP using the steps below:
- Sign in to Code Sign Secure.
-
Navigate to: Signing tools repository.
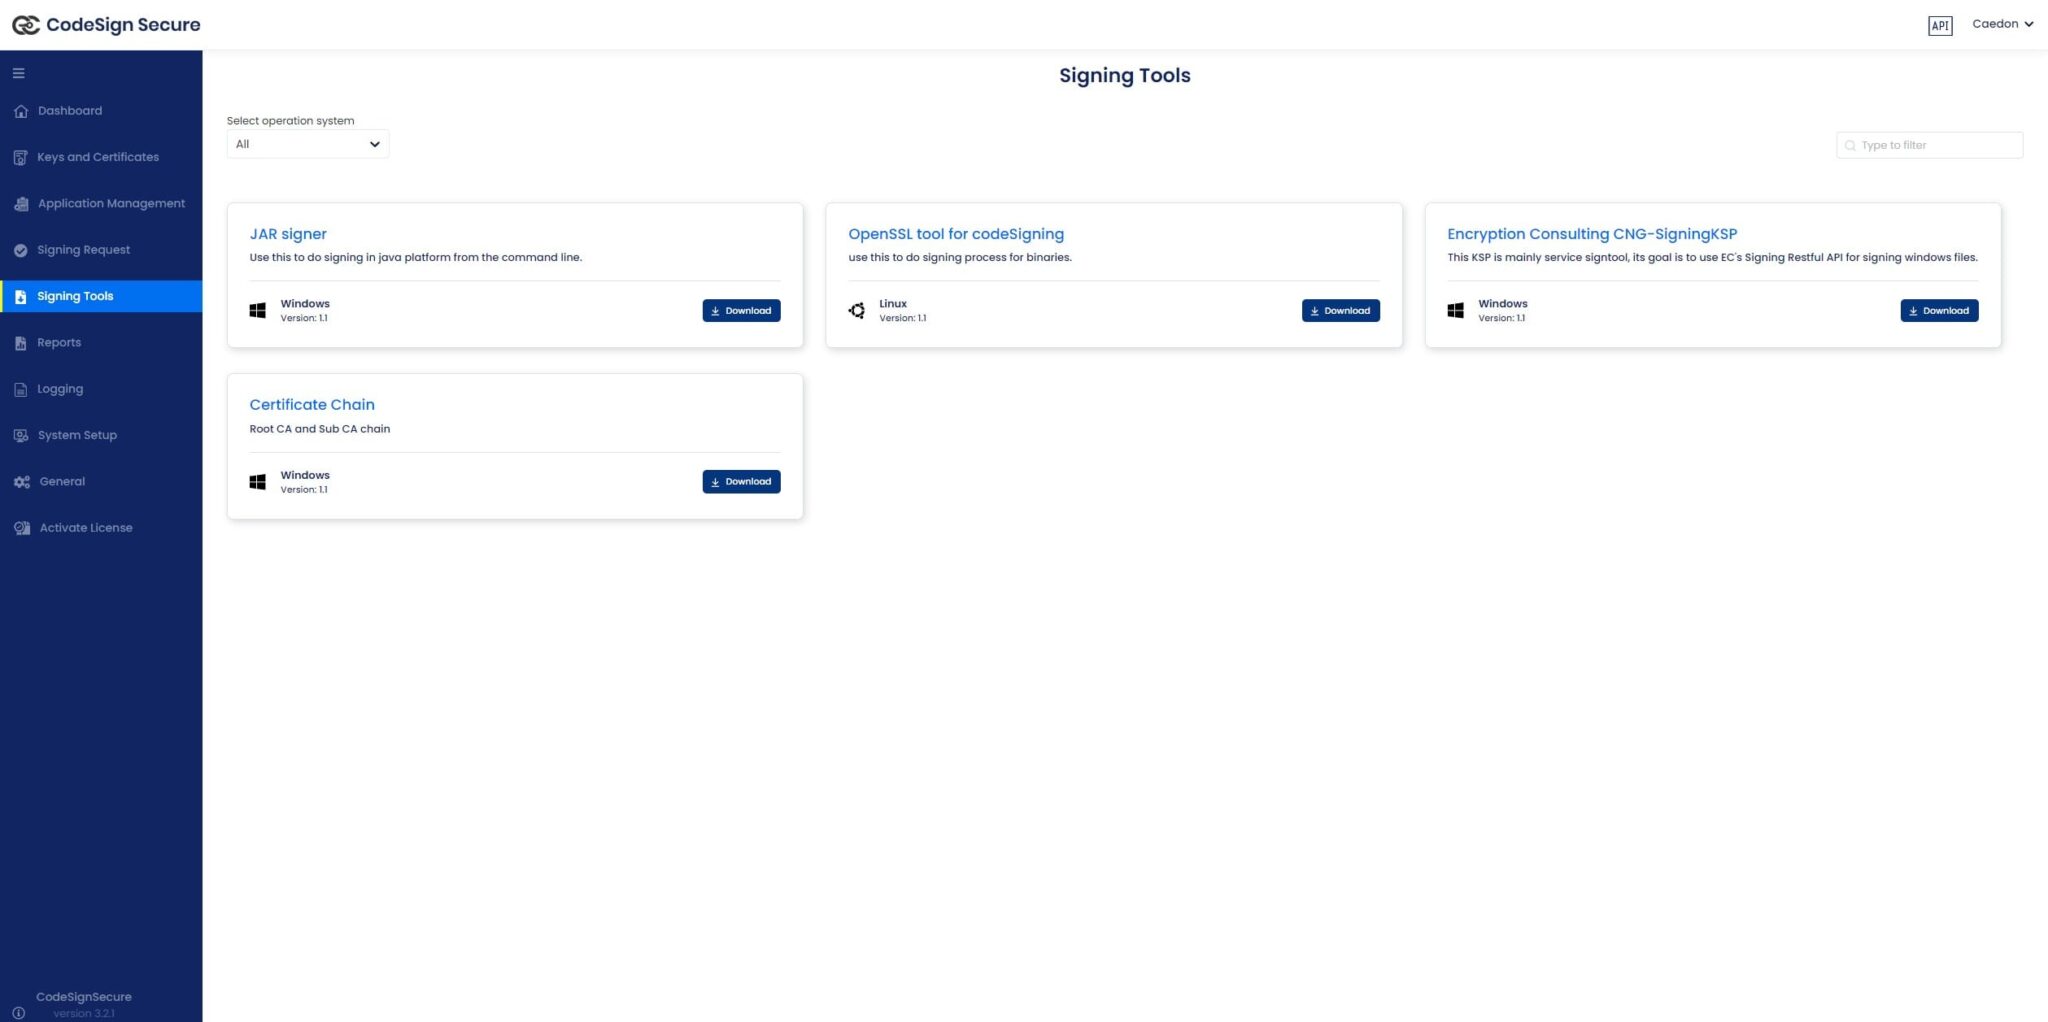
- Download “Encryption Consulting CNG-SigningKSP”
-
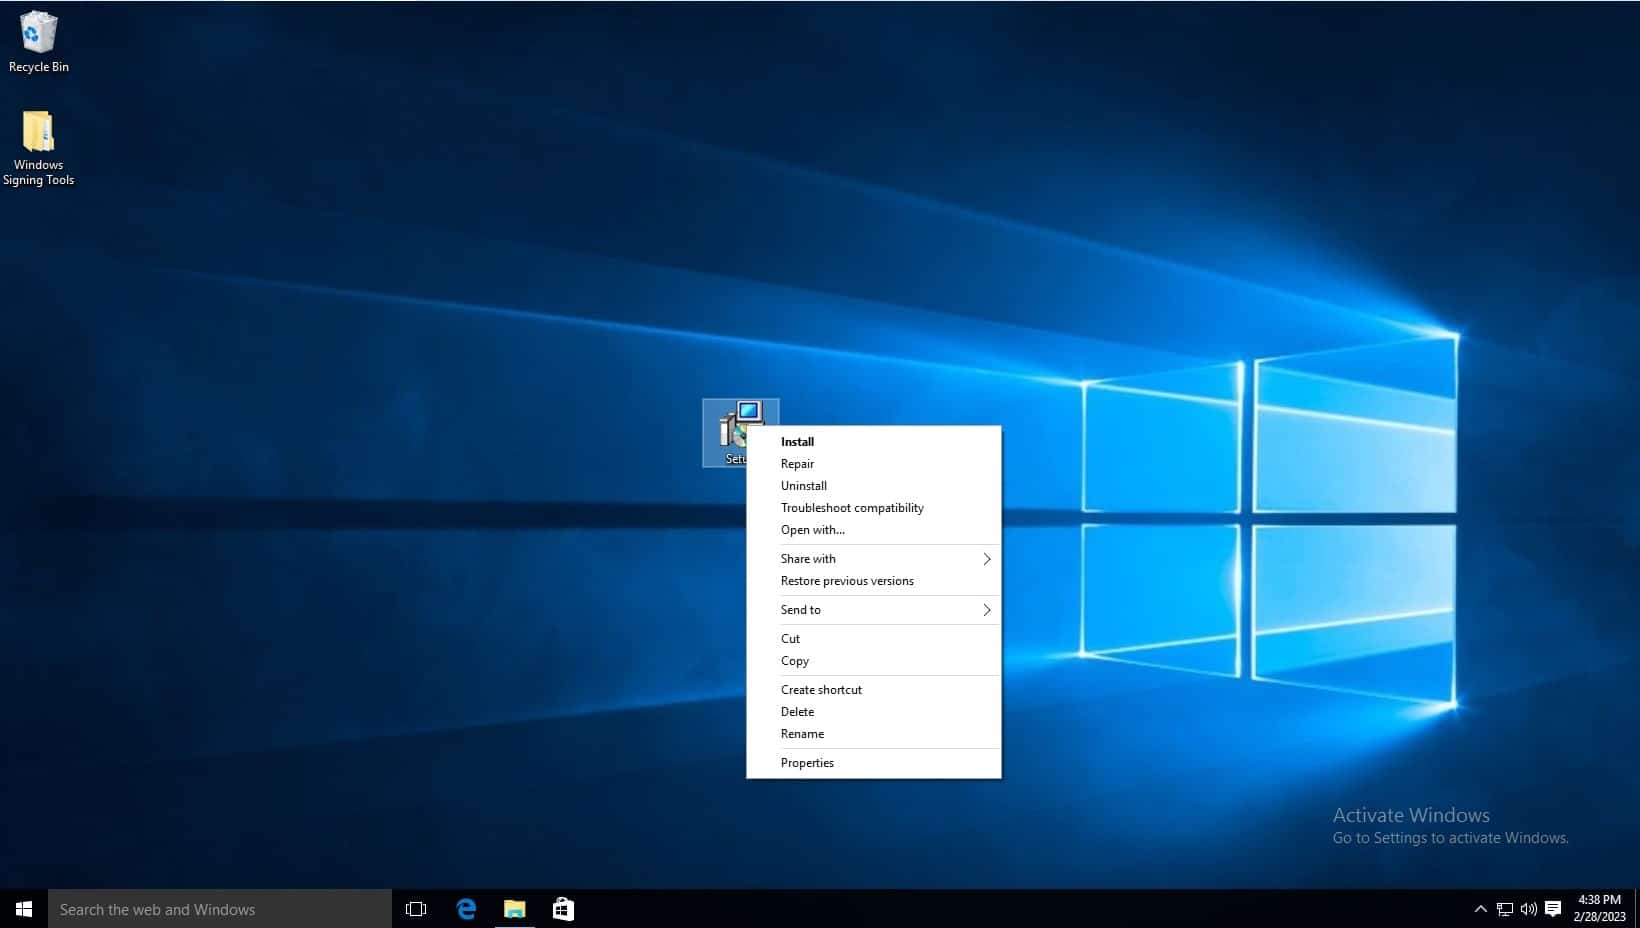
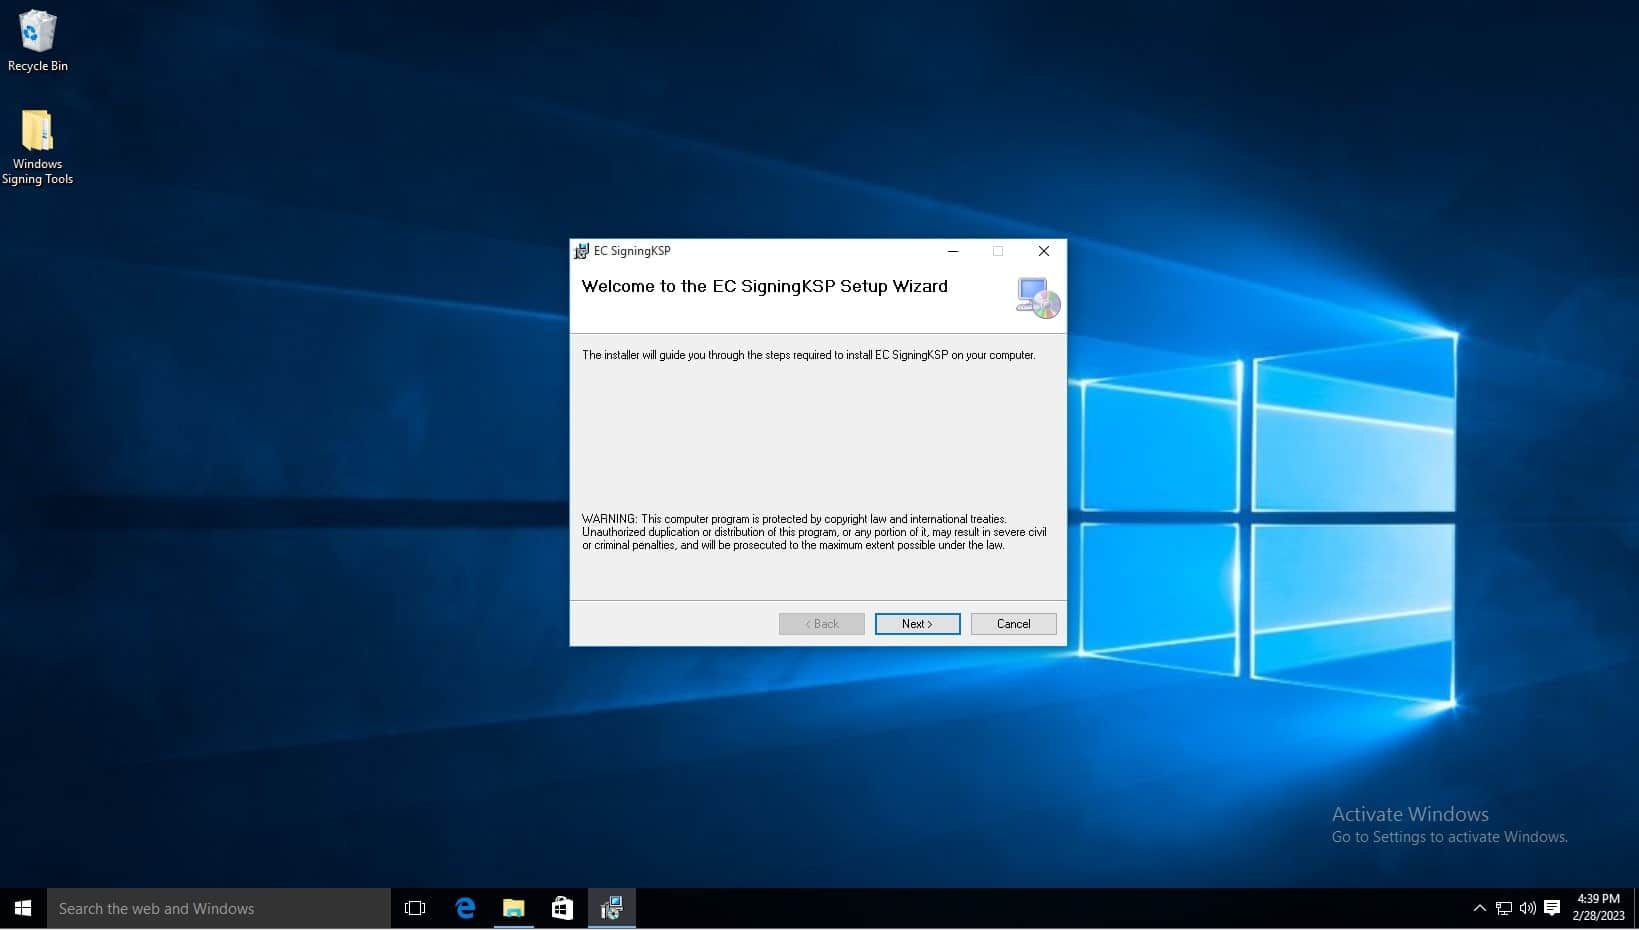
Install the client tools using the .MSI installer. The .MSI installer automates much of the configuration. Navigate to where the downloaded file is saved and launch the installer.
-
Click next when the installation wizard appears.
-
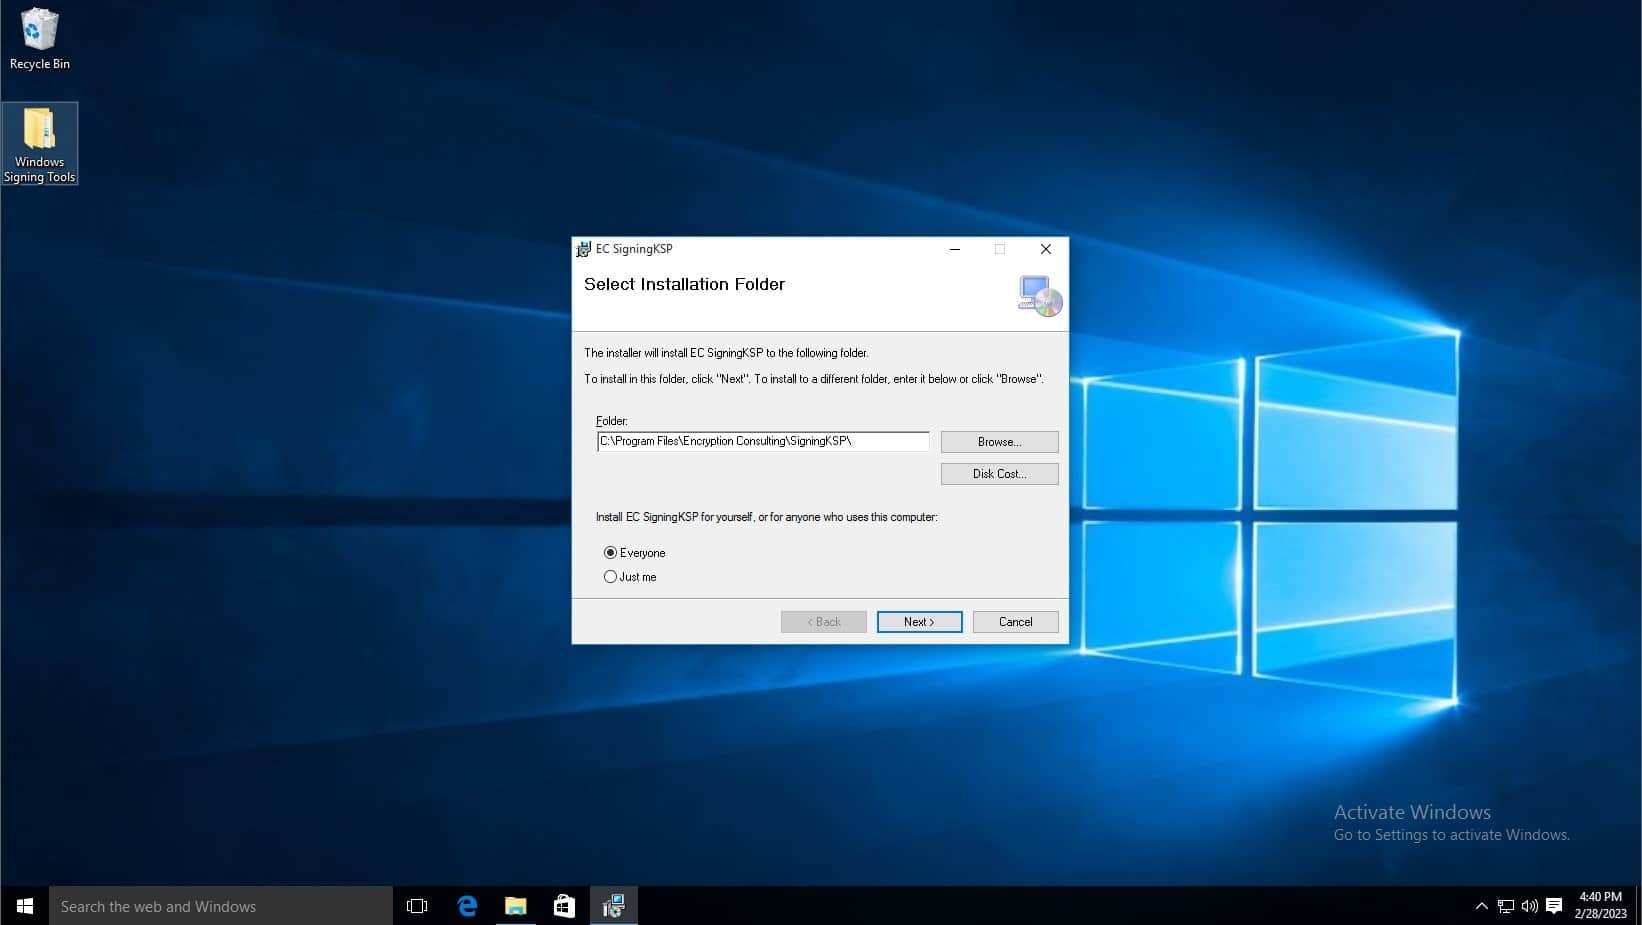
Click next.
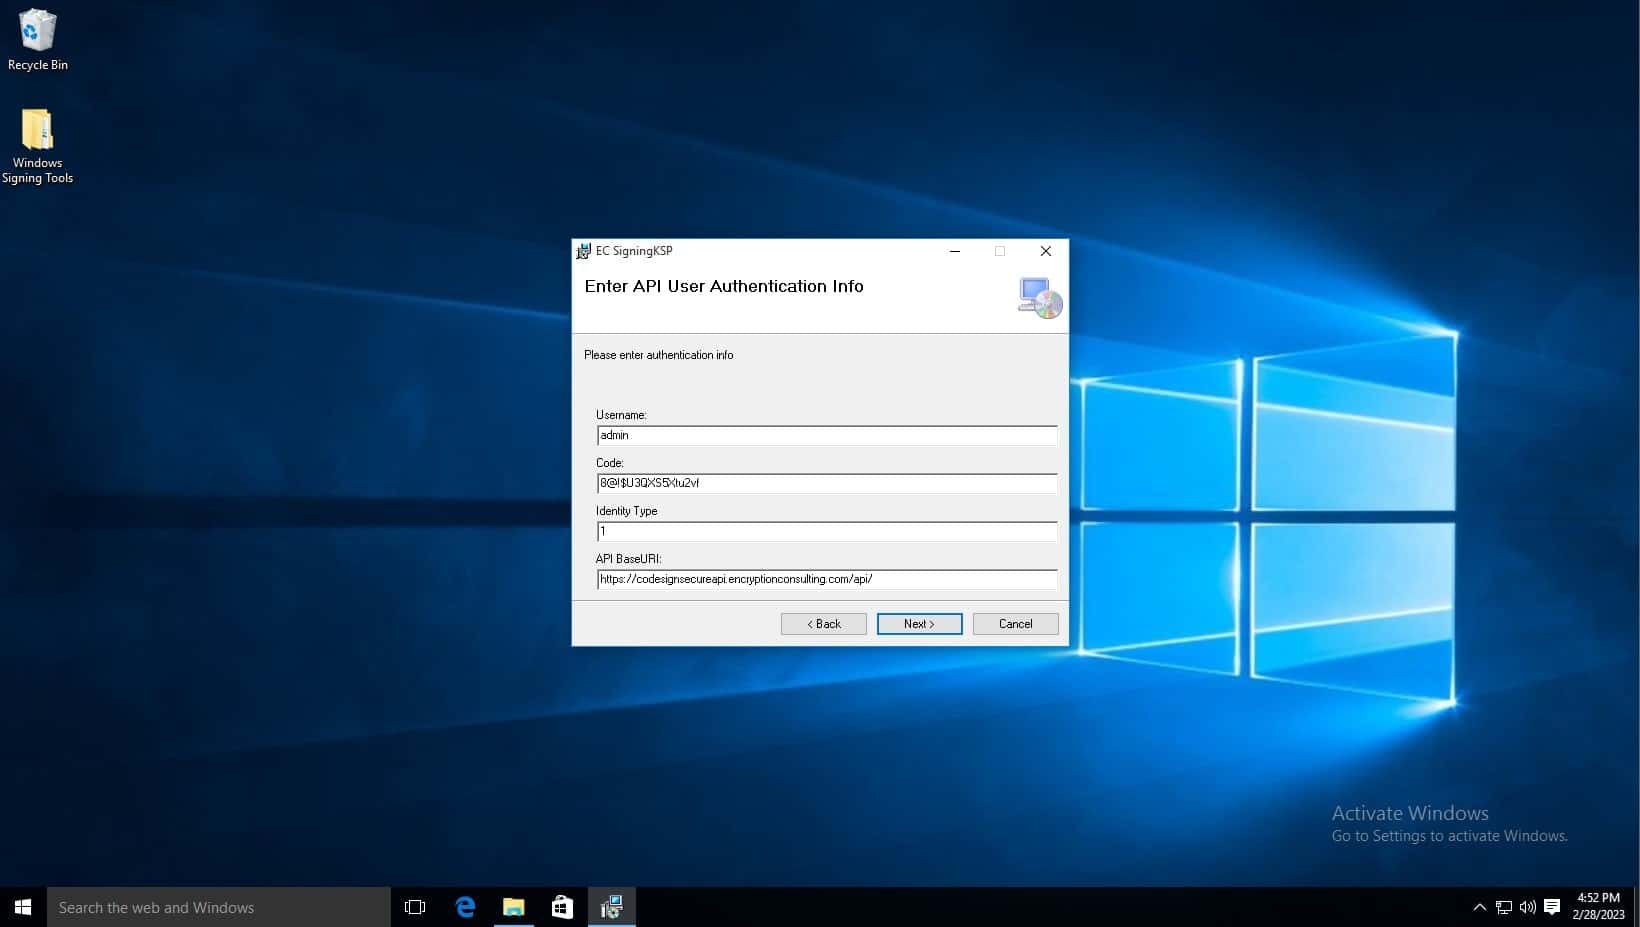
- In the Username field, type admin.
-
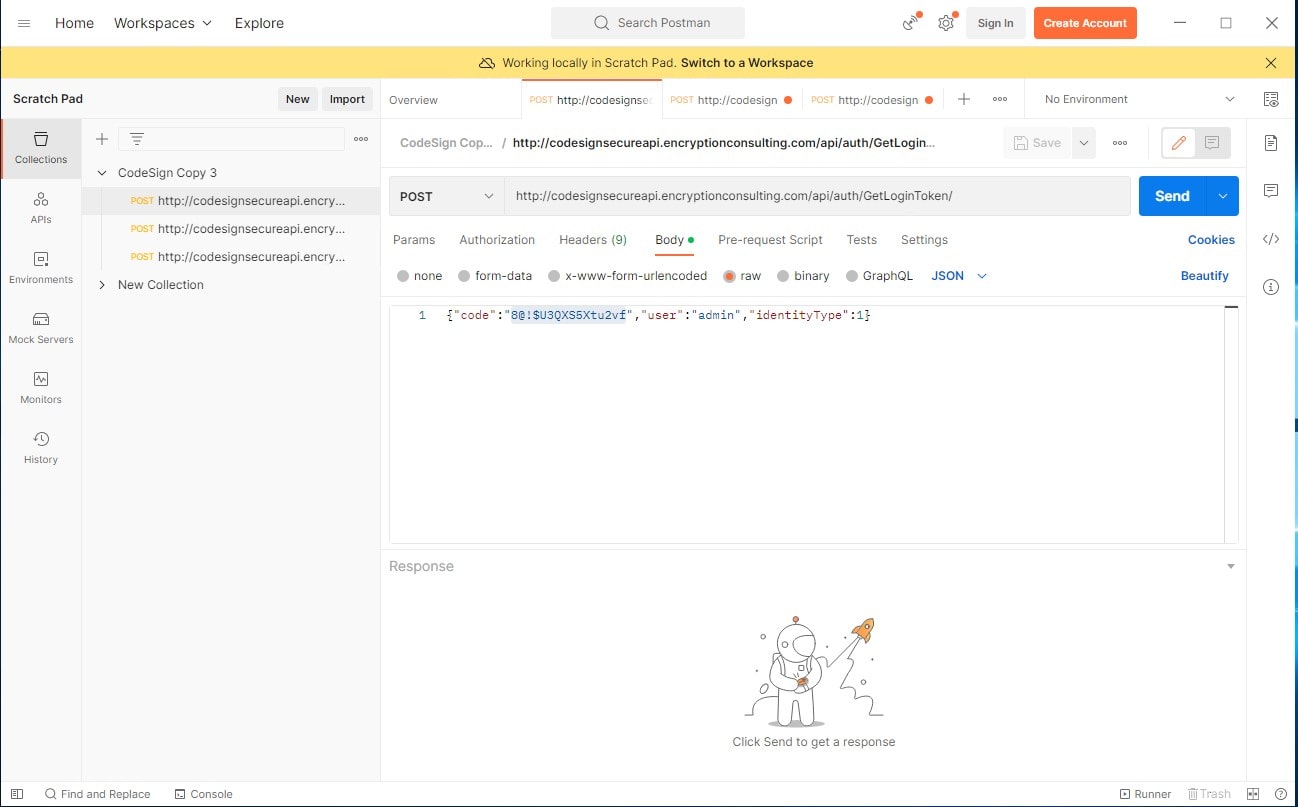
In the Code field, copy the code from the Postman API Repository. Click on the GetLoginToken api and copy the code from the Body.
Download PostMan from this link. Once downloaded, click the skip button at the bottom of the window. Once on dashboard, add a new collection using the plus sign button next to collections.
GetLoginToken API (http://codesignsecureapi.encryptionconsulting.com/api/auth/GetLoginToken): This is the most important API, as this gives you a Bearer Token to use with the rest of the APIs, What should be in the body is shown below. The code serves as a password in order to get a the Bearer Token, the user field is the username, and the identity type field specifices the user type. Click Send to generate an output which has the Bearer Token listed at the bottom. Copy this token for use.
- Change the Identity Type to 1.
- Leave API BaseURL the same.
-
Click next.
-
Click next.

-
You will then be notified that this program will make changes to your pc, click yes.

-
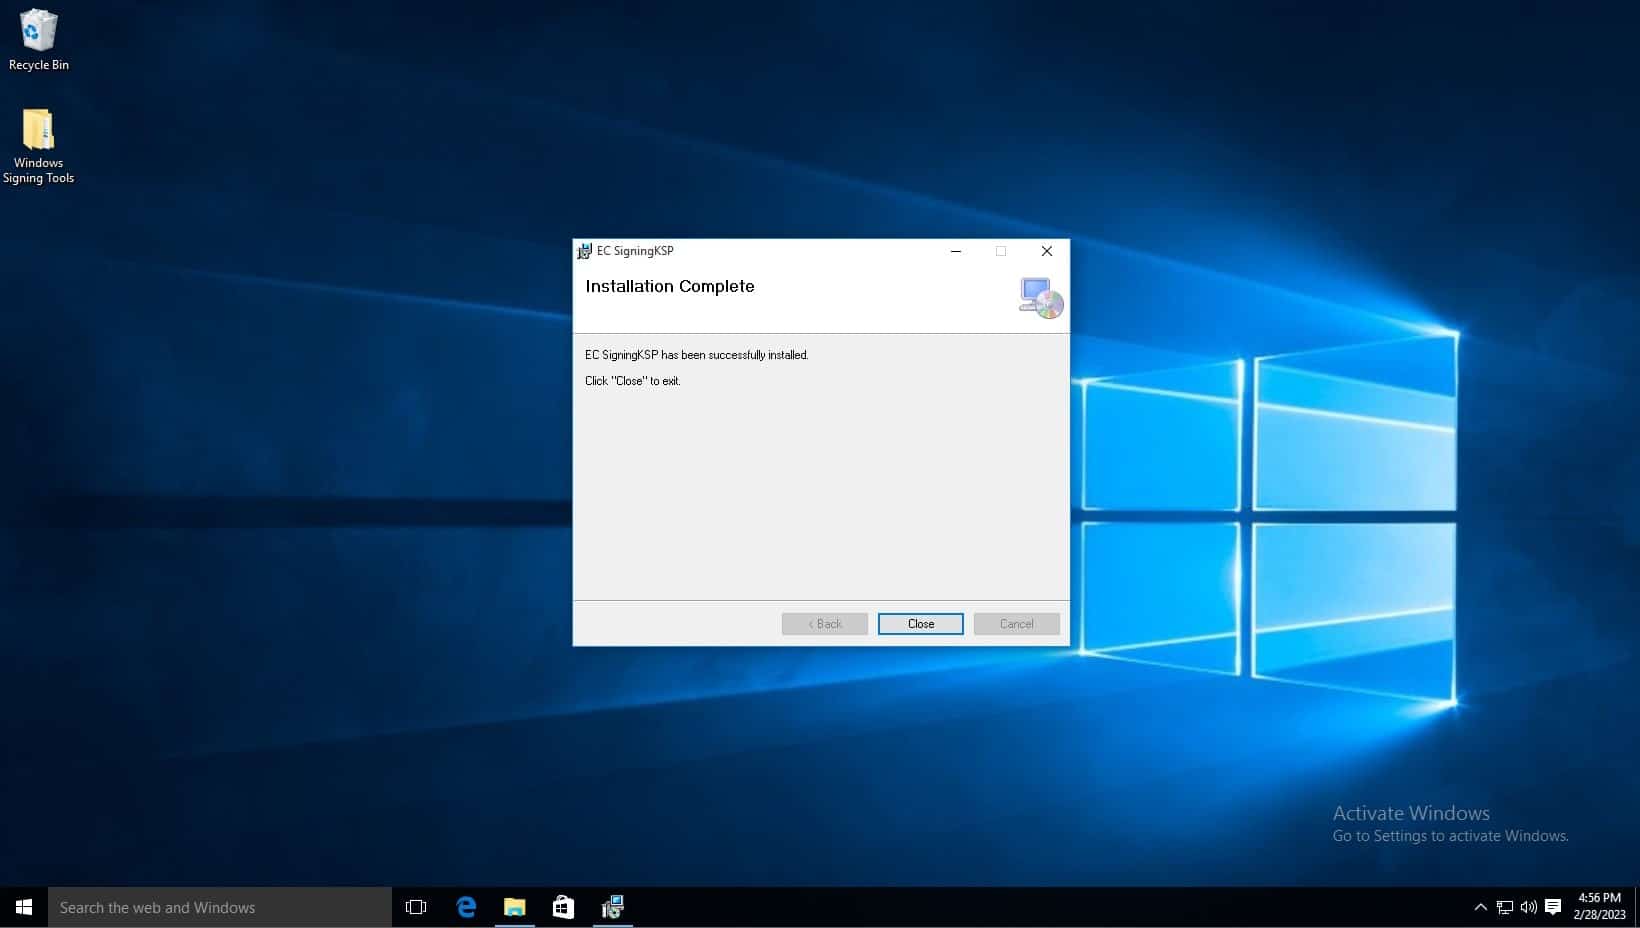
Installation is now complete.
To set up the runner, follow the steps below:
Navigate to your Github Repository.
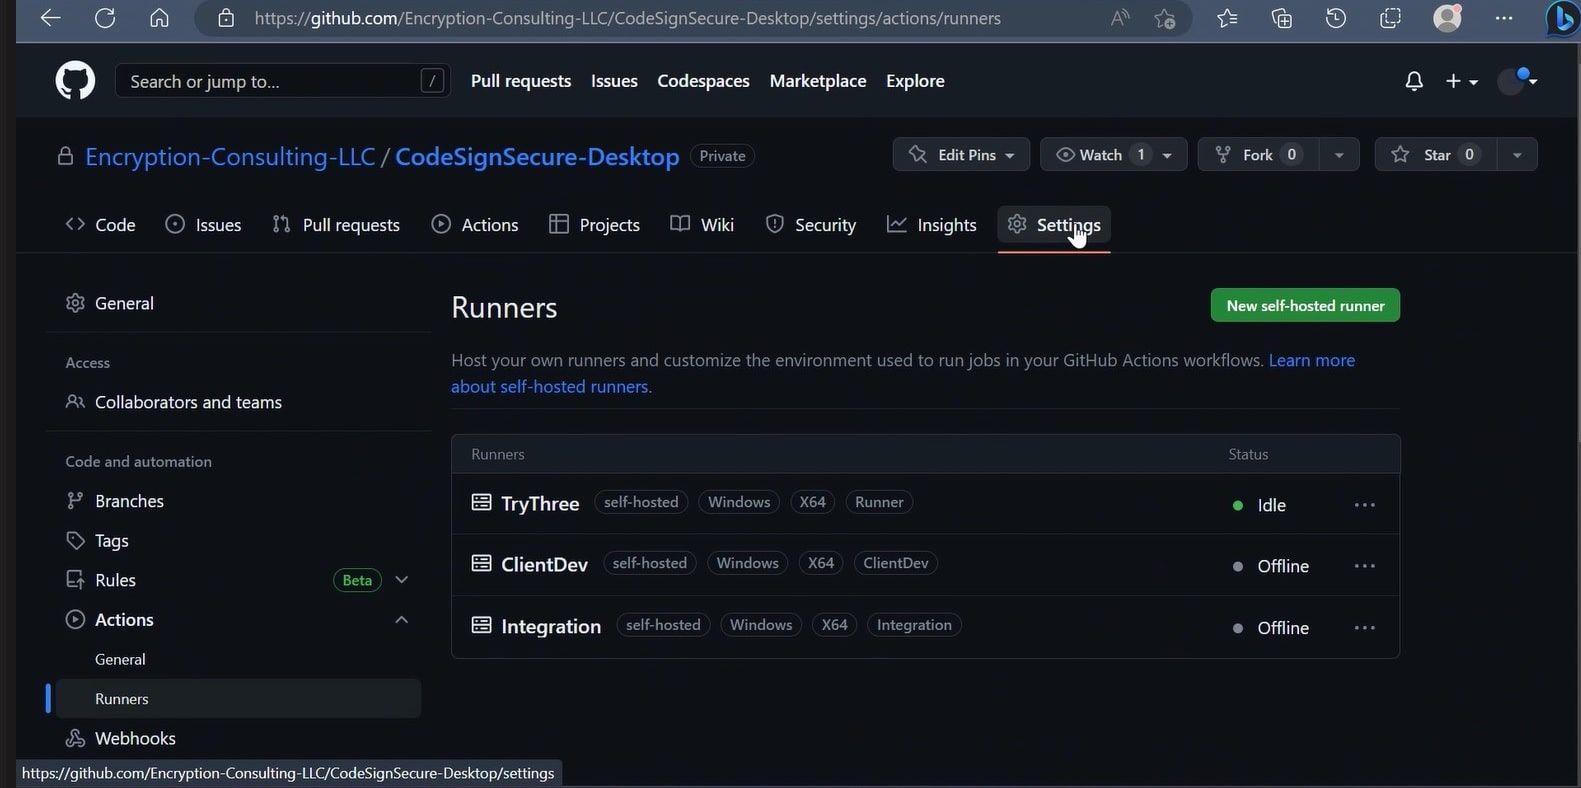
- Navigate to Settings of Repository
- Scroll down to Actions and select Runner from the dropdown menu.
Click on New Self-Hosted Runner.
After doing so, you can click on the runner image (macOS/Linux/Windows) of your choice. The instructions below are for Windows. You’ll see several commands to be followed on the screen.
Run the commands that are shown in the configuration of the runner. The commands are also given below:
- mkdir actions-runner; cd actions-runner;
- Invoke-WebRequest -Url https://github.com/actions/runner/releases/download/v2.303.0/actions-runner-win-x64-2.303.0.zip -OutFile actions-runner-win-x64-2.303.0.zip
- Add-Type -AssemblyName System.IO.Compression.FileSystem; [System.IO.Compression.ZipFile]::ExtractToDirectory(“$PWD/actions-runner-win-x64-2.303.0.zip”, “$PWD”)
- ./config.cmd –url https://github.com/Encryption-Consulting-LLC/CodeSignSecure-Desktop –token <token_number>
Once you see Github Actions written on your screen, you’ll be asked for runner registration.
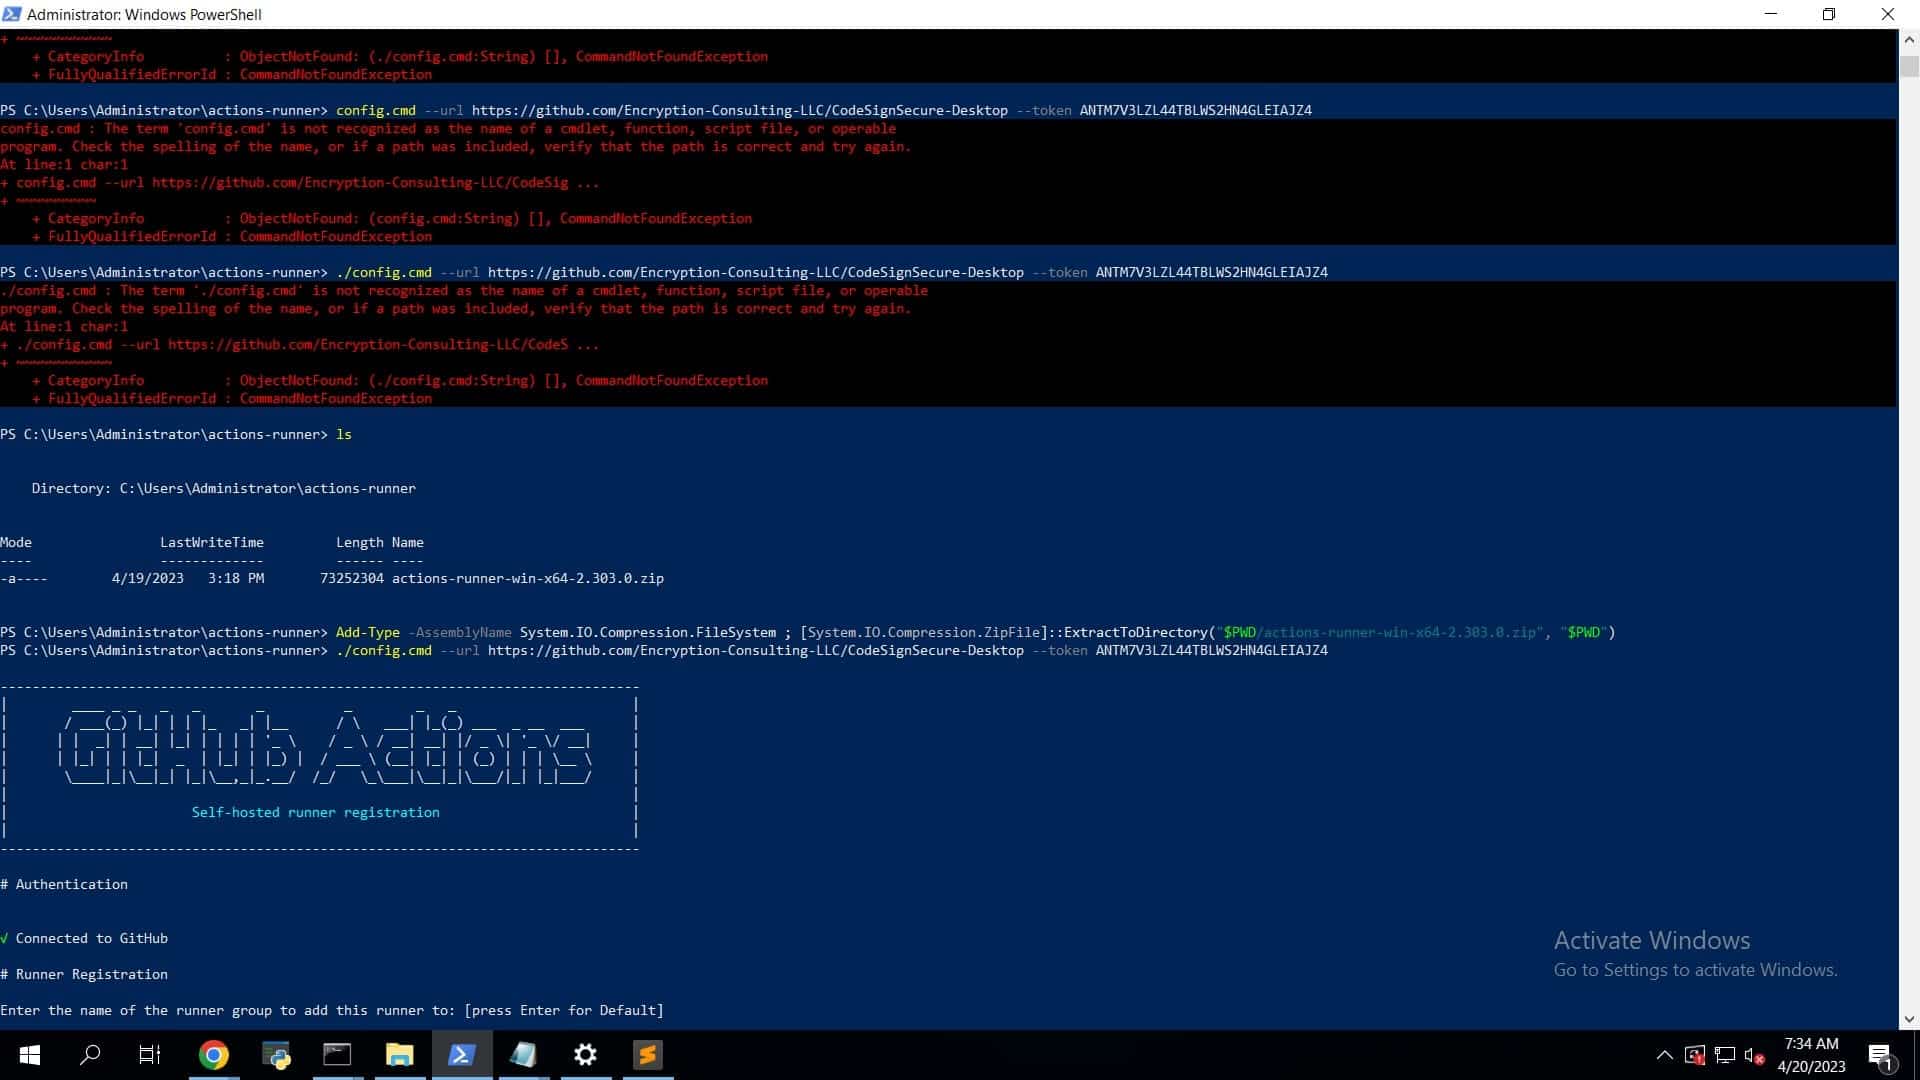
- Enter the name of the runner group to add this runner to: [press Enter for Default] (You can leave this to default).
- Enter the name of the runner: [press Enter for CLIENT] (You can enter the desired name for your runner).
-
This runner will have the following labels: ‘self-hosted’, ‘Windows’, ‘X64’
Enter any additional labels (ex., label-1,label-2): [press Enter to skip] (Please enter a label here, it can be anything, do not leave/skip this step. The same name will be used later to call runner in the script).
-
The following will be prompted on your screen once it’s done
- Runner successfully added
- Runner connection is good
- Runner settings
Enter name of work folder: [press Enter for _work] (You can leave this to default or you can specify a folder of your choice)
Settings Saved
- Would you like to run the runner as service? (Y/N) [press Enter for N] (Enter Y)
-
User account to use for the service [press Enter for NT AUTHORITY\NETWORK SERVICE] (Make sure you enter Administrator here)
(Administrator privilege is required to run the command. Hence it is MUST to set the user as an administrator)
- Password for the account CLIENT\Administrator (Provide password of your Administrator account)
-
Once done, you’ll see the following prompt on your screen.
It will be prompted as Service actions.runner.<repository name>.<runner_name>
Granting file permissions to ‘CLIENT\Administrator’.
Service actions.runner.Encryption-Consulting-LLC-CodeSignSecure-Desktop.TryThree successfully installed
Service actions.runner.Encryption-Consulting-LLC-CodeSignSecure-Desktop.TryThree successfully set recovery option
Service actions.runner.Encryption-Consulting-LLC-CodeSignSecure-Desktop.TryThree successfully set to delayed auto start
Service actions.runner.Encryption-Consulting-LLC-CodeSignSecure-Desktop.TryThree successfully configured
Waiting for service to start…
Service actions.runner.Encryption-Consulting-LLC-CodeSignSecure-Desktop.TryThree started successfully
Once the runner is set up on your device, navigate to your repository in github.
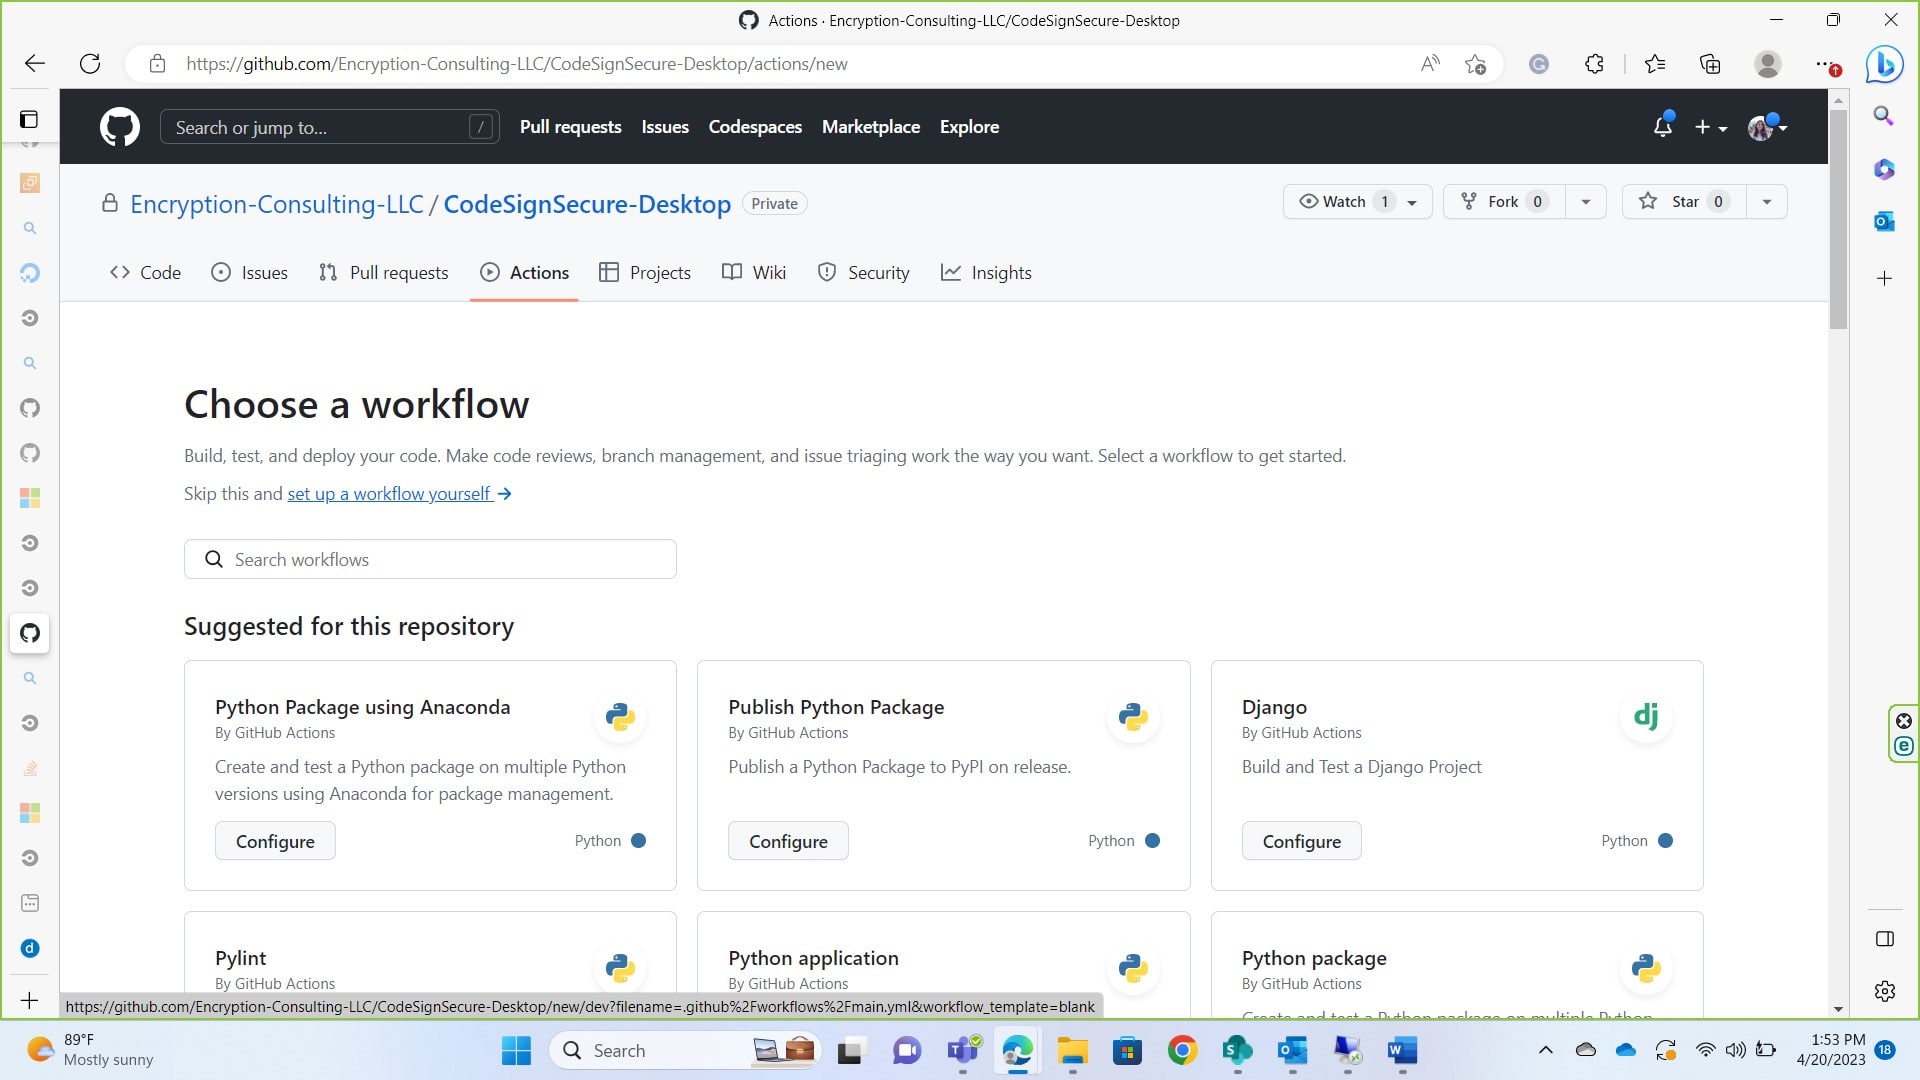
Go to Actions.
Click on New Workflow
Click on set up a workflow yourself
This is what your editor will look like. You can rename your .yaml file or leave the name to default.
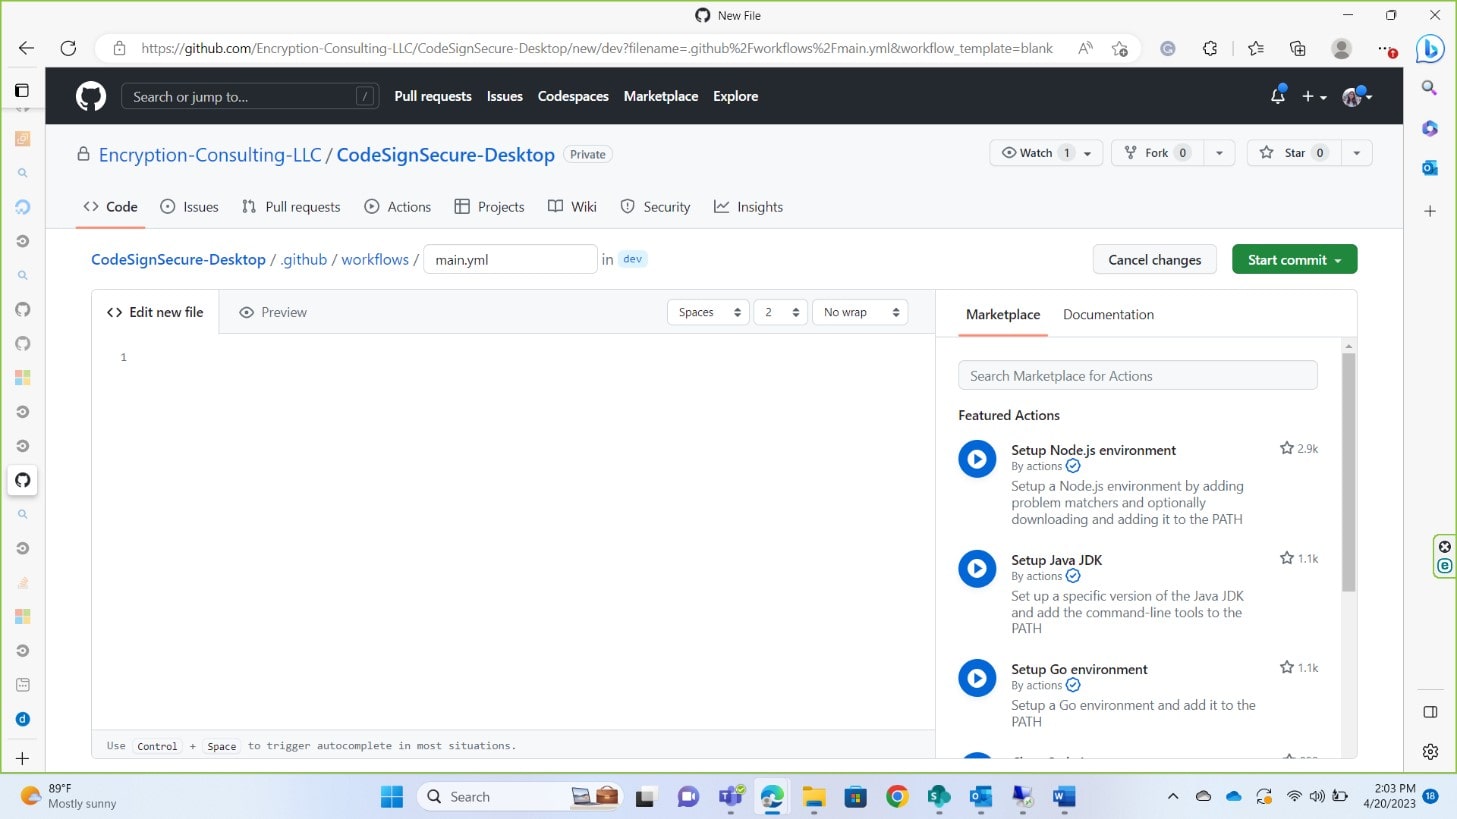
Add the script below to your editor after making some changes or updating the variables.
 name: Code Signing

on:
  push:
    branches: <[ Your Branch Name ]>

jobs:
  build:
    runs-on: <Your runner name>
    steps:
      - name: Checkout code
        uses: actions/checkout@v2

      - name: Sign code
        run: |
         signtool sign /csp "Encryption Consulting Key Storage provider" /kc <Key Name> /fd <hashing algorithm> /f "<Certificate Location>" /tr <timestampserver> /td SHA256 "<file path>"
Please replace the variables specified under <variable name>. A short description of expected variable is given below.
<file path>: This is where you provide the path of file that you want to sign. Example C:\<Folder_name>\<File_name>. Make sure you have provided a file name with the proper extension.
<key name>This refers to the cryptographic key used to sign the code. Example: evcodesigning
<certificate location>: An example of what can be put in this field is C:\testing.pem. The certificate.pem file MUST be included in this input. You can generate a pem file of the certificate for codesigning, if you have the key name using, ECSigningKSP. For doing so follow the commands below:
In your device where you have ECSigningKSP installed and configured, navigate to the folder of ECSigningKSP, which is usually present in “C:\Program Files\Encryption Consulting\SigningKSP”
In your command prompt reach to this directory.
Then use following command to get pem file of the certificate.
ECGetCert.exe <Key_Name> (example: ECGetCert.exe evcodesigning)
Provide the location of the certificate saved.
<hashing algorithm>: You need provide the name of hashing algorithm such as SHA256, SHA384, or SHA512. It must be one of these three values.
<time stamp server>: A timestamp server provides proof that a digital signature was performed at a specific time, allowing verification in the future that a file was signed at a particular time. The one we generally use is http://timestamp.digicert.com
The Command I used for signing was
signtool sign /csp "Encryption Consulting Key Storage provider" /kc evcodesigning /fd SHA256 /f "C:\Users\Administrator\Desktop\ForTesting\evcodesigning.pem" /tr http://timestamp.digicert.com /td SHA256 "C:\Users\Administrator\Desktop\ForTesting\AgentService.exe"
The Script I used was:
 name: Code Signing
on:
  push:
    branches: [ Github_Actions ]

jobs:
  build:
    runs-on: runner
    steps:
      - name: Checkout code
        uses: actions/checkout@v2

      - name: Sign code
        run: |
         signtool sign /csp "Encryption Consulting Key Storage provider" /kc evcodesigning /fd SHA256 /f "C:\Users\Administrator\Desktop\ForTesting\evcodesigning.pem" /tr http://timestamp.digicert.com /td SHA256 "C:\Users\Administrator\Desktop\ForTesting\AgentService.exe"
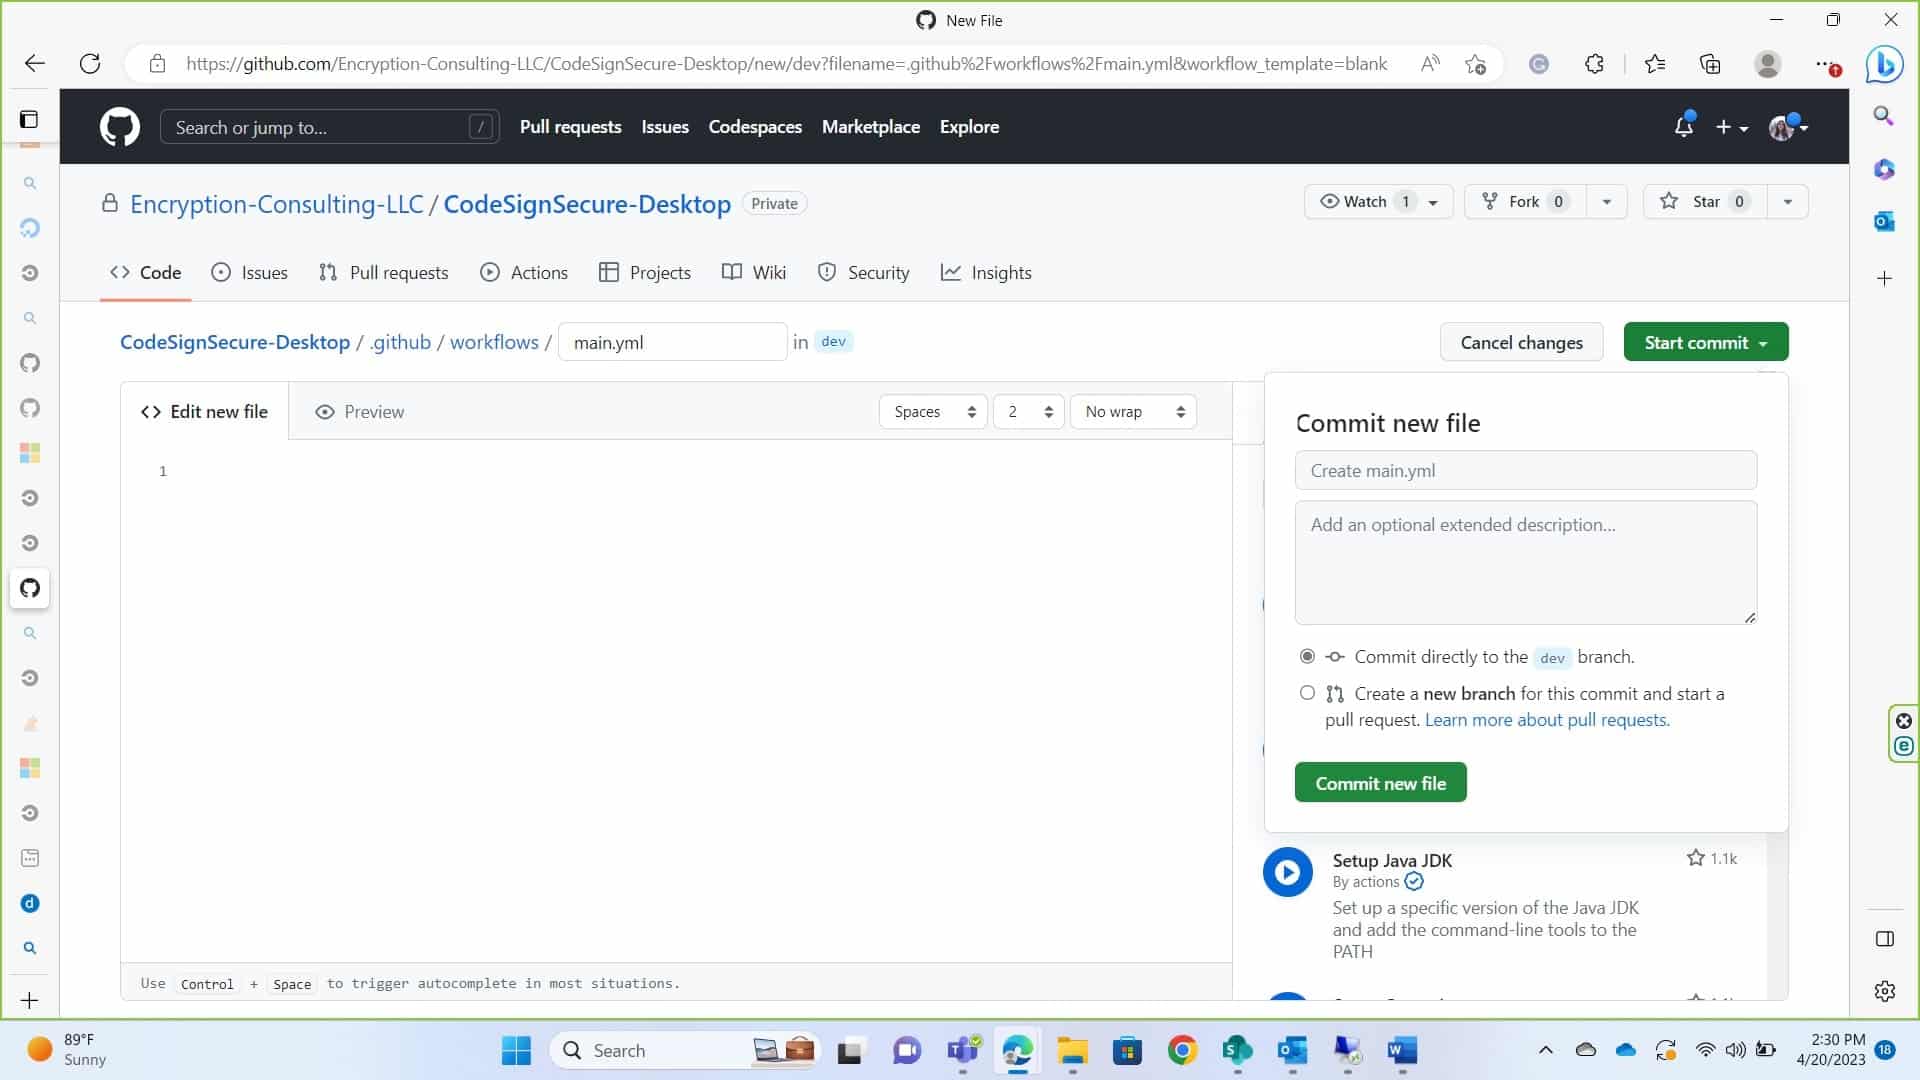
Once you’ve edited your script, click on commit. You can commit directly to your default branch or commit to a new branch. Make sure you update the name of your branch inside the code. After committing the job will run.
Conclusion
Encryption Consulting provides you with codesigning solution known as CodeSign Secure. You can contact us to get your hands on the SigningKSP as well as keyname. Codesigning Using Github Actions is a simple process. A user will just have to configure the runner and run your script. You can contact us at [email protected] for any assistance.