Azure DevOps is a powerful cloud-based platform that integrates people, processes, and tools to streamline software development and enable seamless collaboration throughout the entire development lifecycle. From ideation to deployment and beyond, Azure DevOps offers a full range of services covering the entire software development lifecycle. It assembles powerful technologies like Azure Boards, Azure Repos, Azure Pipelines, Azure Test Plans, and Azure Artifacts to empower development teams and allow them to achieve a quicker time-to-market, more productivity, and higher customer satisfaction. Incorporating Azure into their CI/CD workflows allows organizations to accelerate software delivery, improve collaboration, and maintain high-quality standards throughout the development lifecycle.
CodeSigning
Code signing is a procedure that verifies the legitimacy of the author and the originality and authenticity of digital information, particularly software code. It also ensures that the information is not malicious code. Additionally, it guarantees that this information has not been altered, falsified, or canceled after being digitally signed. The digital signature is created using a private key only available to the software publisher. When the software is downloaded and installed, the digital signature is checked against the public key to confirm that it matches, and that the software hasn’t been modified. Code signing is important for ensuring the safety and security of software applications, as it helps prevent the distribution of malware and other malicious software.
Encryption Consulting has a CodeSigning solution, “CodeSign Secure,” which can help you with tamper-proof storage for the keys and complete visibility and control of Code Signing activities. The private keys of the code-signing certificate can be stored in an HSM to eliminate the risks associated with stolen, corrupted, or misused keys.
Integration Azure DevOps for Codesigning
To get started with this, you’ll first require an Azure account and a system where you’ve signtool and ECSigningKSP installed and configured. Listing down the prerequisites.
- A system that has ECSigning KSP, Signtool installed and configured. This runner should be provided with administrative privileges.
- Azure Account.
To set up the ECSigningKSP and Signtool, go through the following steps:
Download Windows SDK: (developer.microsoft.com/en-us/windows/downloads/windows-10-sdk/)
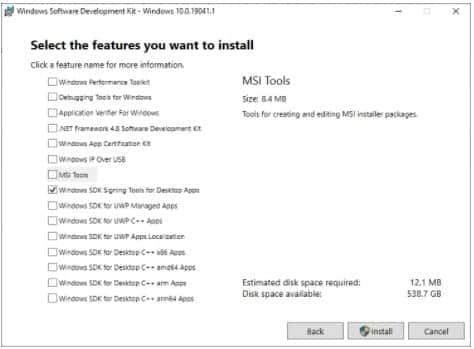
You can choose to install only the Windows SDK Signing Tools for Desktop Apps.
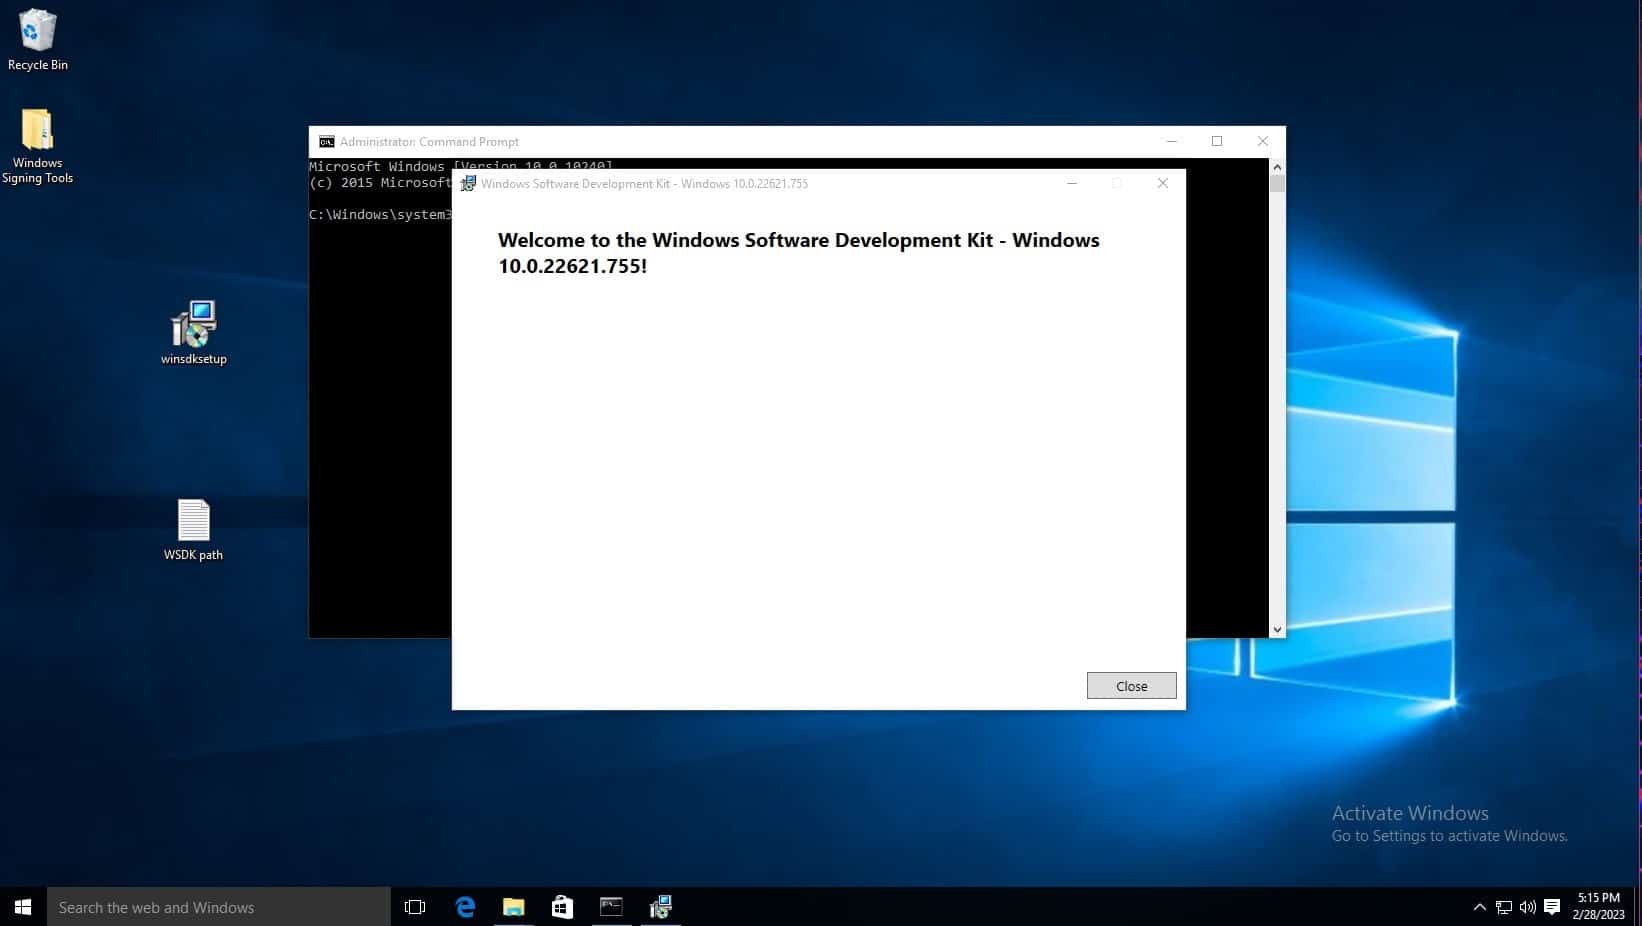
Open the winsdksetup.exe file. Remember the default path shown in the install path, as this will be helpful with running these commands from the command prompt.
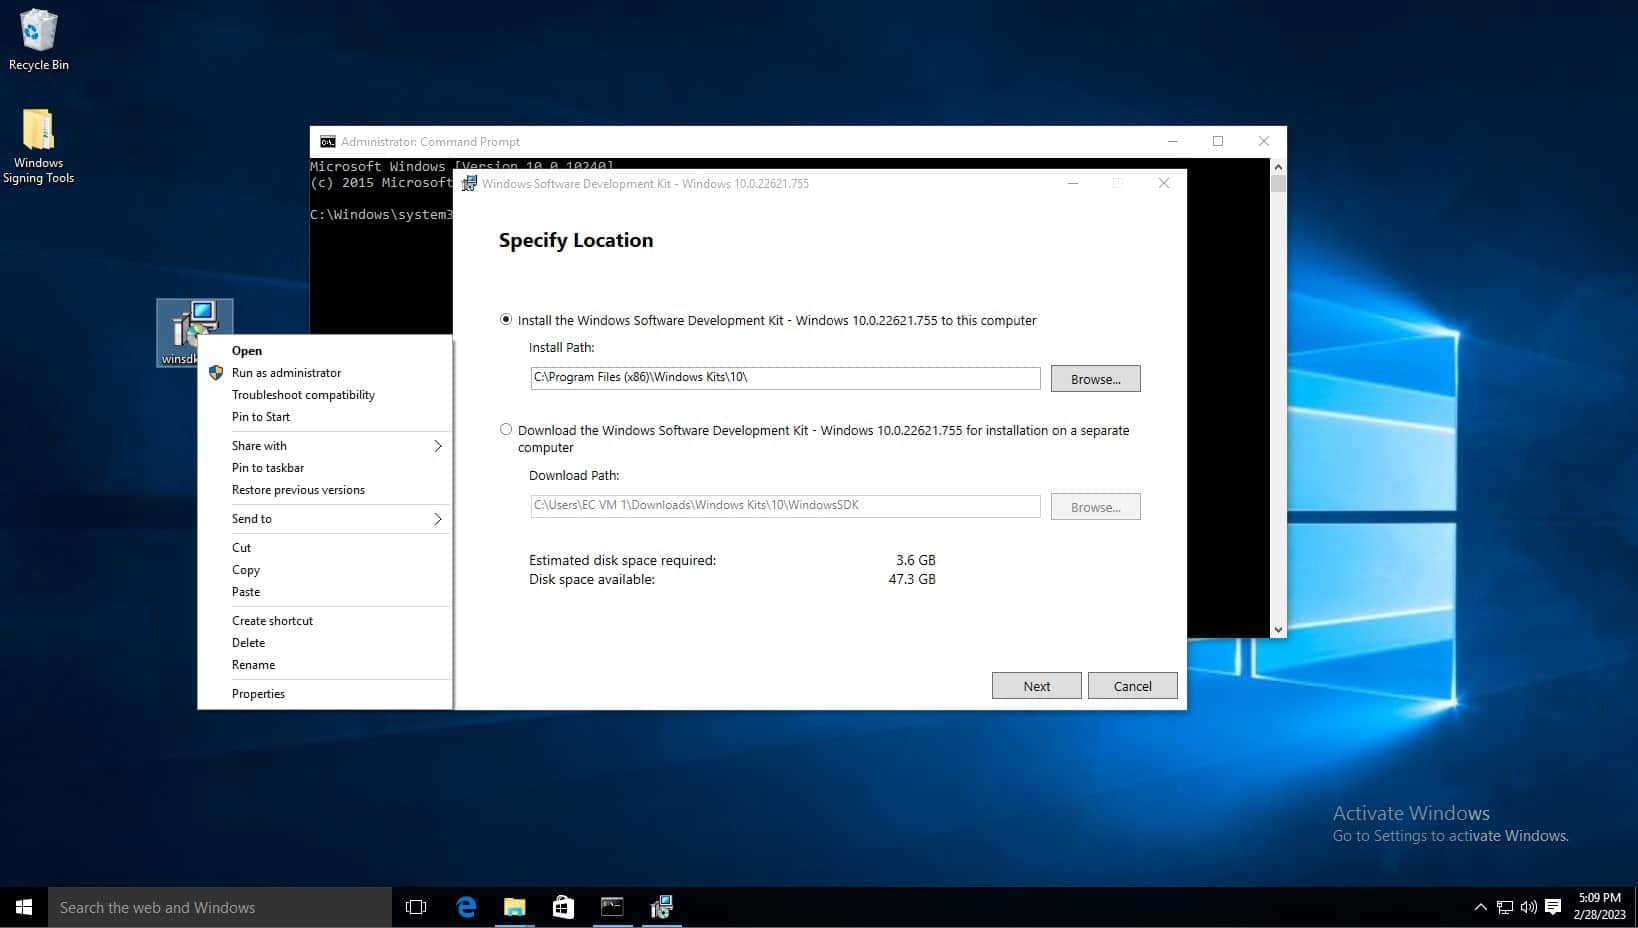
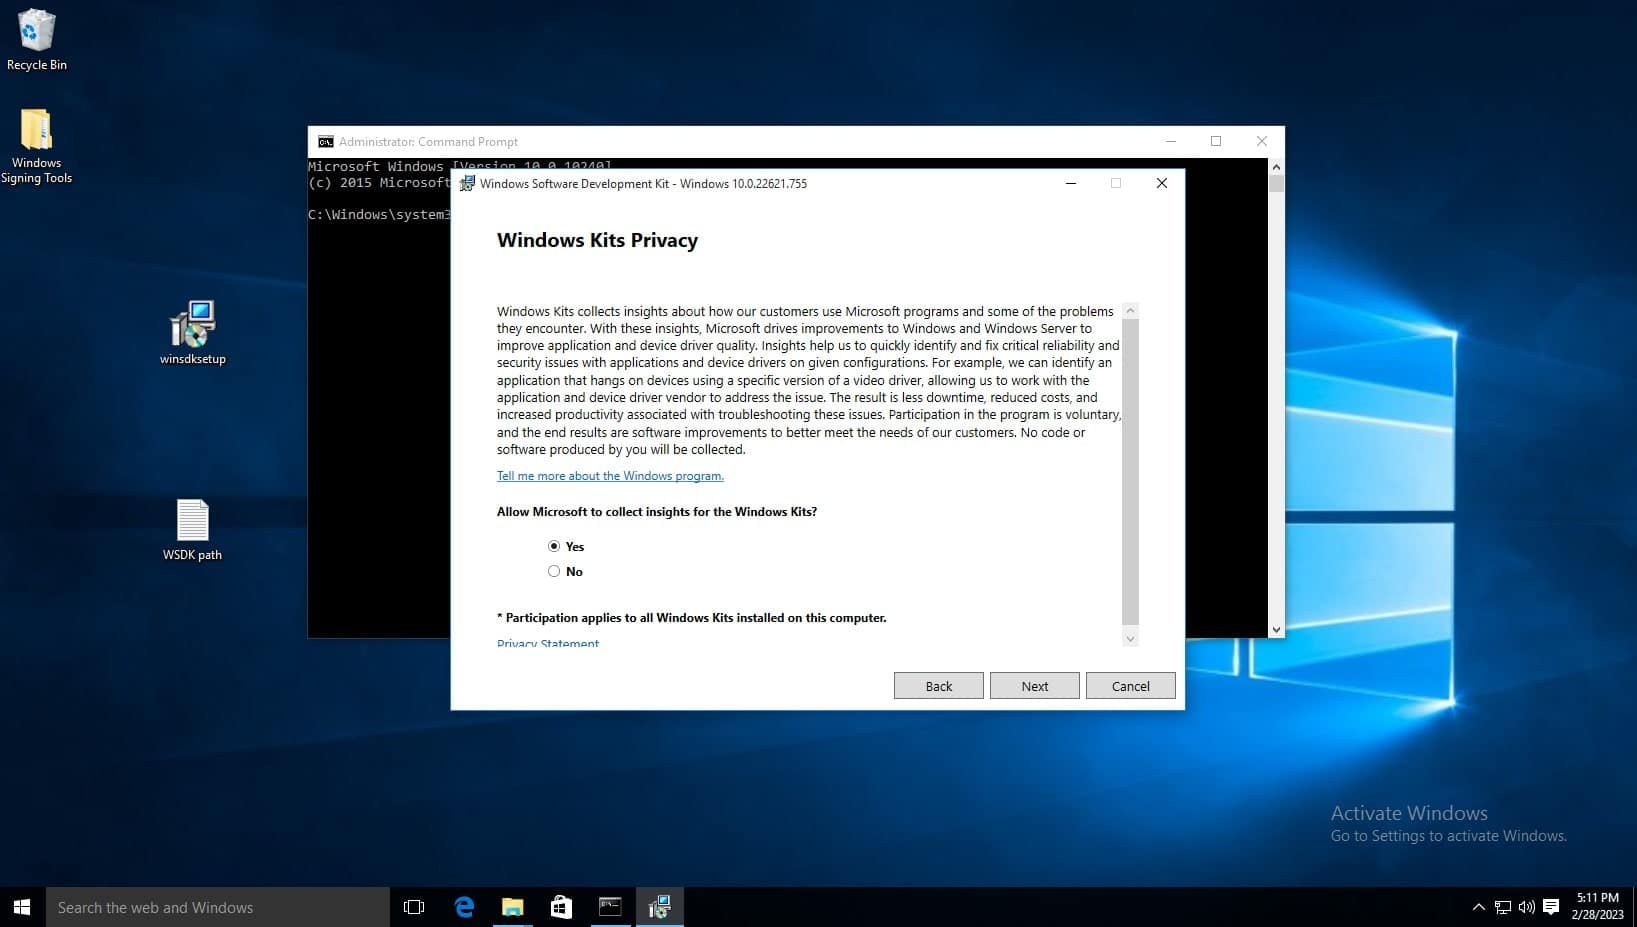
On the Windows Kits Privacy page, either option for allowing Microsoft to collect insights is okay. Click next.
Accept the license agreement

Deselect every feature except for Windows SDK Signing Tools for Desktop Apps, then select install.
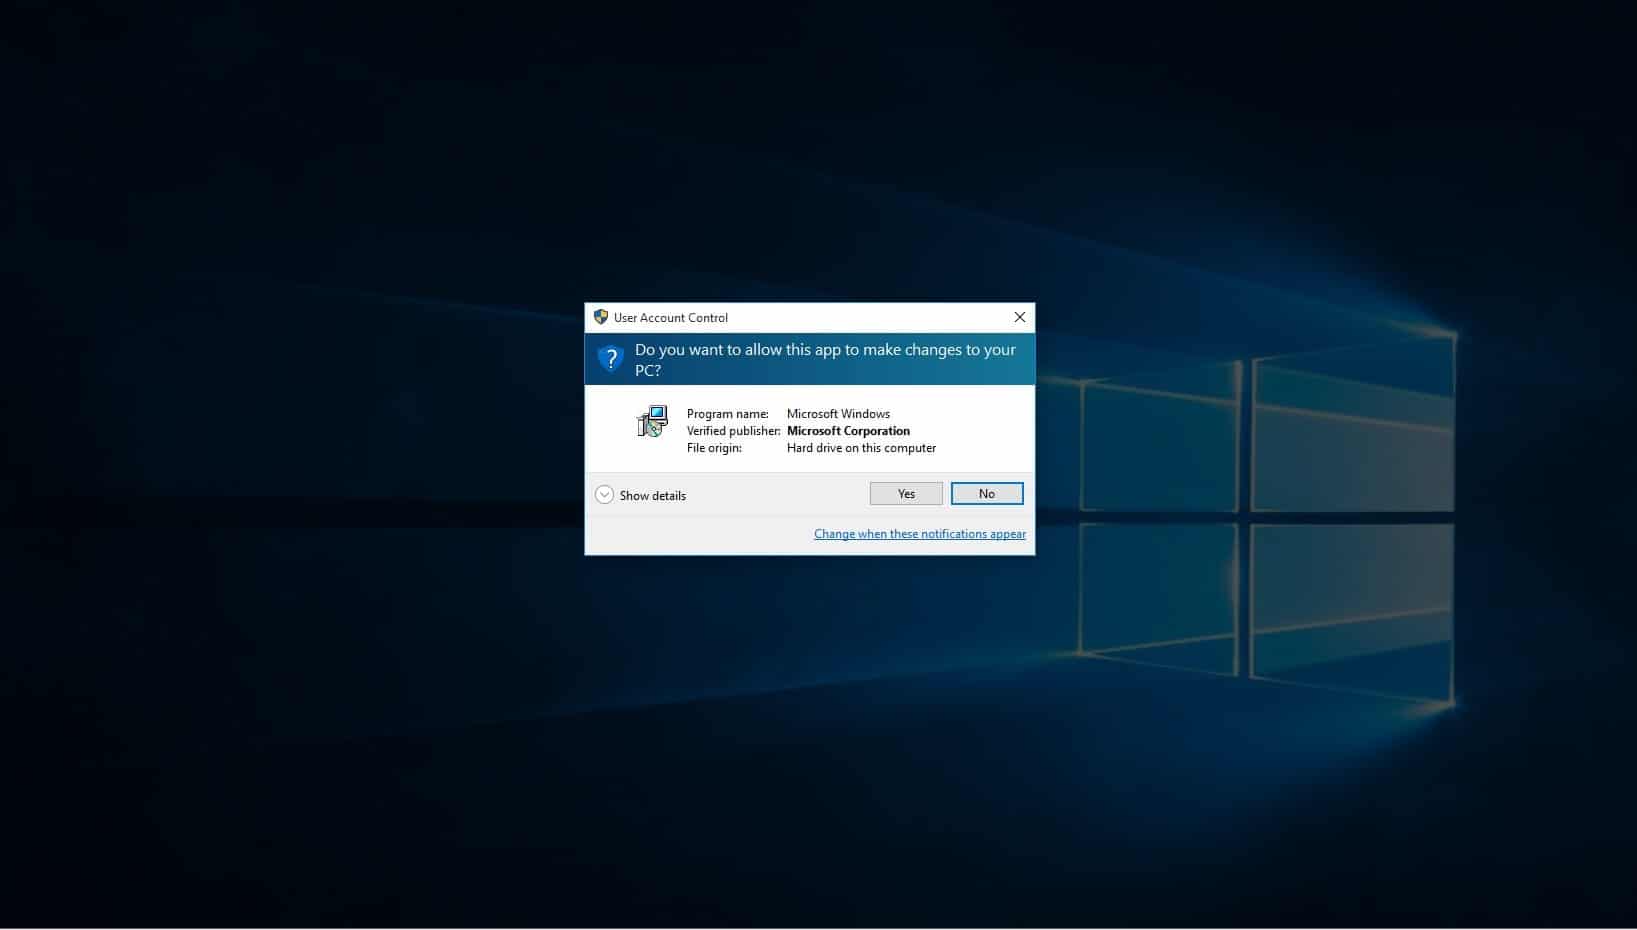
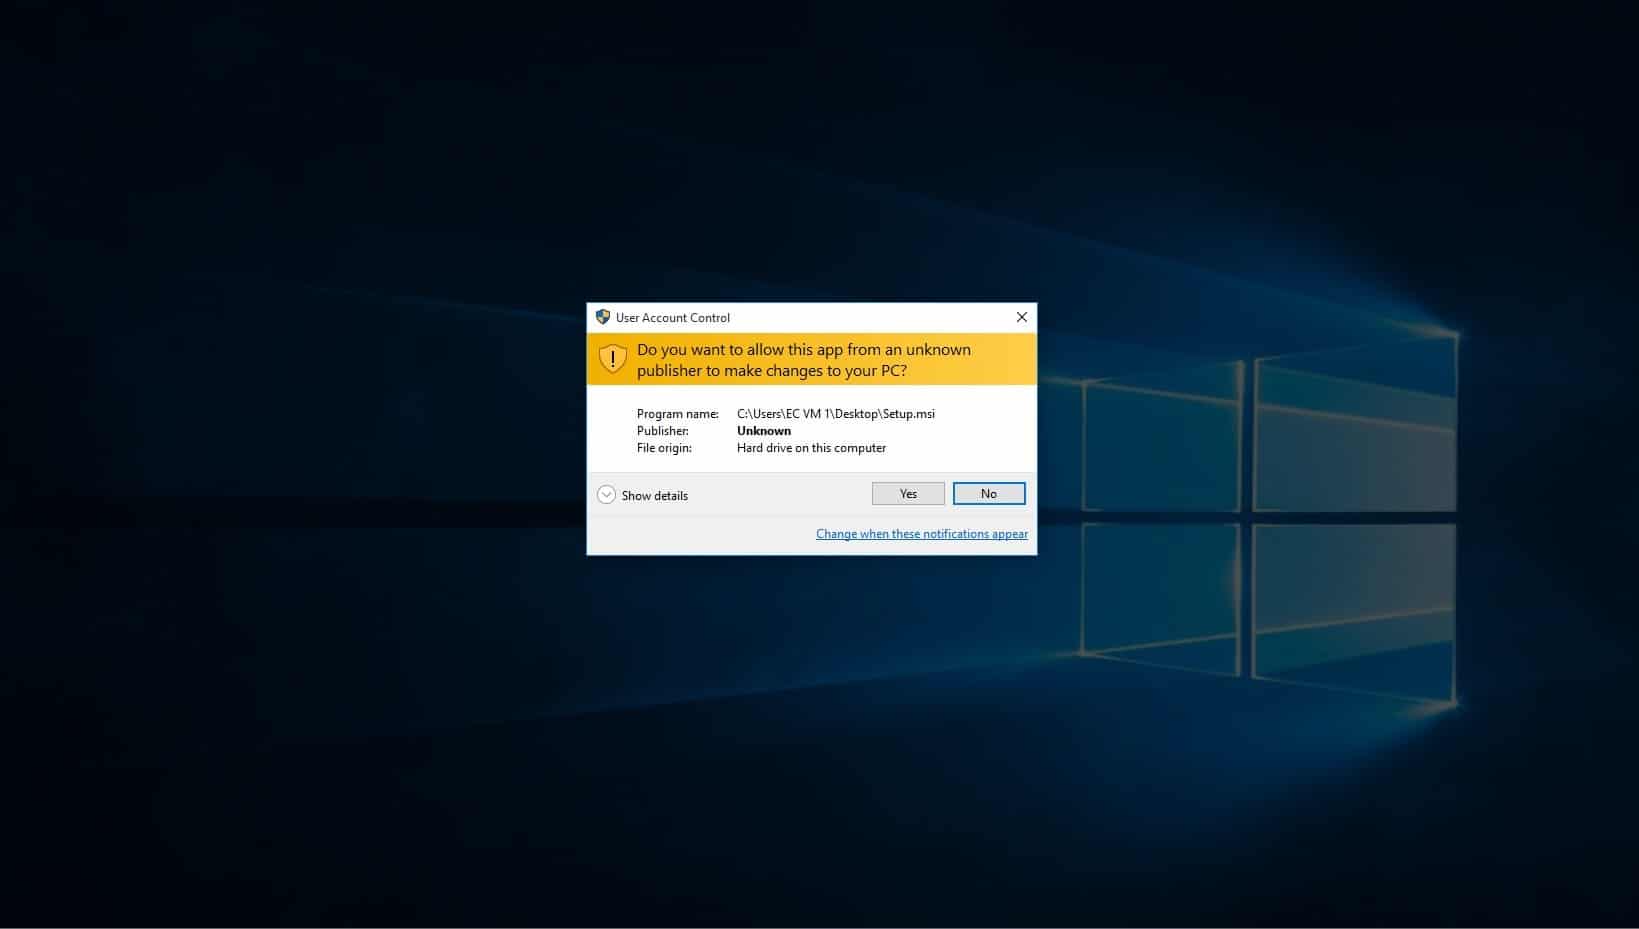
When prompted if you want to allow this app to make changes, select yes.
Click on windows search bar on task bar and type “Edit the system environment variables” and select the control panel option of the same name.
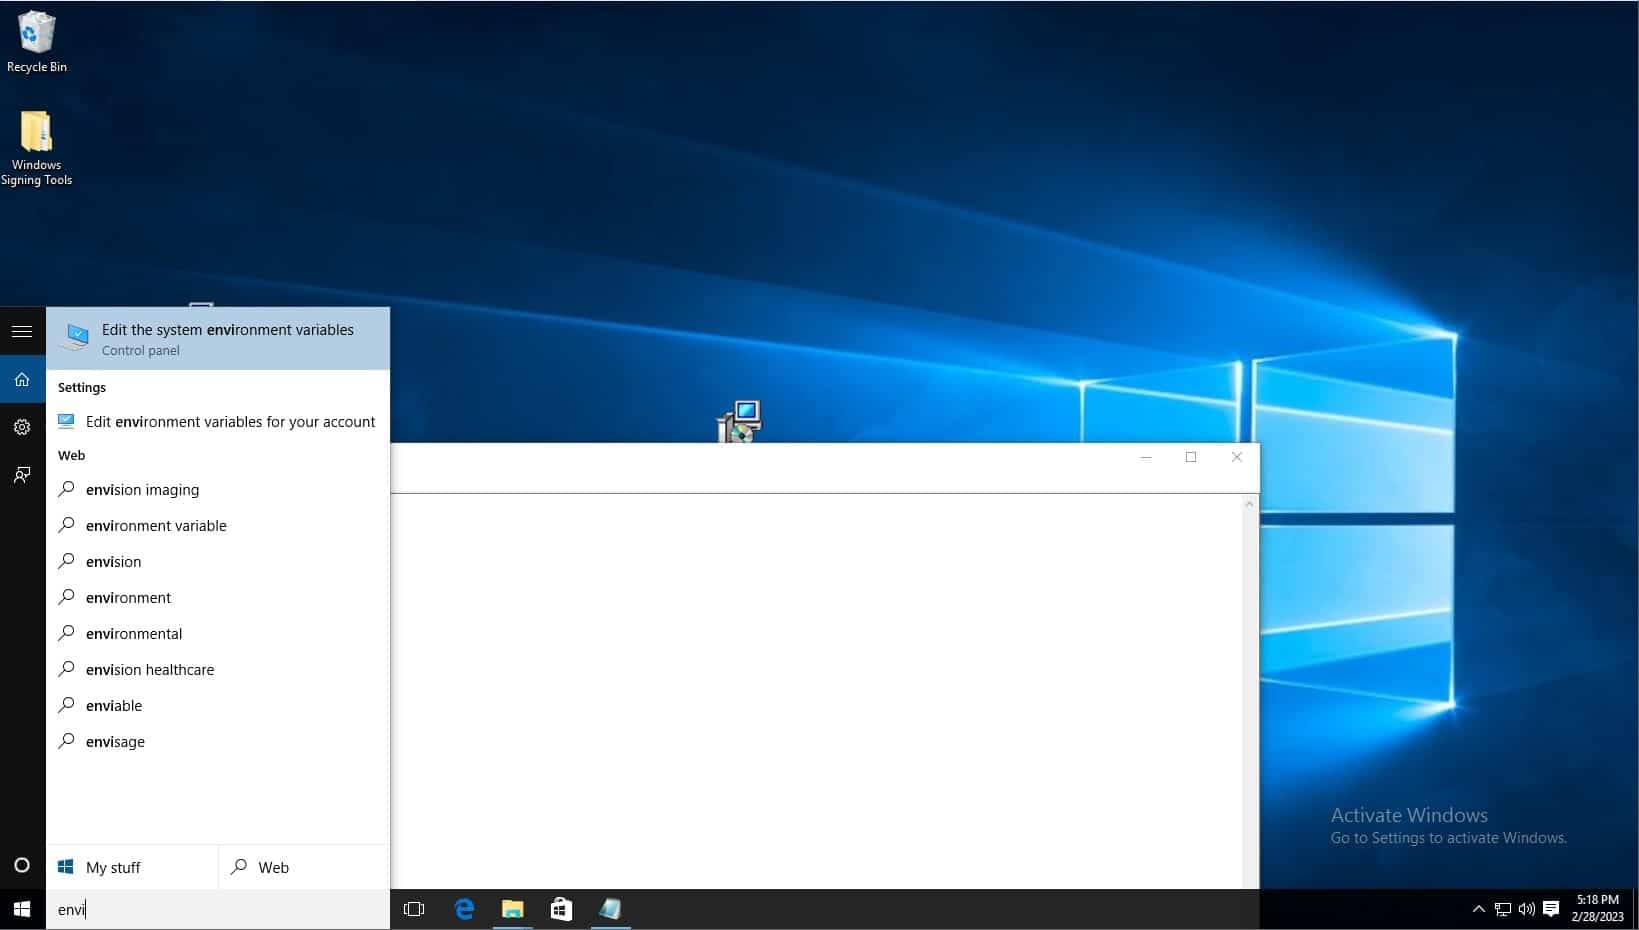
Click environment variables.
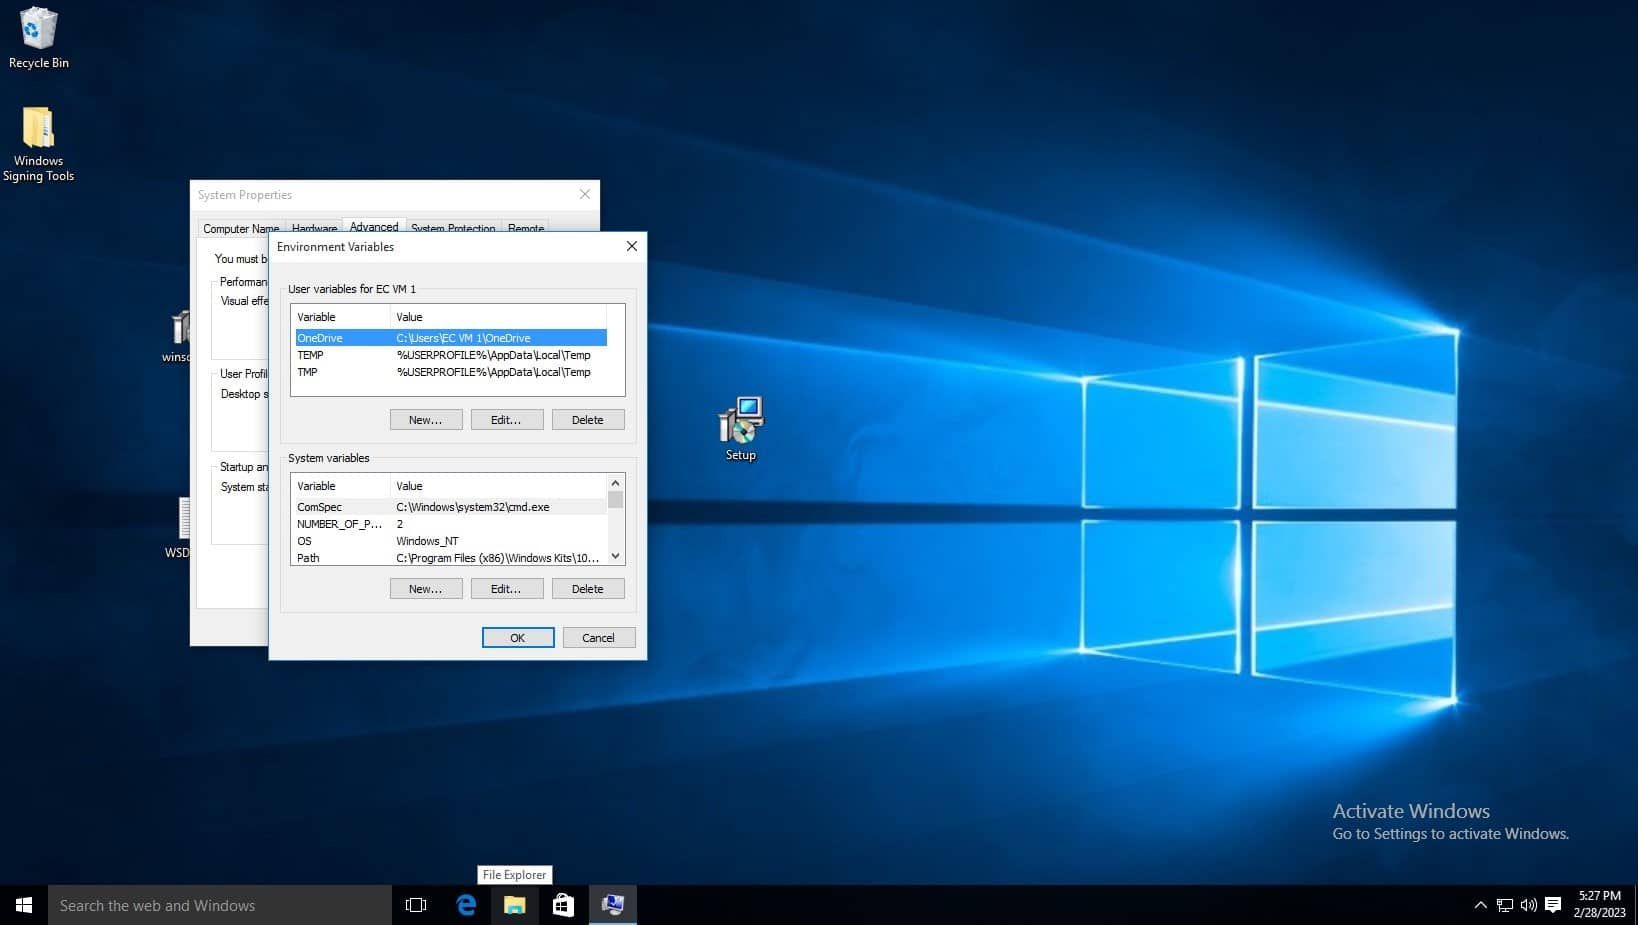
Before editing the variable list, navigate to where the Windows SDK is installed to using file explorer, you must copy the path of the folder which contains the signtool application, the default path is C:\Program Files (x86)\Windows Kits\10\bin\10.0.22621.0\x64, refer to the below screenshot. Make sure to right click and copy the path as shown. You can also see the signtool application at the bottom of the file list, this is the command you will run.

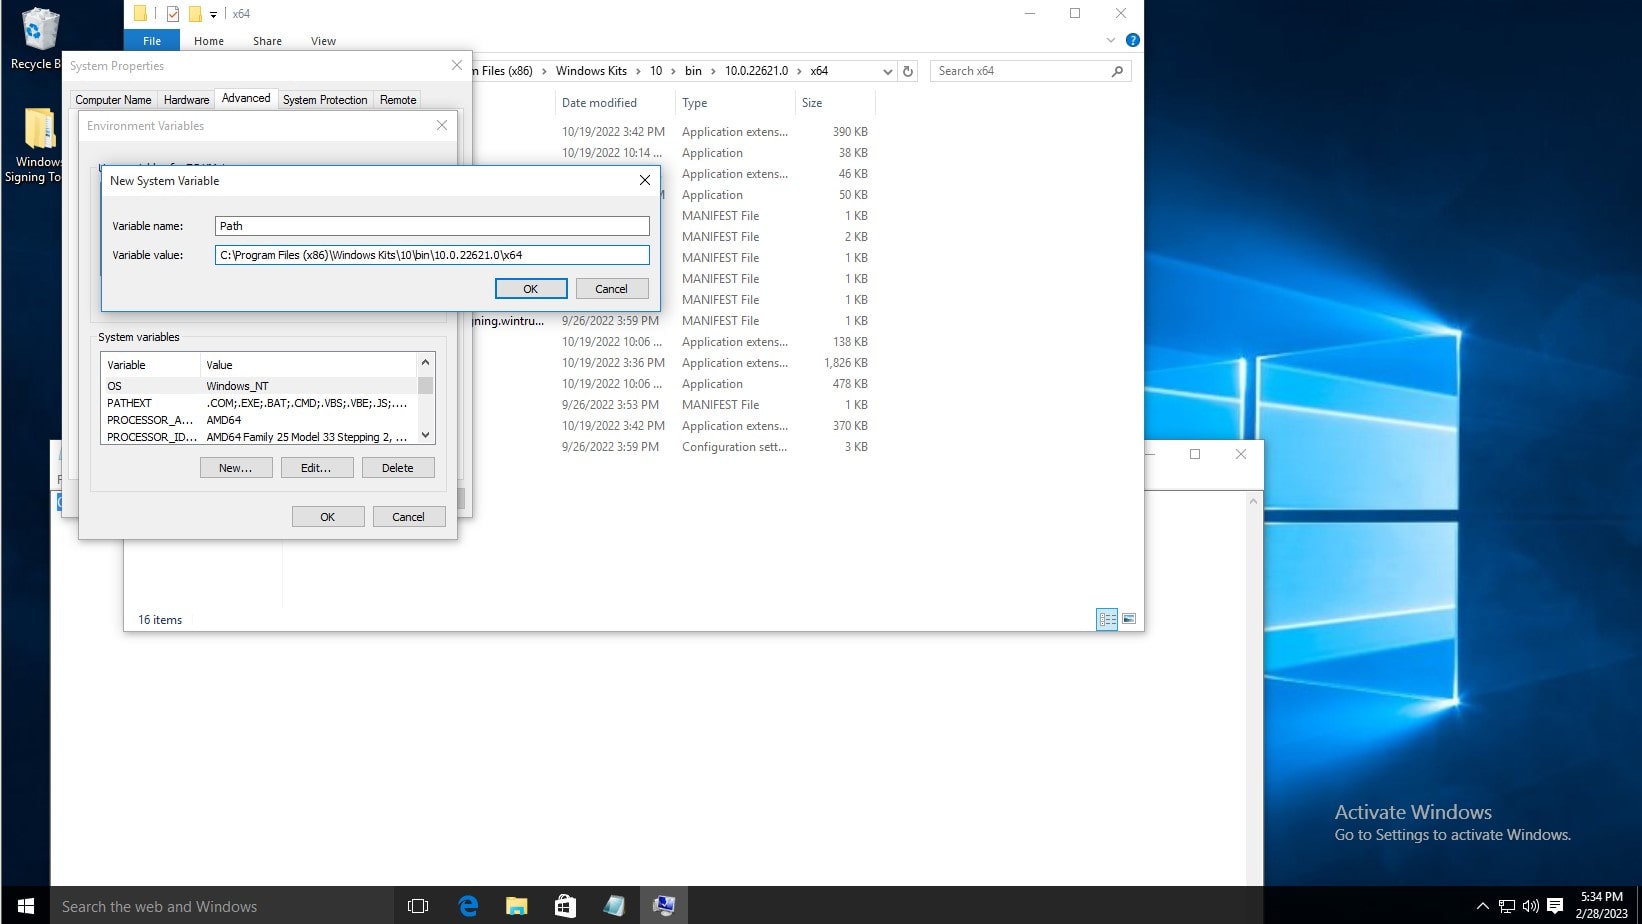
In the System Variables list, click new. Then type Path as the variable name, and copy and paste the aforementioned path. Then click OK on the environment variables window and system properties window.
To test the installation, open command prompt, and type signtool, and the output should be as shown below.
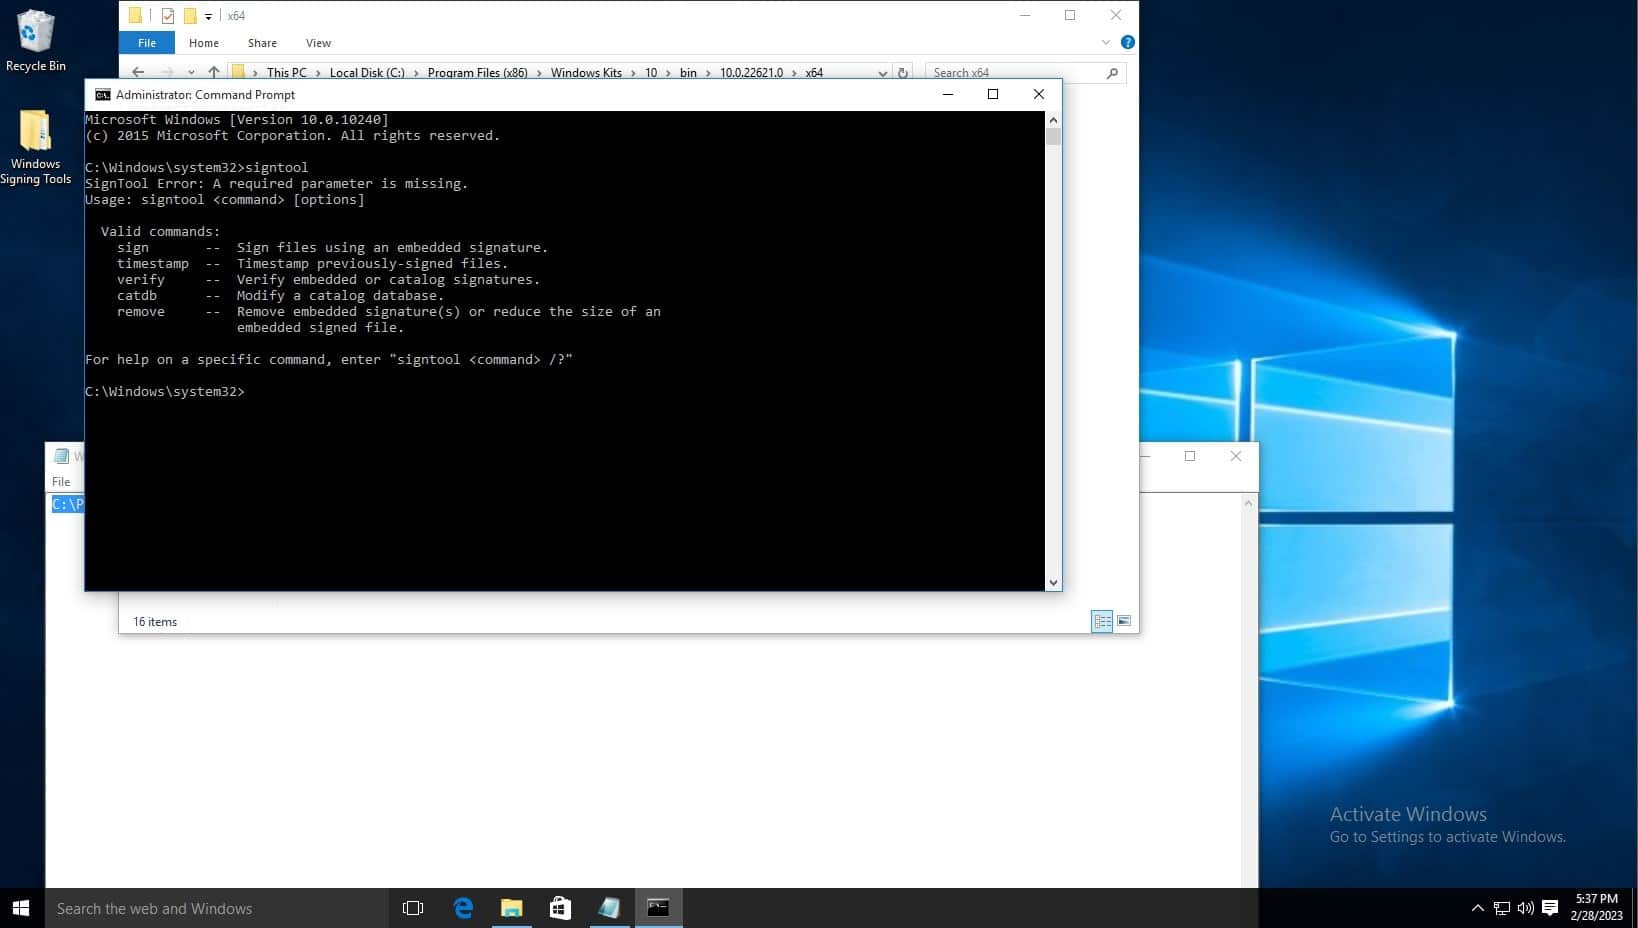
The default signtool installation location is, for example: C:\Program Files (x86)\Windows Kits\10\bin\10.0.22621.0\x64
To set up KSP follow the steps below:
If you’re using our solution you can download the KSP using the steps below:
- Sign in to Code Sign Secure.
-
Navigate to: Signing tools repository.
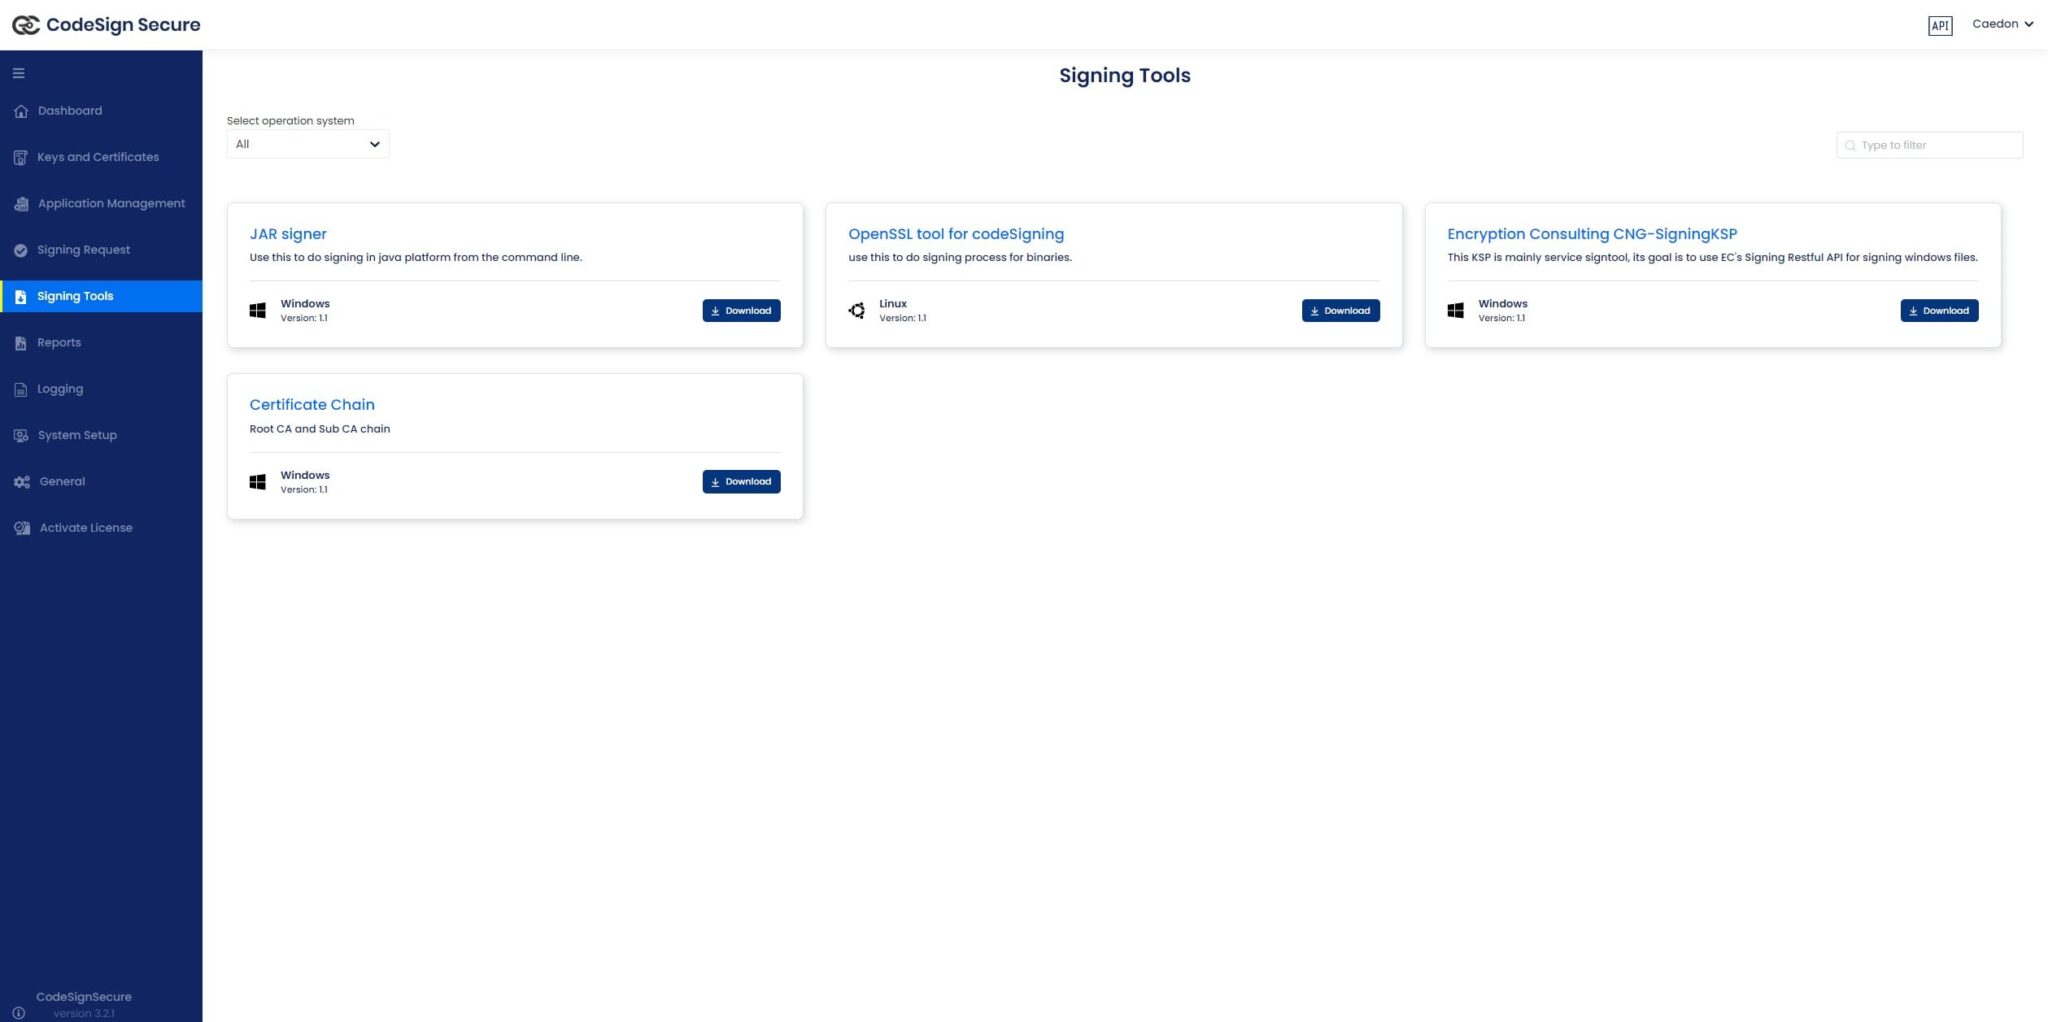
- Download “Encryption Consulting CNG-SigningKSP”
-
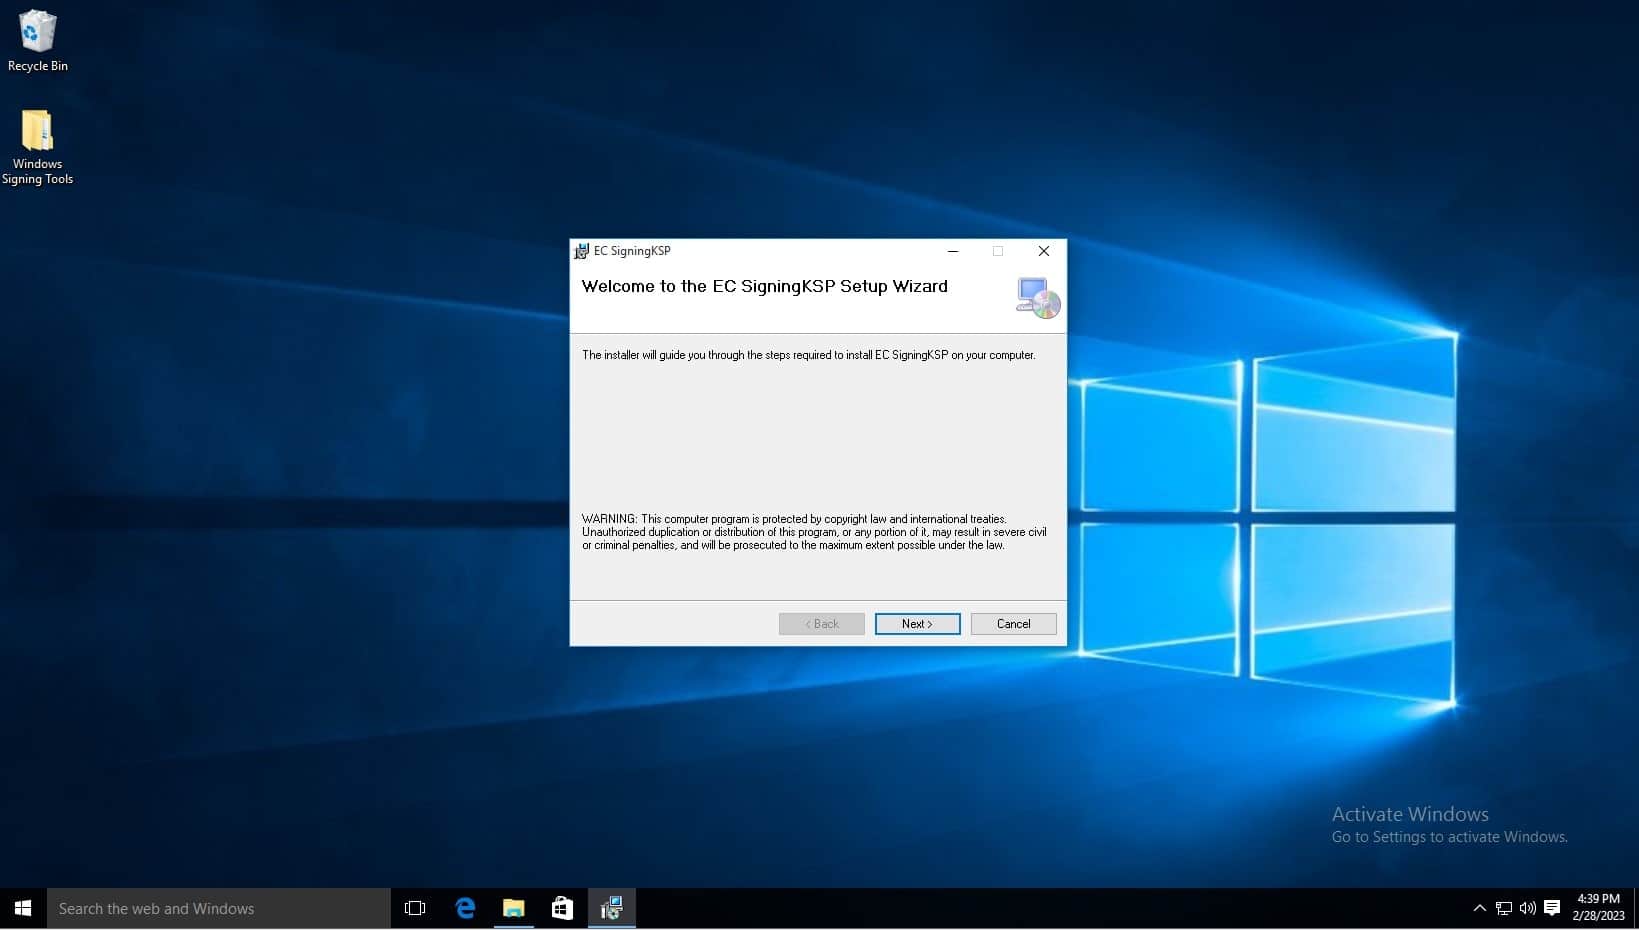
Install the client tools using the .MSI installer. The .MSI installer automates much of the configuration. Navigate to where the downloaded file is saved and launch the installer.

-
Click next when the installation wizard appears.
-
Click next.

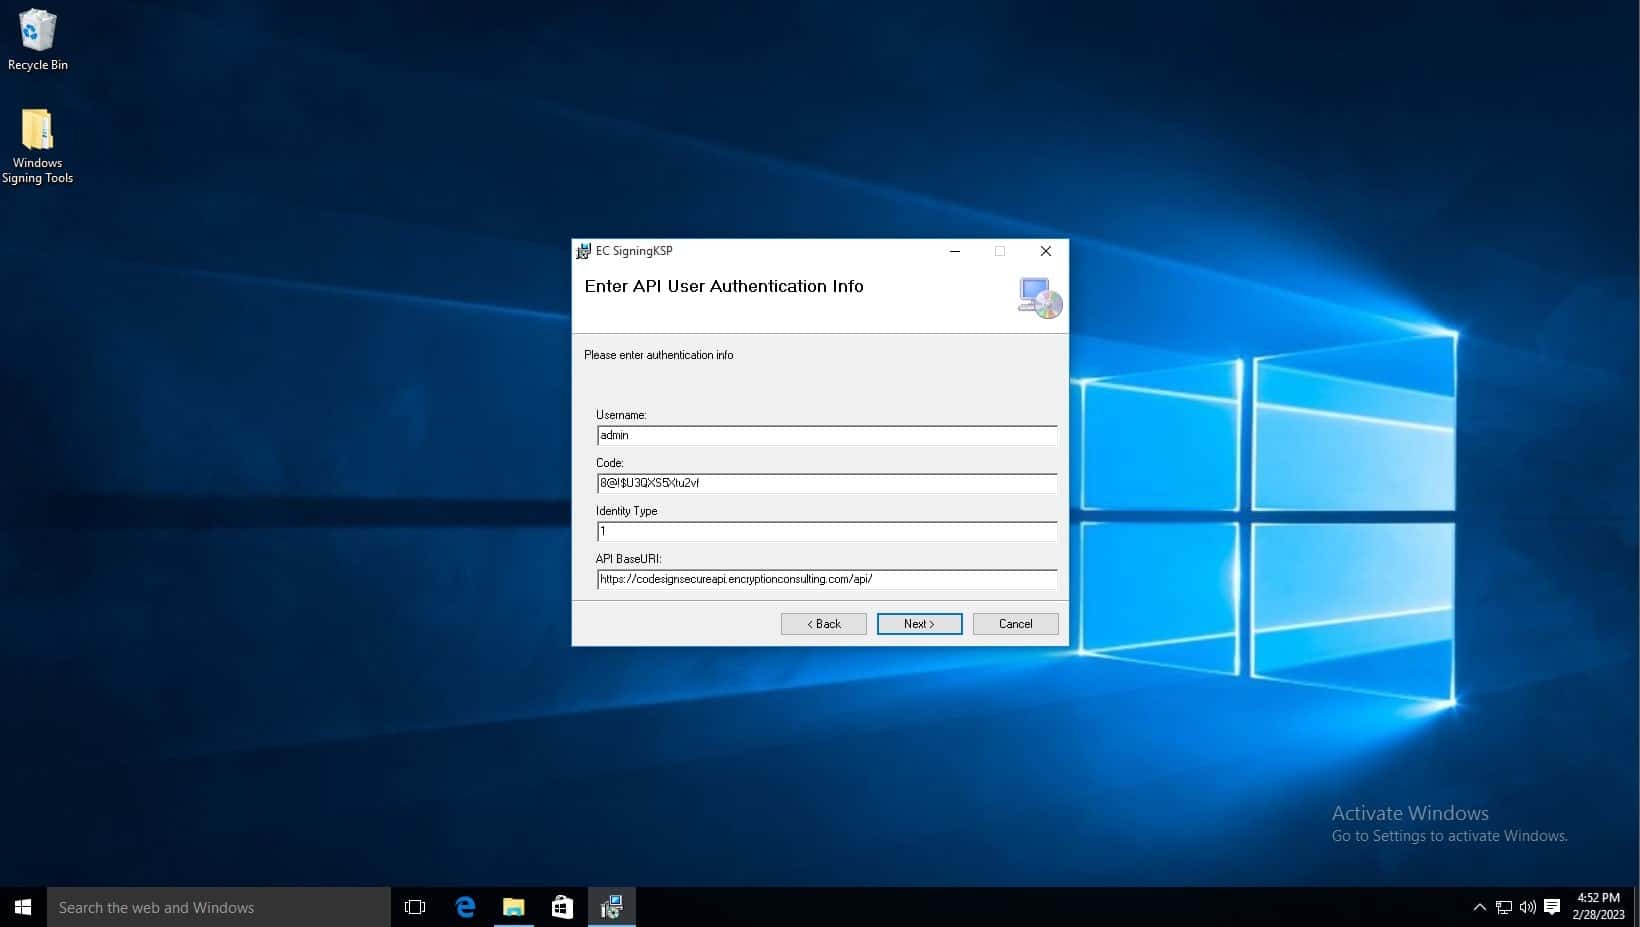
- In the Username field, type admin.
-
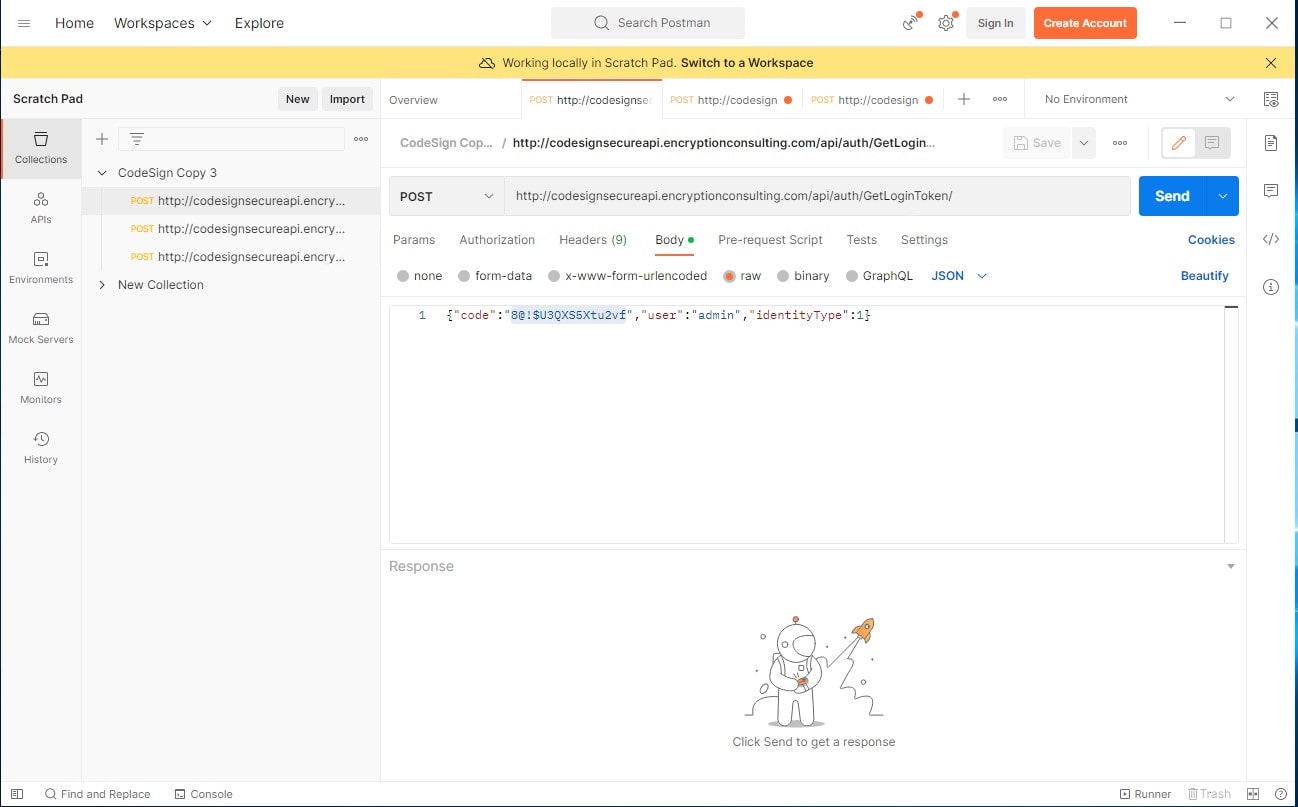
In the Code field, copy the code from the Postman API Repository. Click on the GetLoginToken api and copy the code from the Body.
Download PostMan from this link. Once downloaded, click the skip button at the bottom of the window. Once on dashboard, add a new collection using the plus sign button next to collections.
GetLoginToken API (http://codesignsecureapi.encryptionconsulting.com/api/auth/GetLoginToken): This is the most important API, as this gives you a Bearer Token to use with the rest of the APIs, What should be in the body is shown below. The code serves as a password in order to get a the Bearer Token, the user field is the username, and the identity type field specifices the user type. Click Send to generate an output which has the Bearer Token listed at the bottom. Copy this token for use.
- Change the Identity Type to 1.
- Leave API BaseURL the same.
-
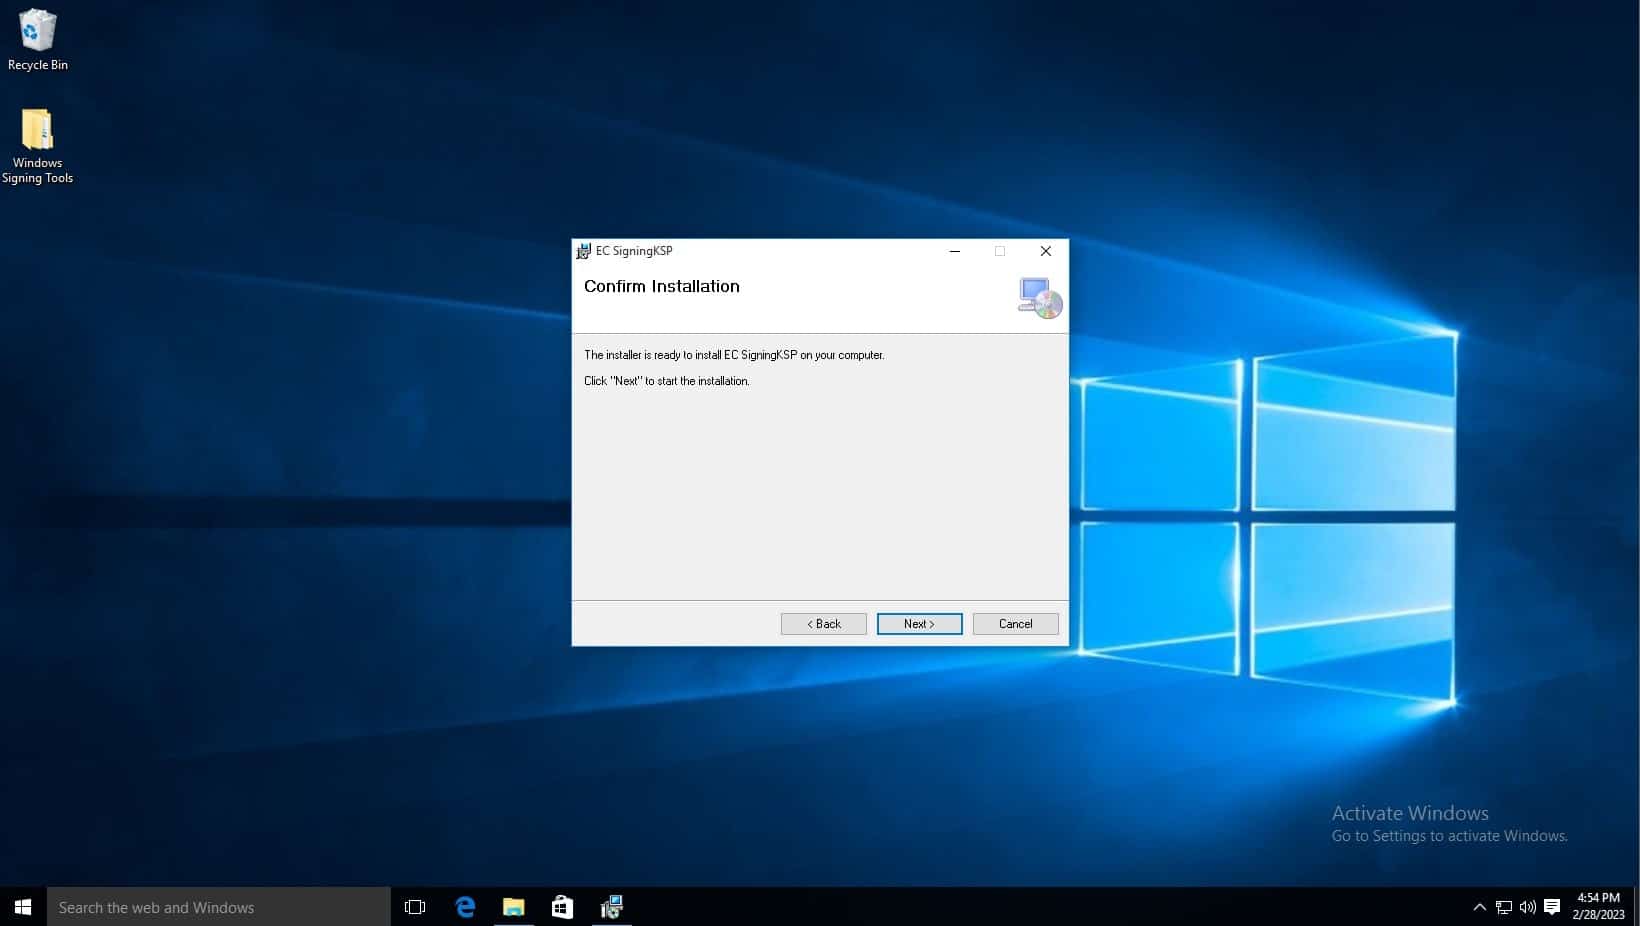
Click next.
-
Click next.
-
You will then be notified that this program will make changes to your pc, click yes.
-
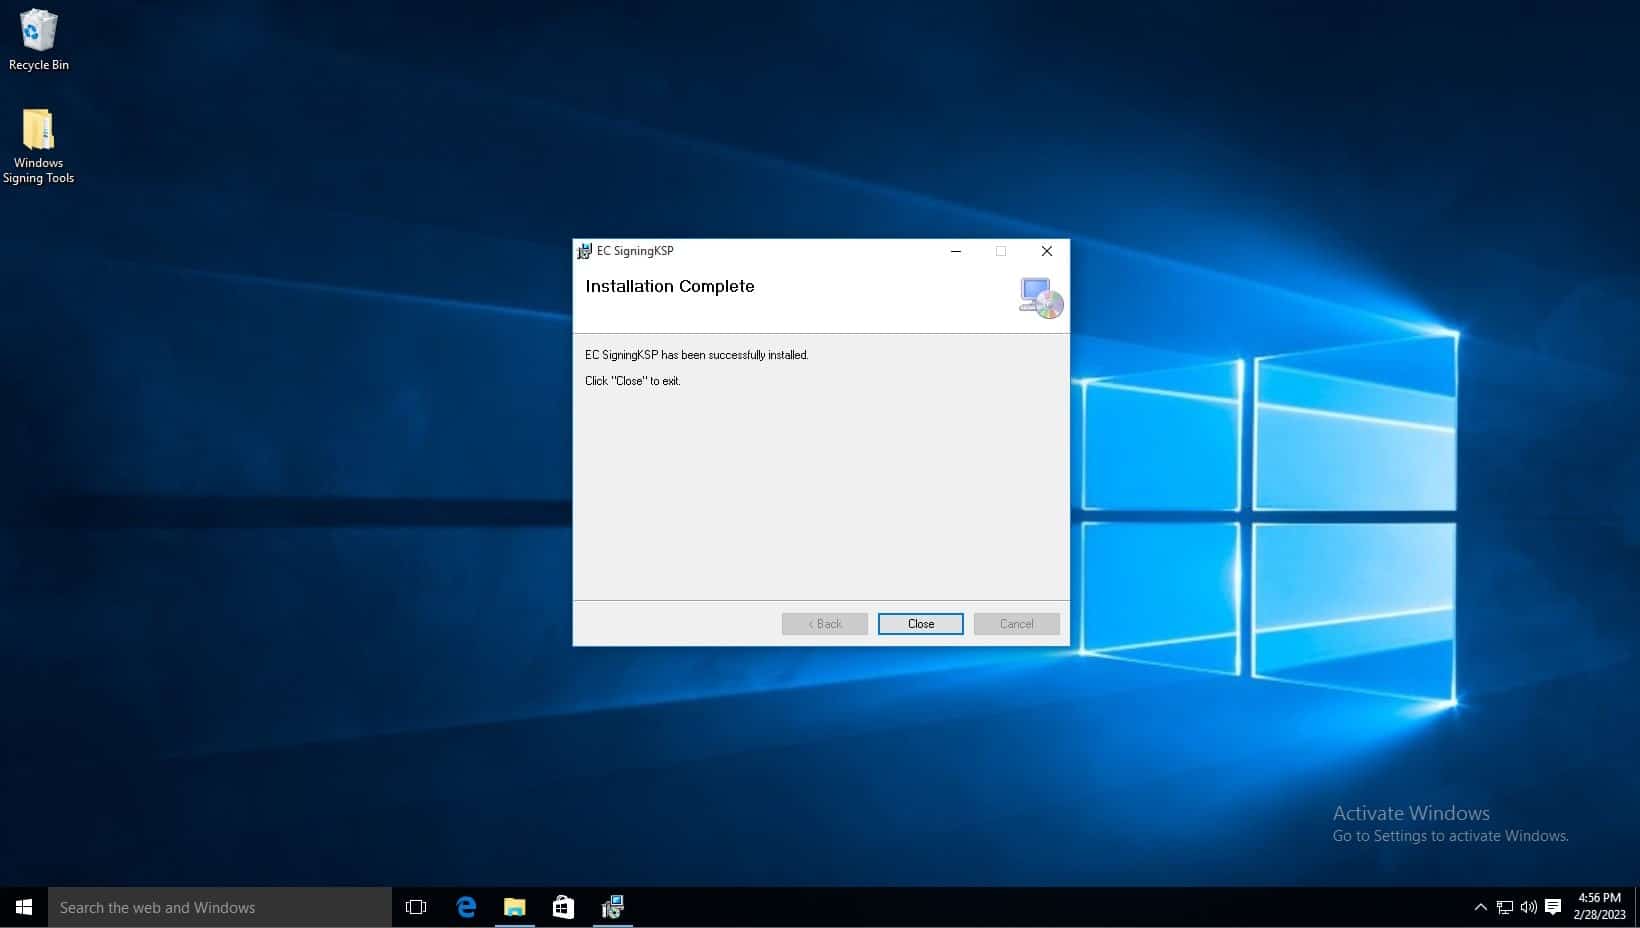
Installation is now complete.
Please follow the steps below to setup with azure devops:
- Navigate to dev.azure.com and sign in with your Microsoft account or you can start free with your GitHub Account too
-
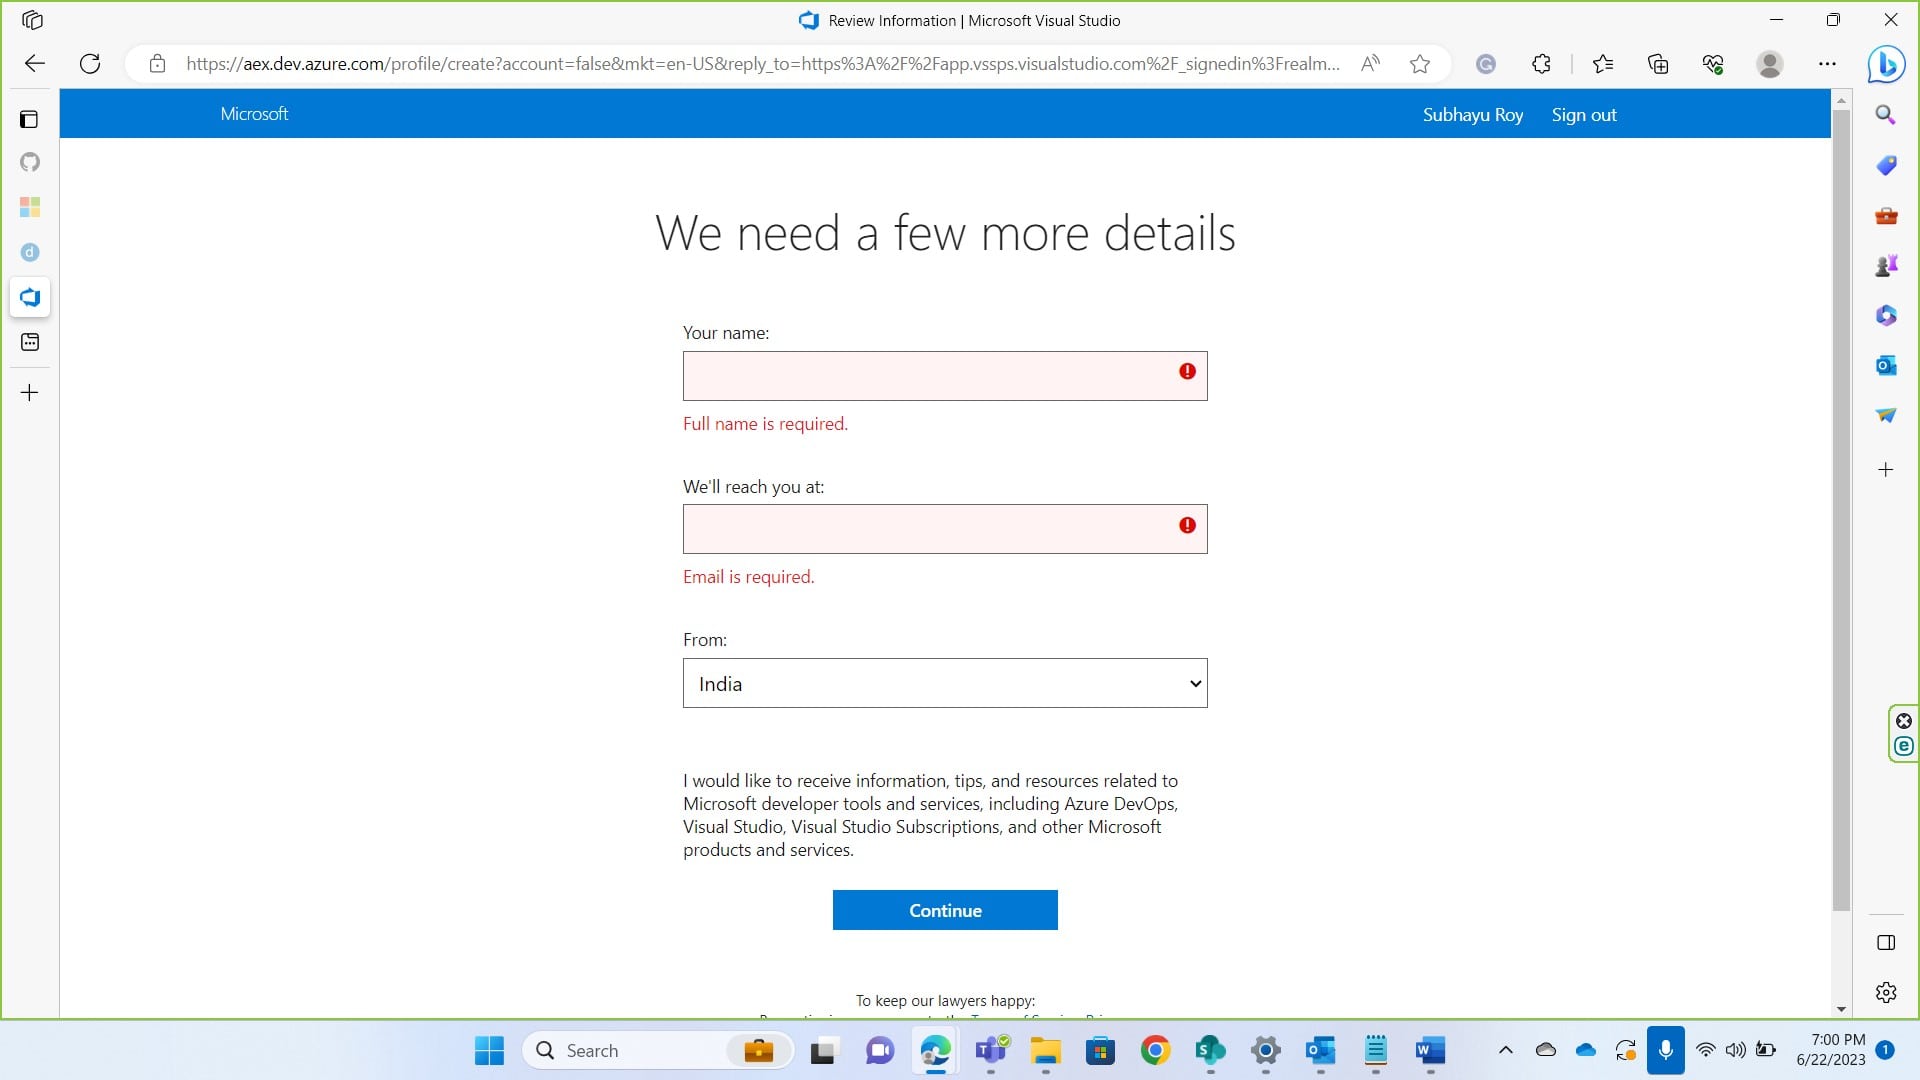
Give the details as prompted
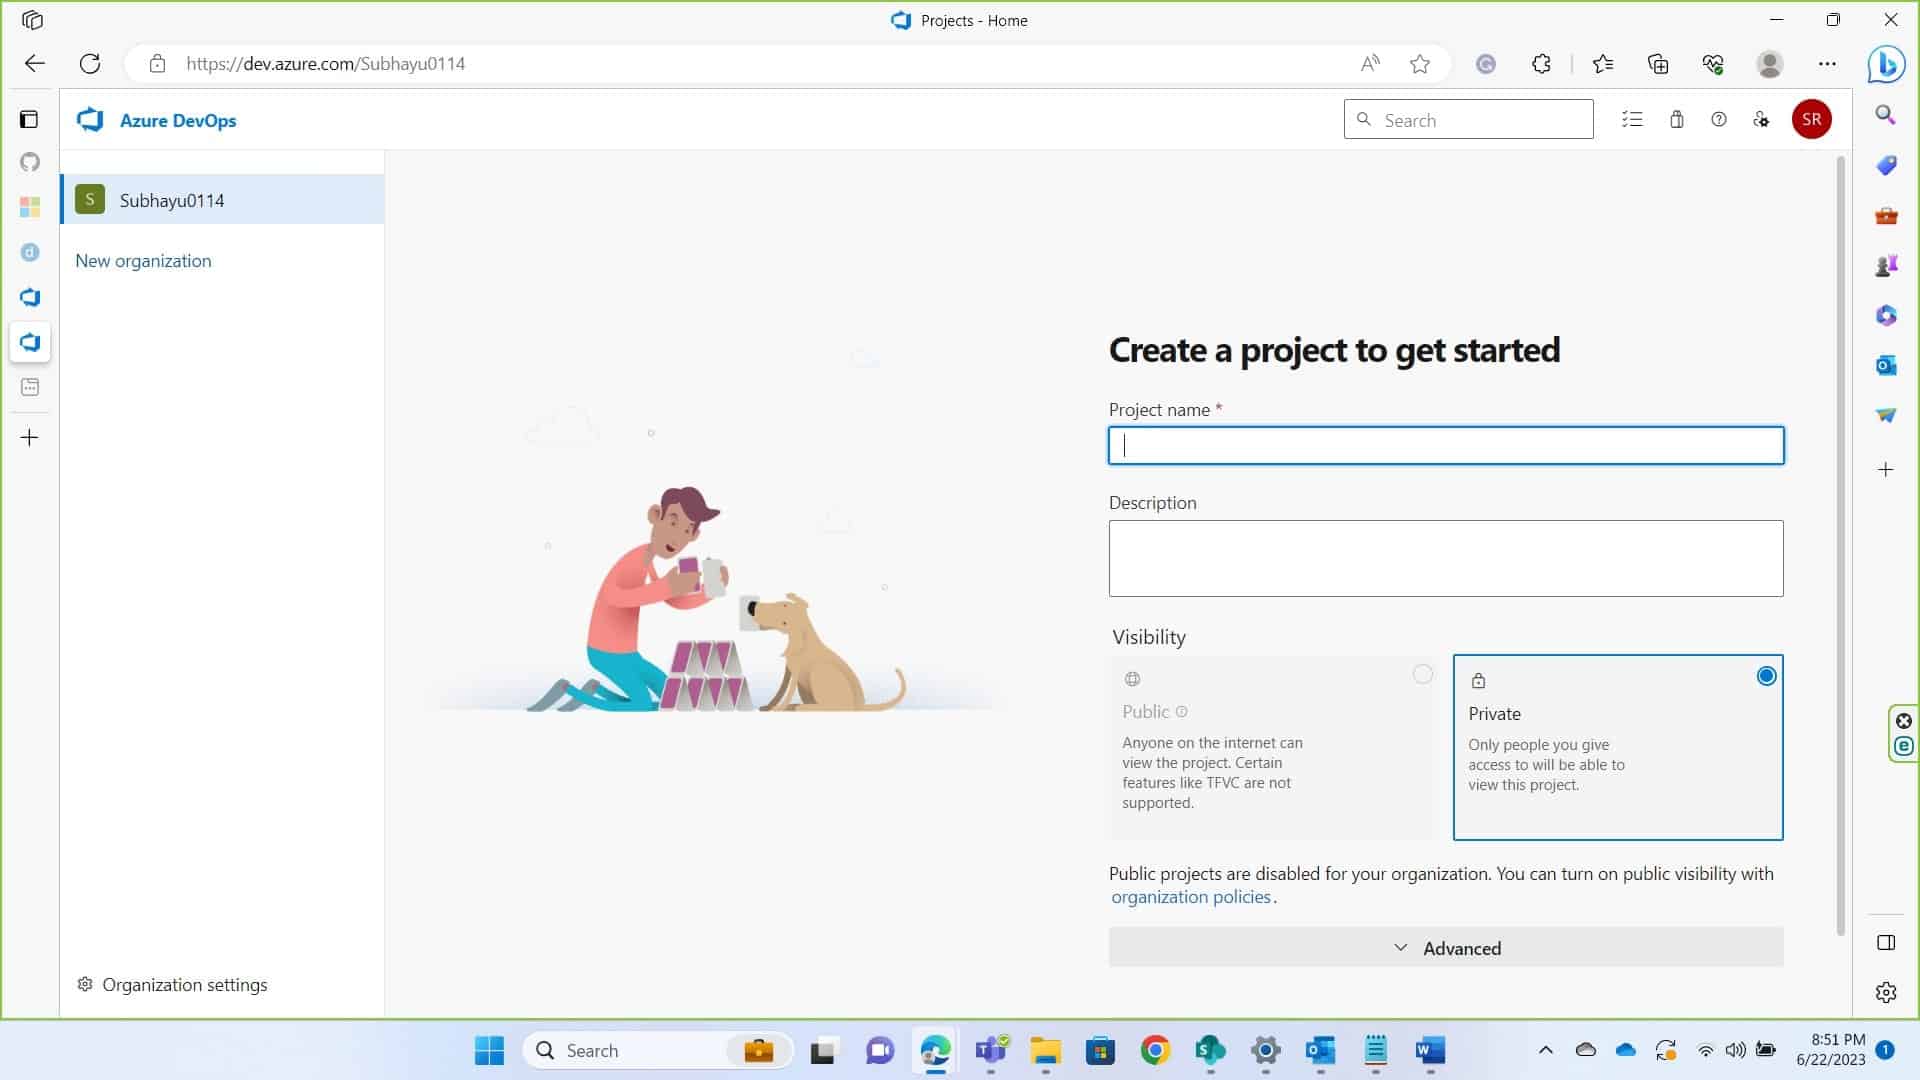
- You’ll be asked to create an organization if you haven’t already. Create a organization and get started with the project.
-
If you already have a project where you want to build the pipeline, navigate to pipelines. If not create a simple project first. Provide the necessary details to continue.
-
After a project is made, navigate to user setting at the top left corner of your screen and click on personal Access token. On the next page click on “New Token”. On the dialogue box prompted, provide necessary details such as name of the token, organization name (the organization you created/accessed earlier. Set Expiration and Scopes. I have set the Scope to full access.

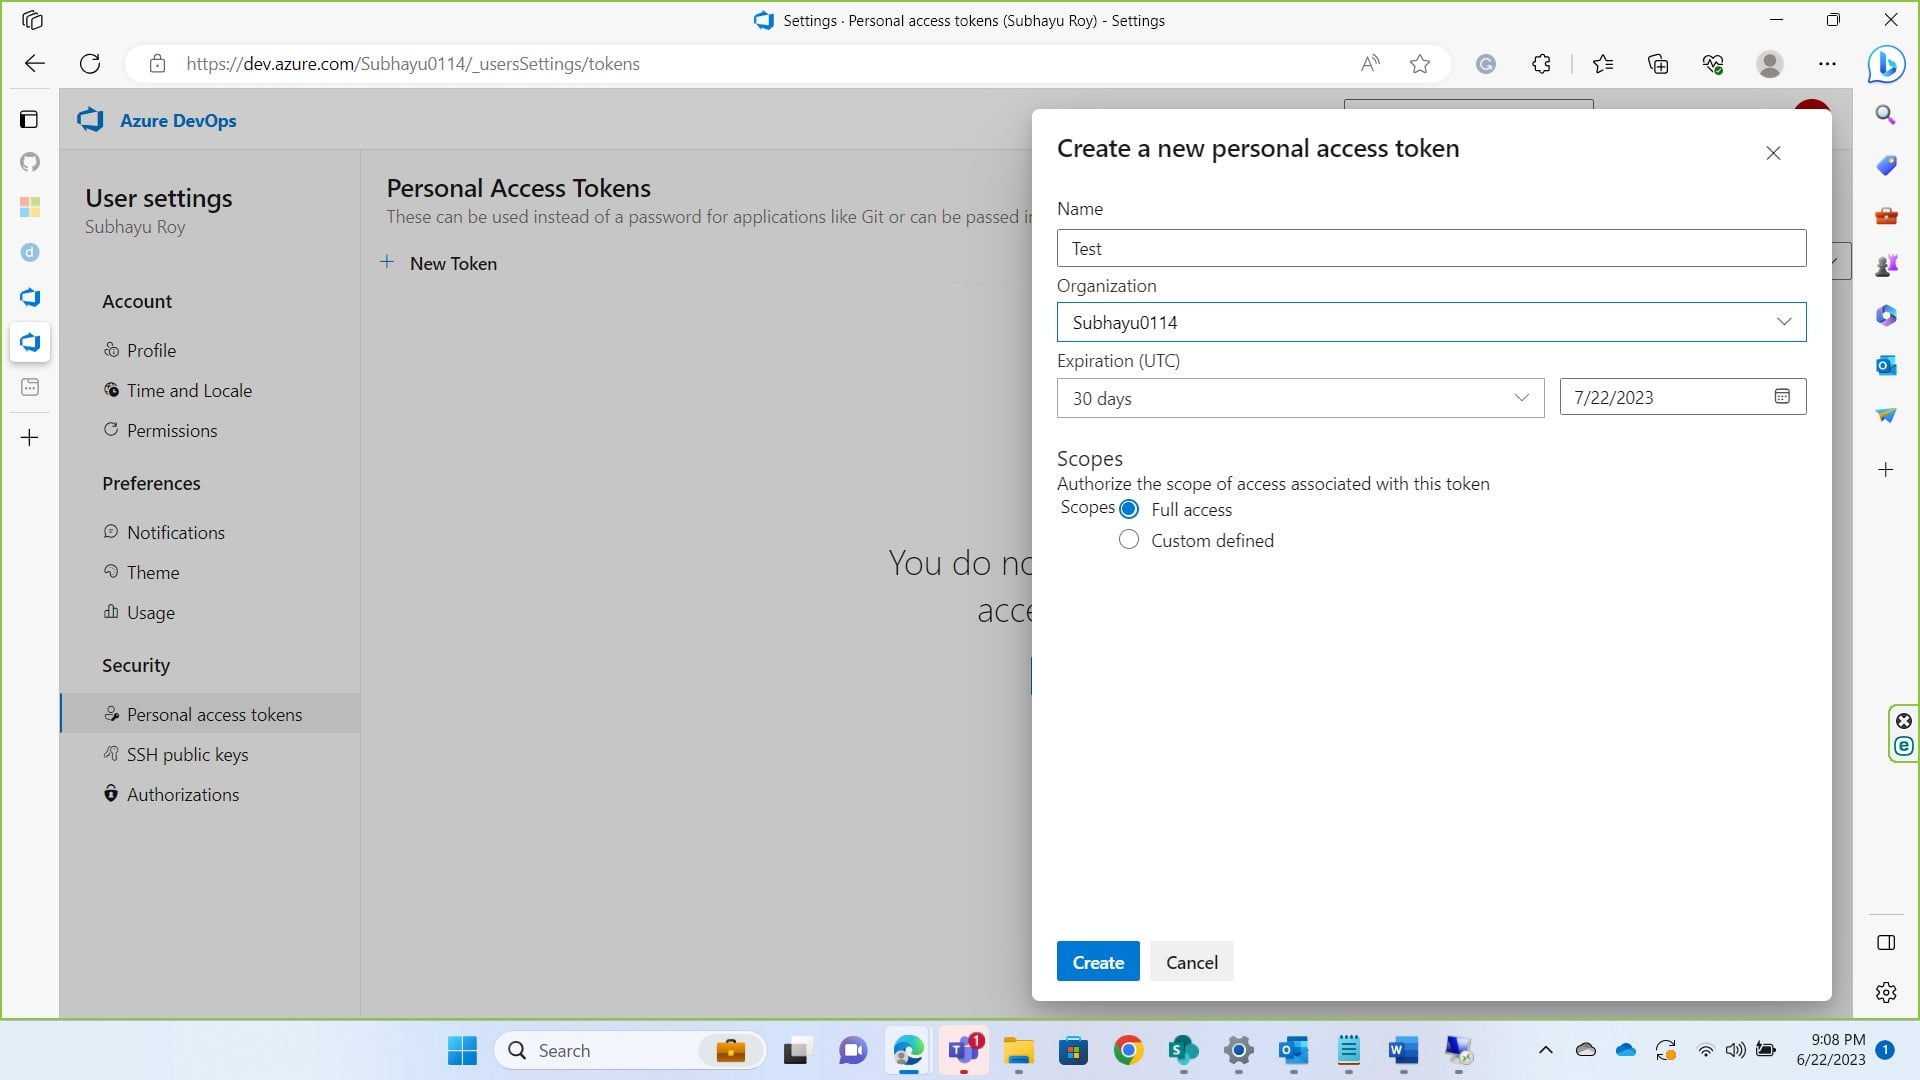
Click on create and copy the token somewhere as you won’t be able to see the token again.
-
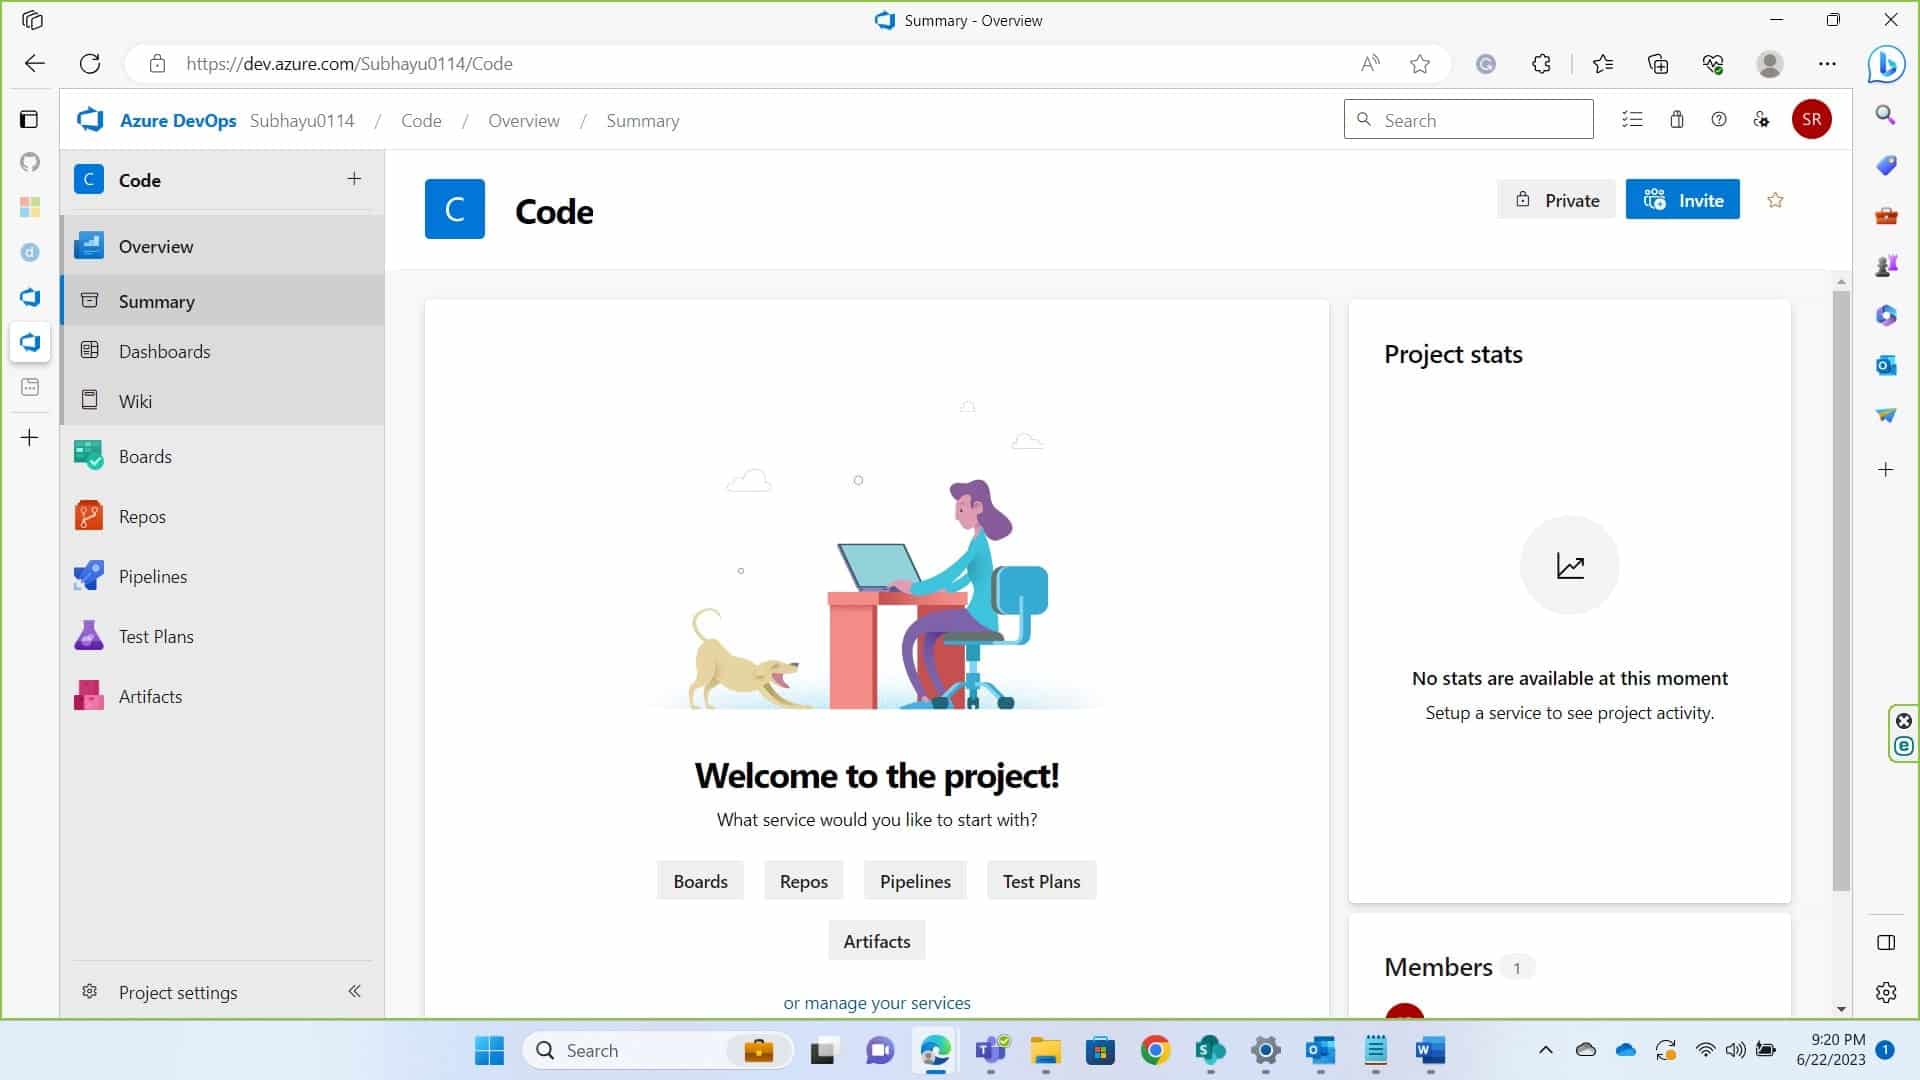
After we are done getting a token, we need to set up a self-hosted runner. This is a machine where Signtool and ECSigningKSP is installed and configured. To do so return to the Code Summary page and on the bottom right of the screen you’ll see Project settings, click on that.
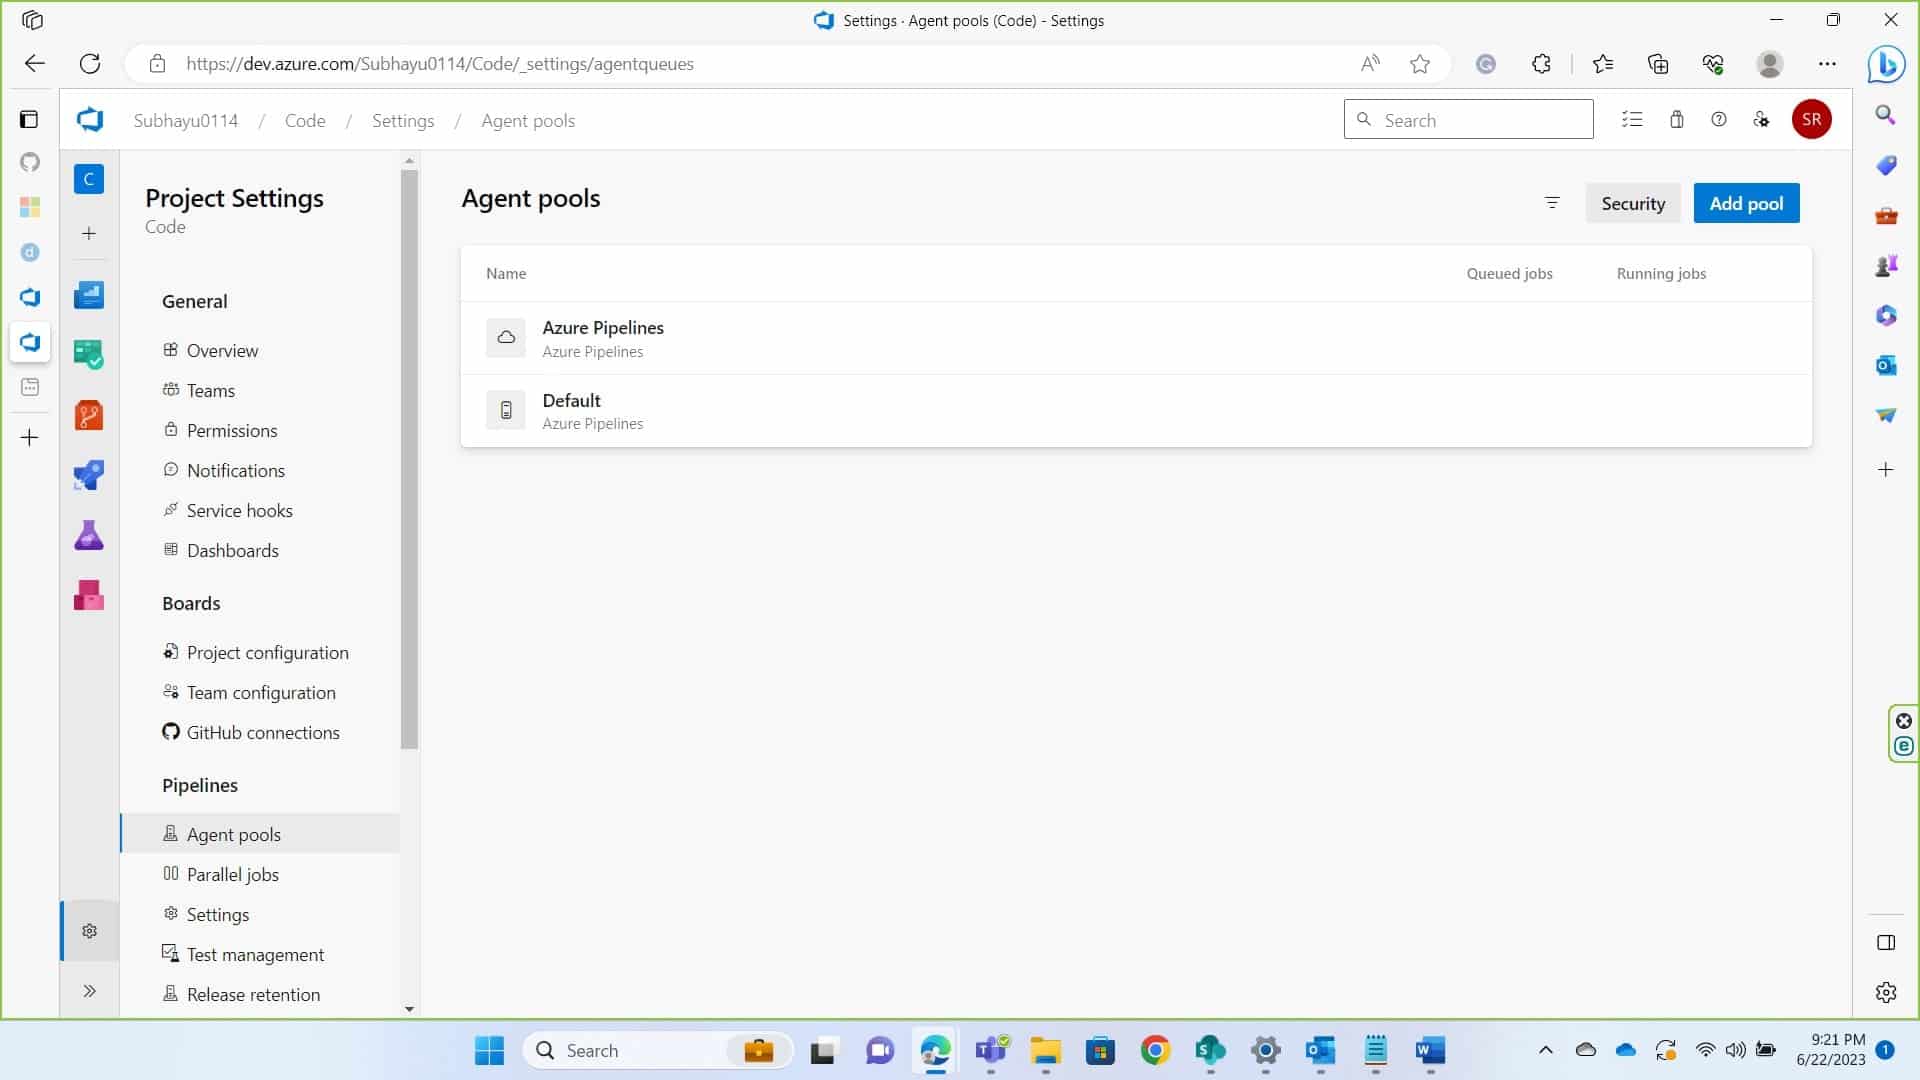
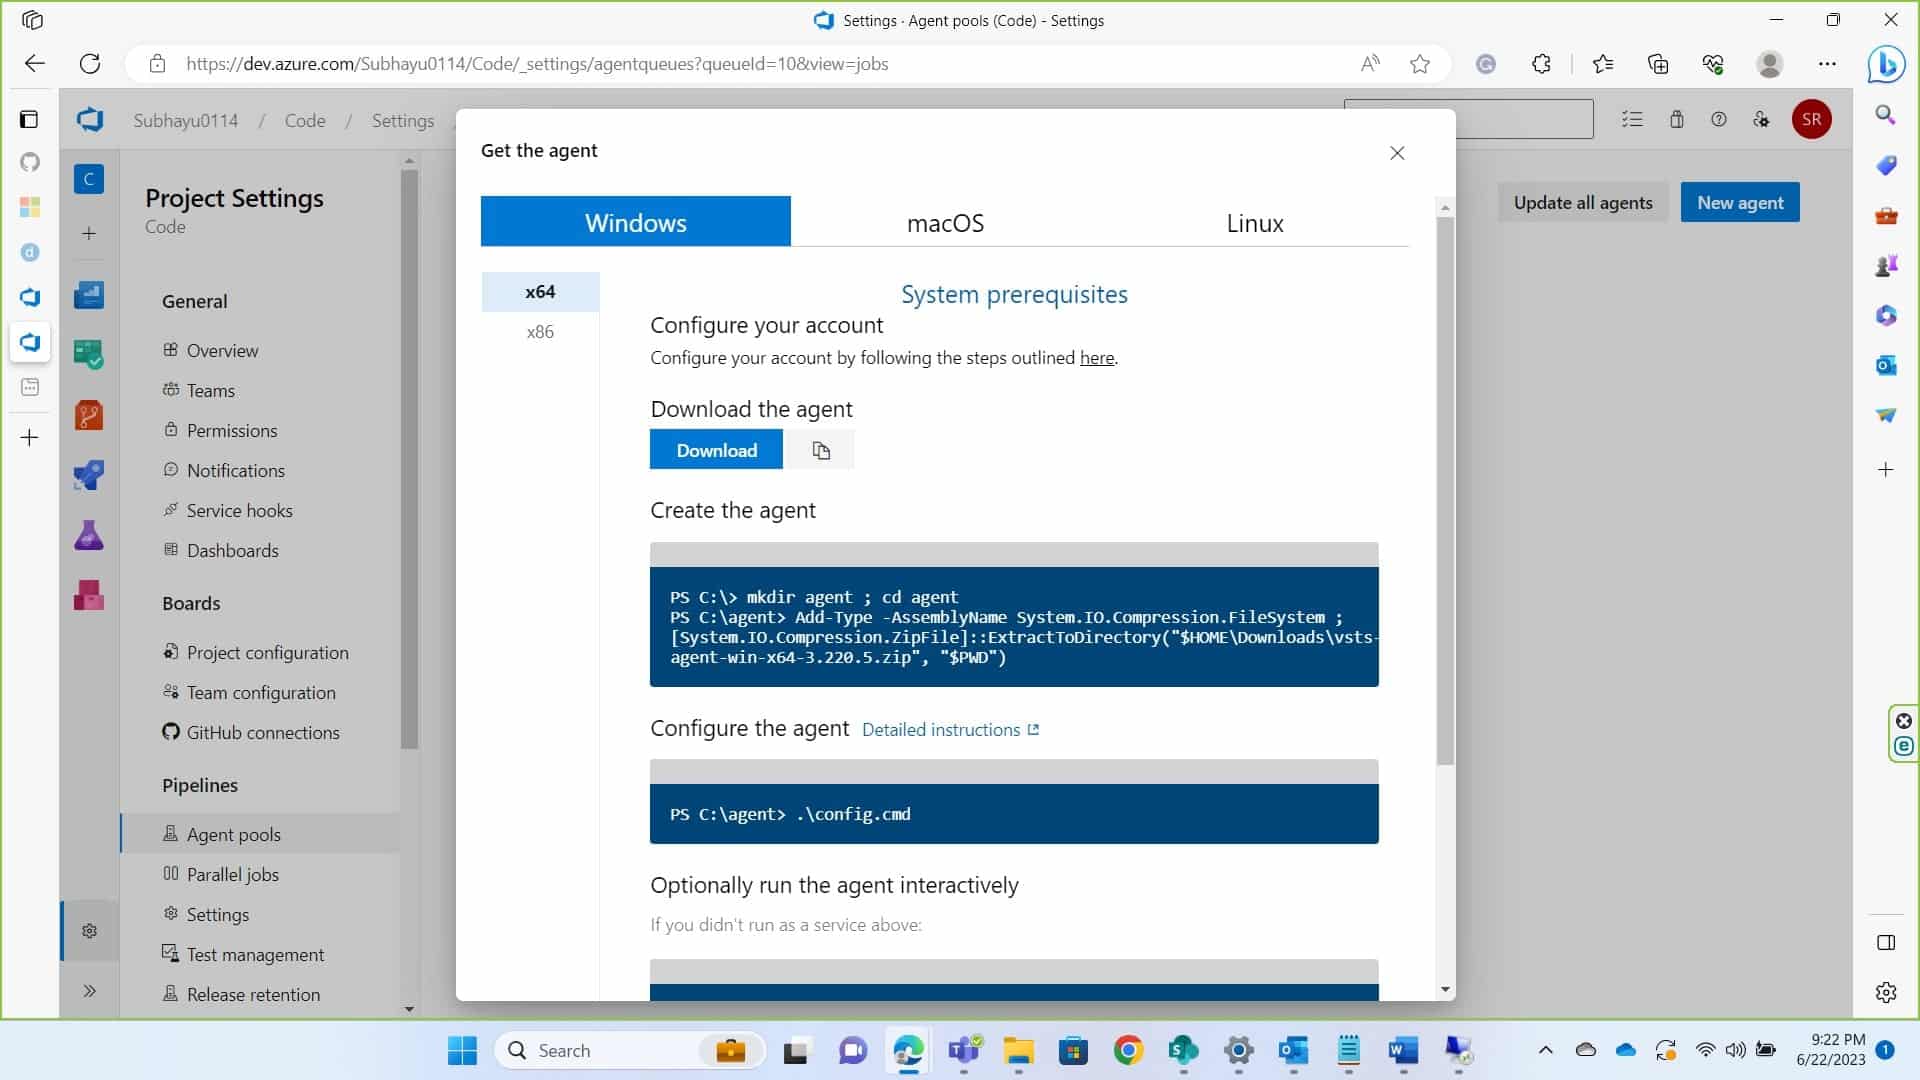
Under Pipelines, you’ll see Agent Pools. Click on that and then click on default.
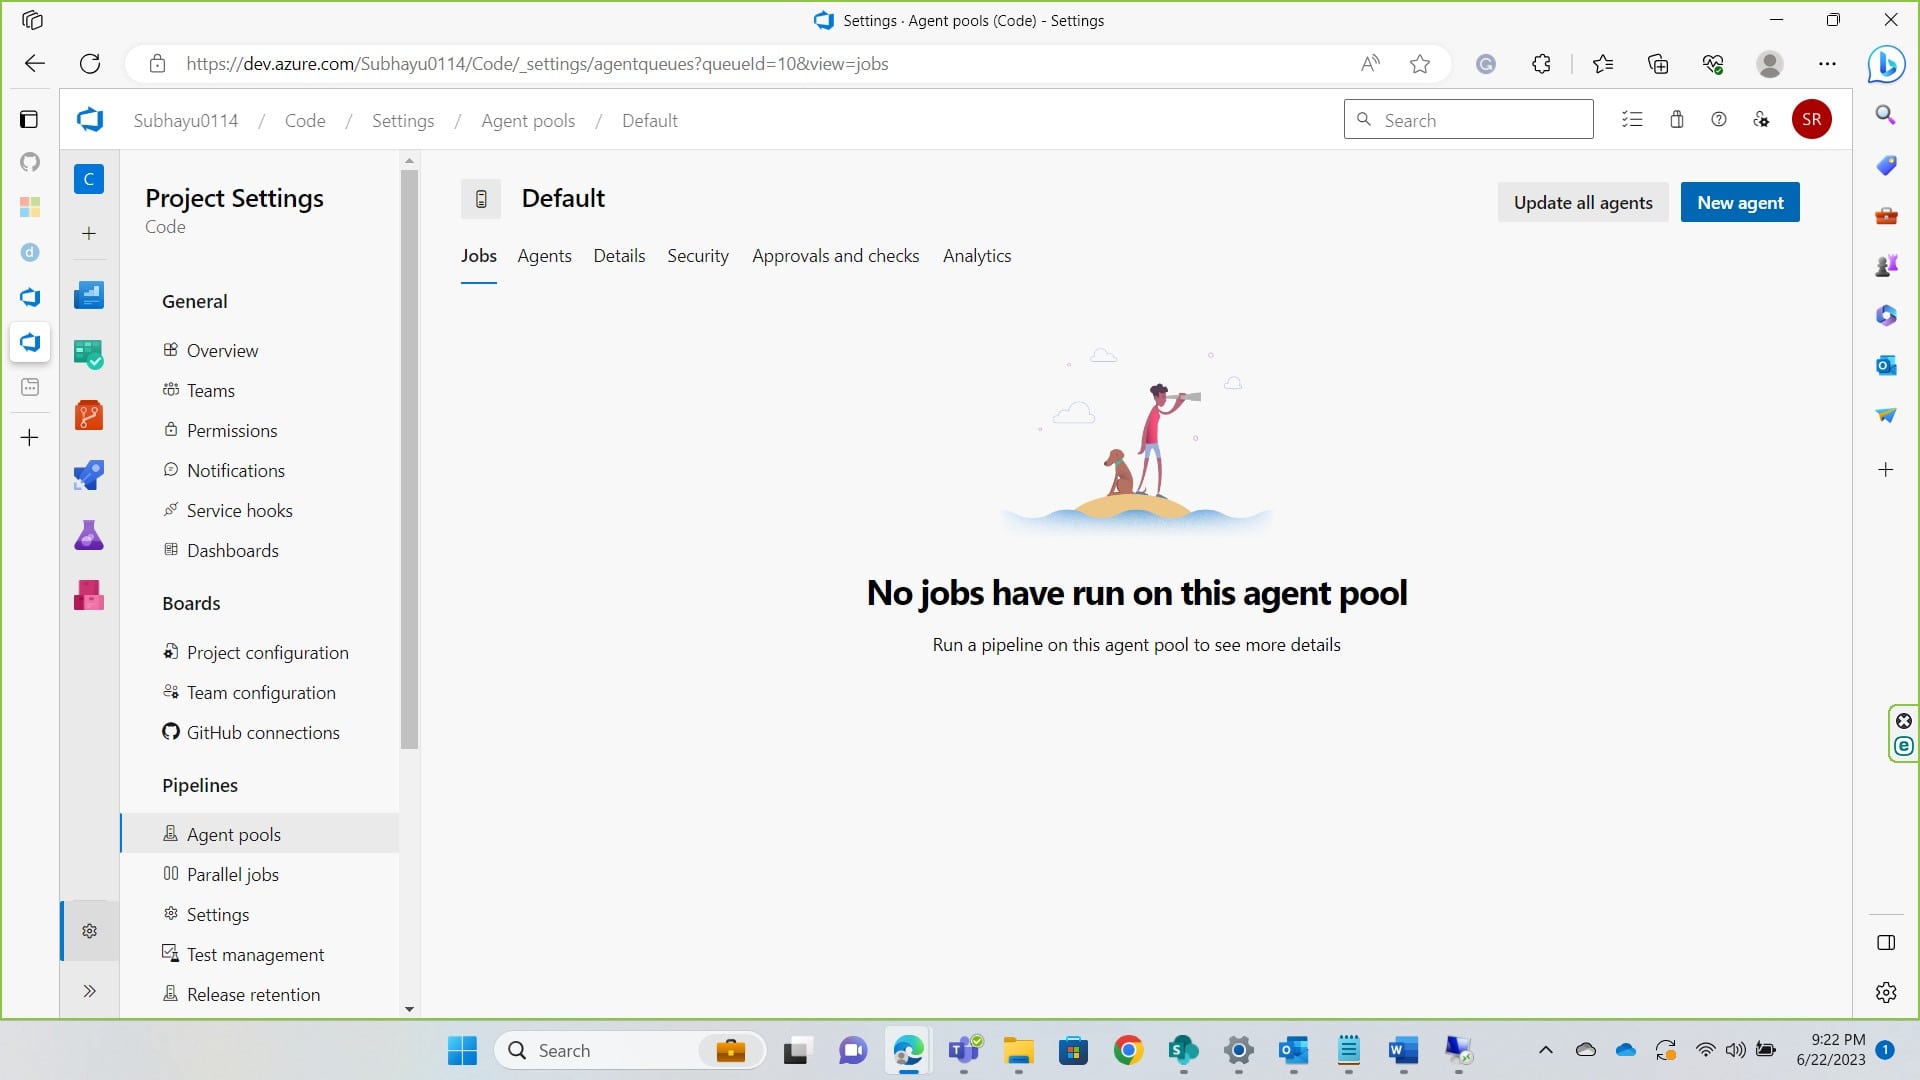
Click on new agent at the top left.
Get the agent as per your operating system. I am proceeding with windows. Download the agent, extract it to a folder “C:\agents”.
You can also follow this documentation for more help about this
-
After you extract the files, navigate to the folder where you extracted it to from cmd and run .\config.cmd.
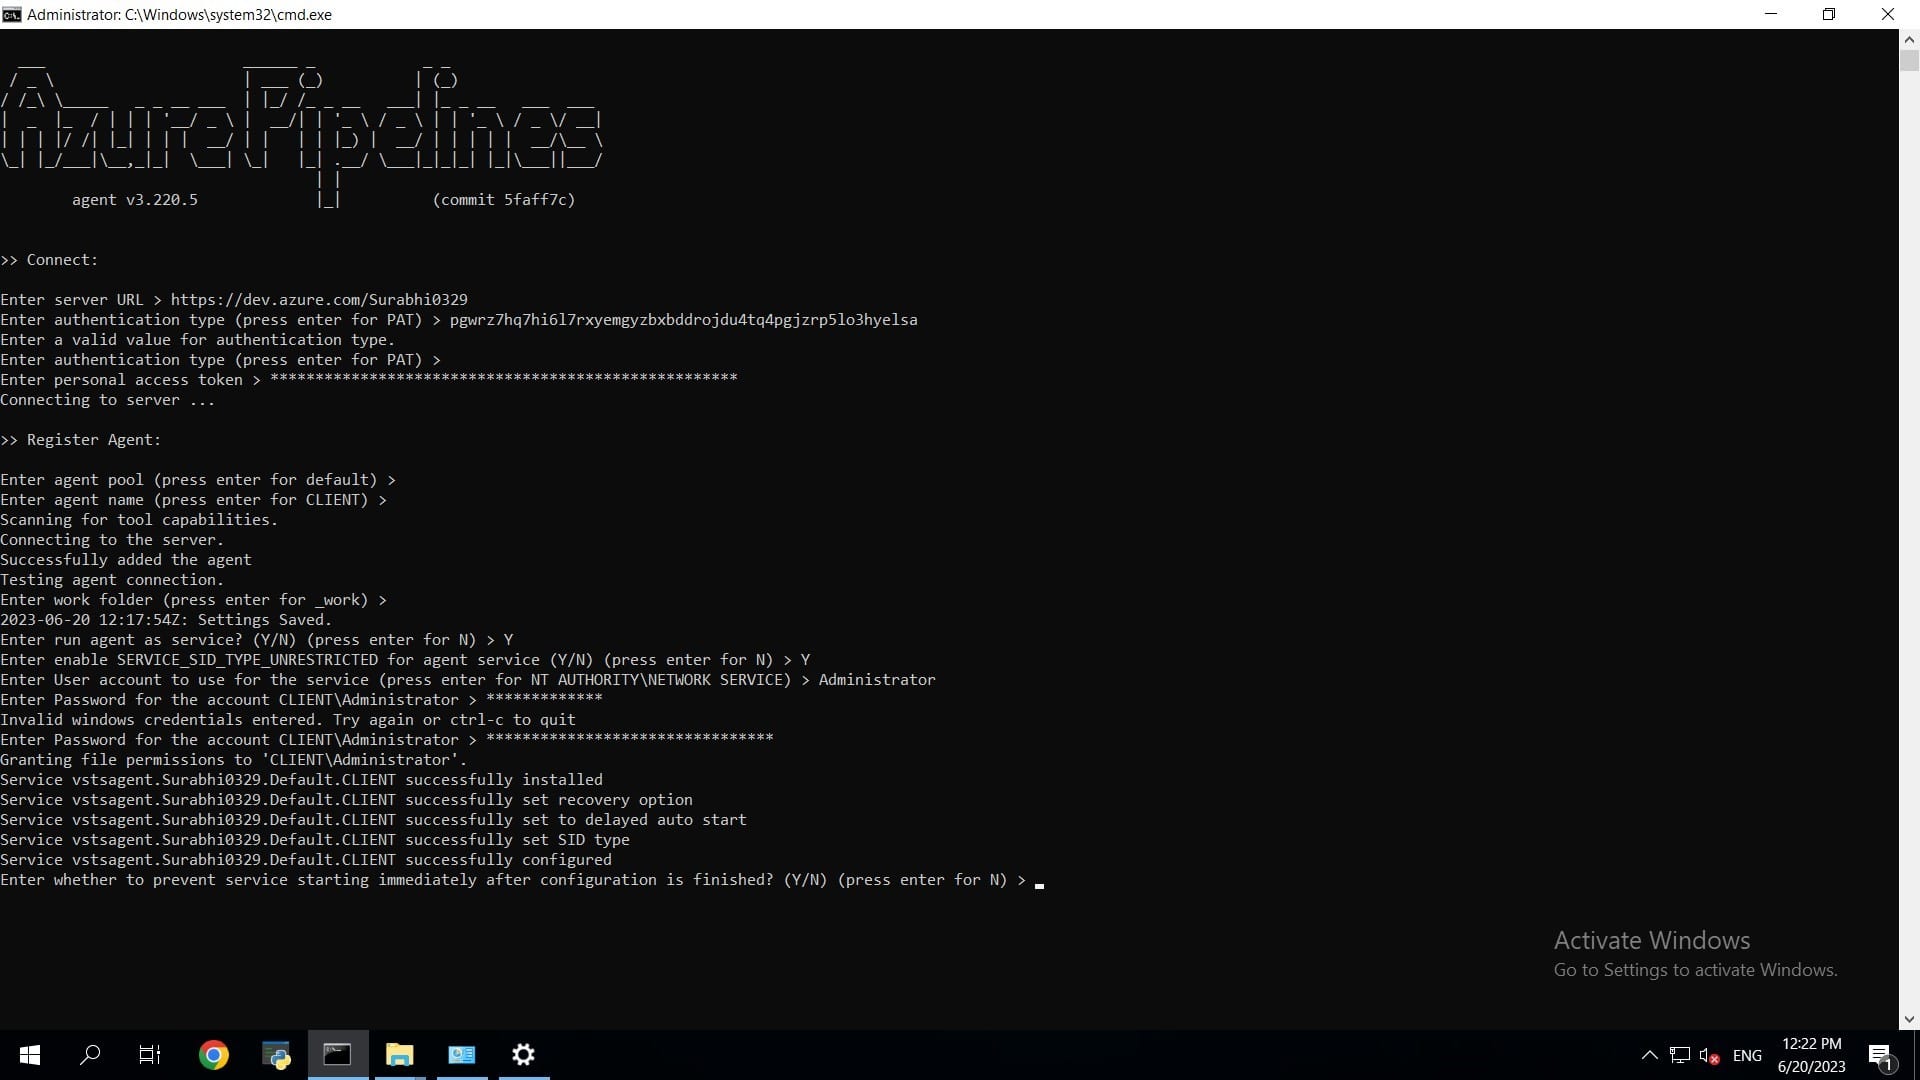
Now, Server url will be https://dev.azure.com/<your_organzation_name Just press enter for PAT on the authentication type and on the next question provide the token copied earlier.
Once the Agent is registered, For Agent Pool, since we’ve it as default, press enter If you want to name your agent something you can name them but press enter for it to be named as CLIENT.
Once the agent it added, You can leave the work folder as default or change as per your choice For Running Agent as a Service enter Y as in yes For User account to use for service make sure you set this as Administrator, this is important because you’ll require Administrative Privilege to perform code signing. Provide password for your administrative account of your machine
Since we have set this as a service, the agent will run automatically if we hadn’t set this as service, we would have to manually run the agent.
Navigate to services.msc and scroll down to Azure Pipeline Agent to see you’ve se Log on as Administrator. If you didn’t do so, you can change it from itself. Just click on log on and a dialogue box will appear; navigate to log on, set it to Administrator and provide the password for the same and restart the service. Once this is done, go back to Azure DevOps to build the pipeline.
-
Click on pipelines to get started.
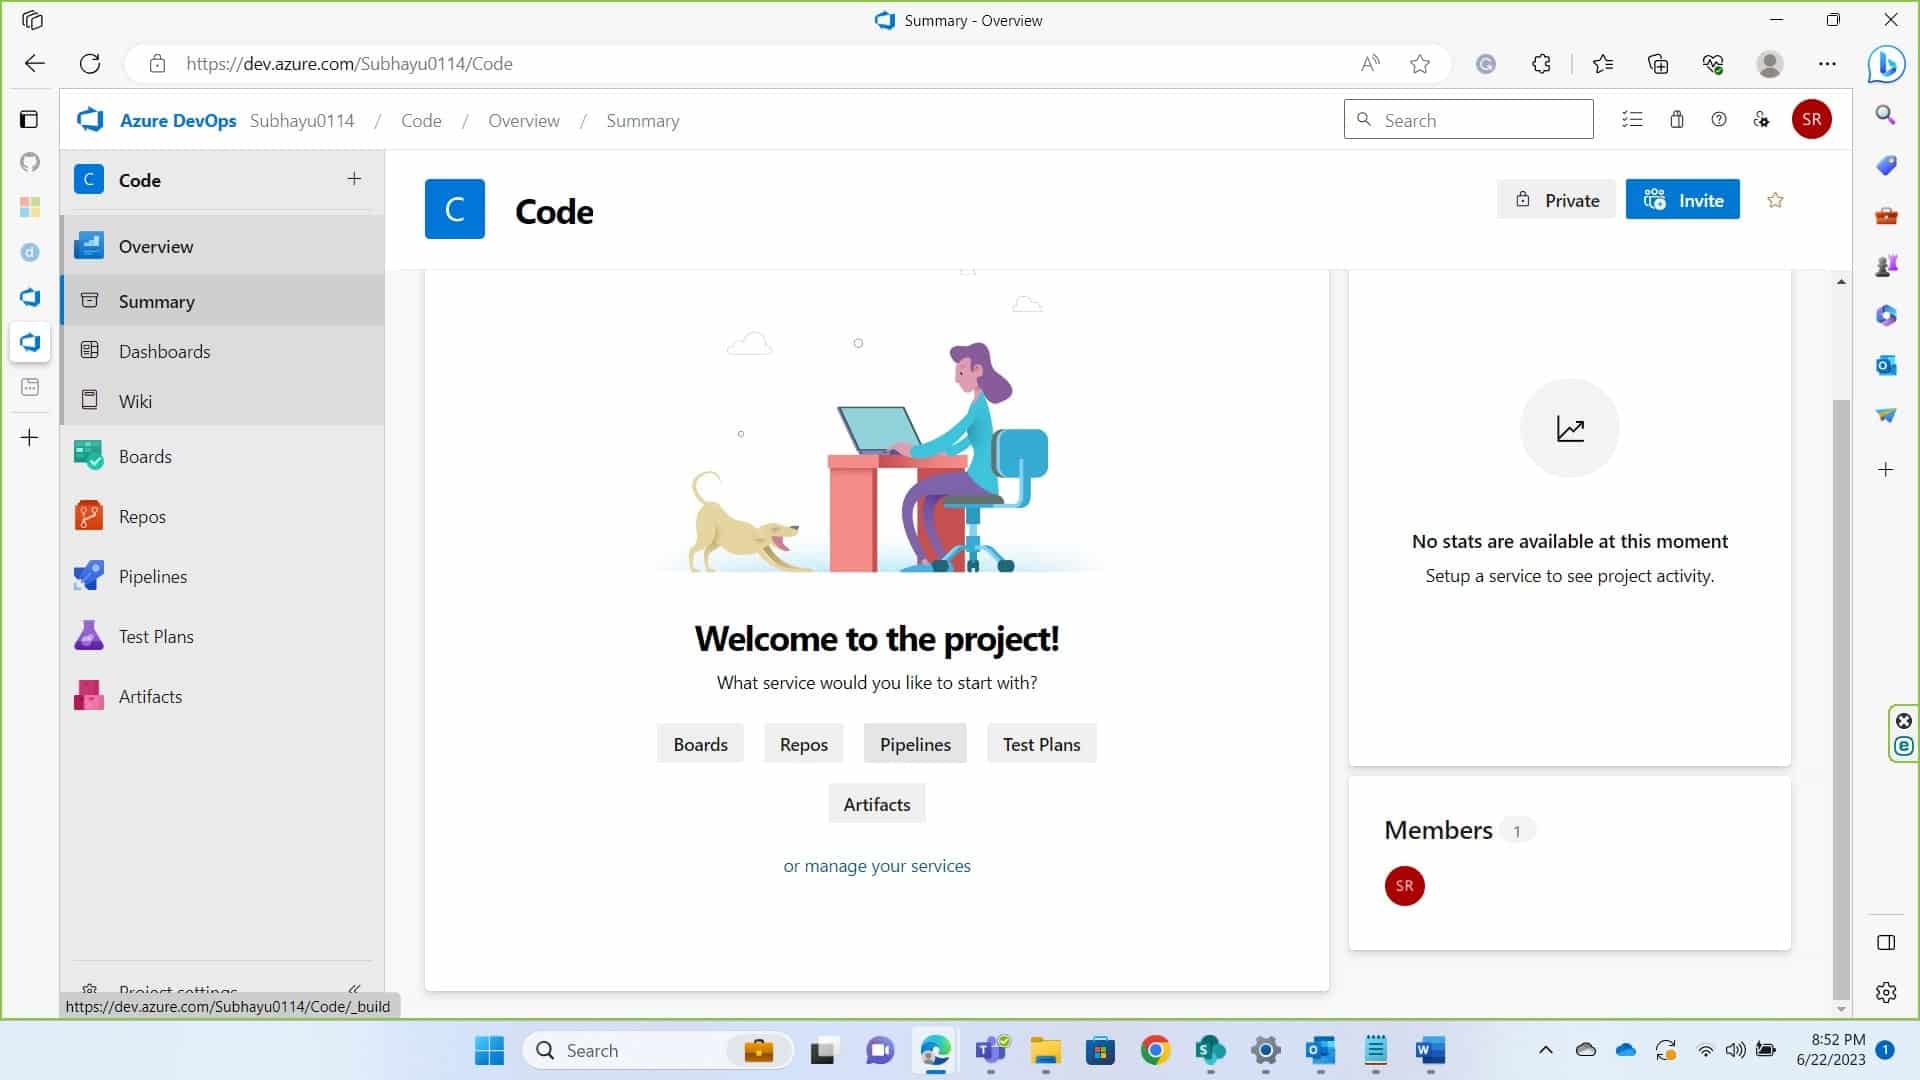
Click on Create Pipeline in the following page.
-
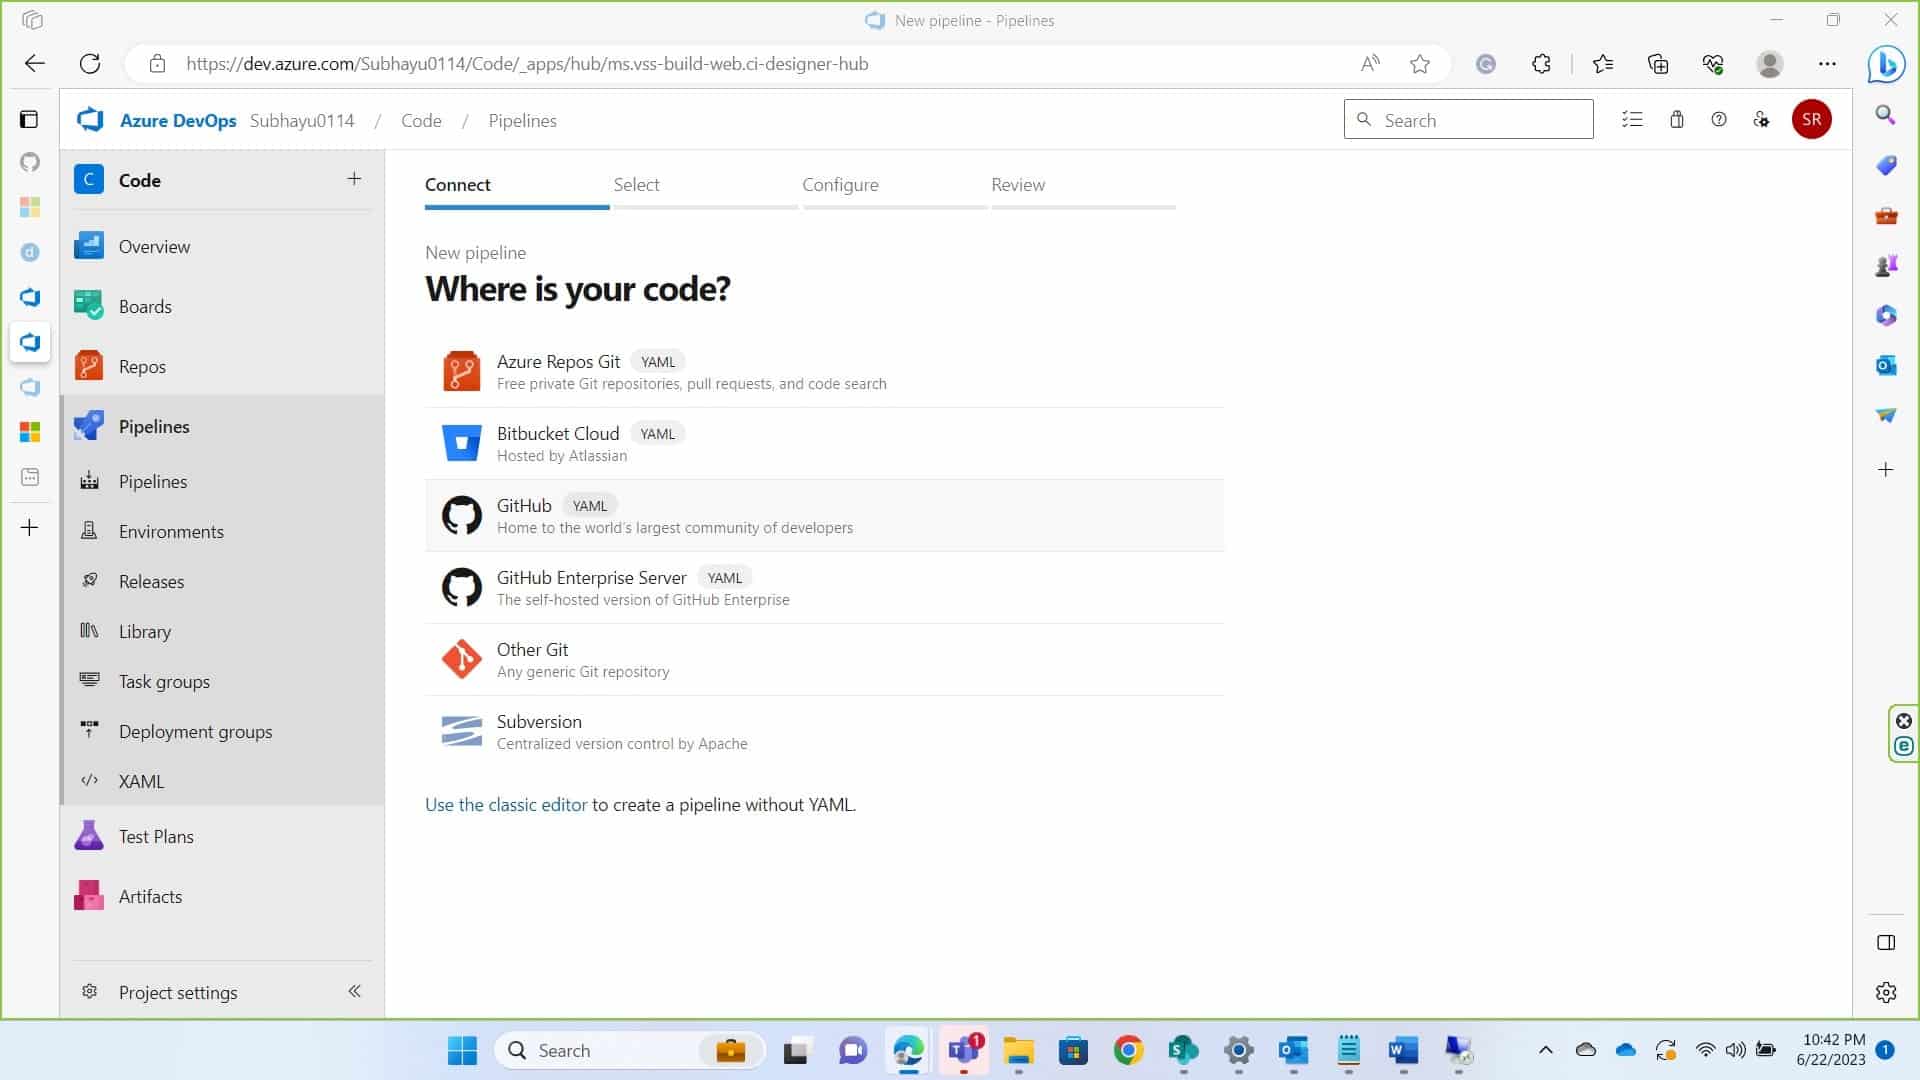
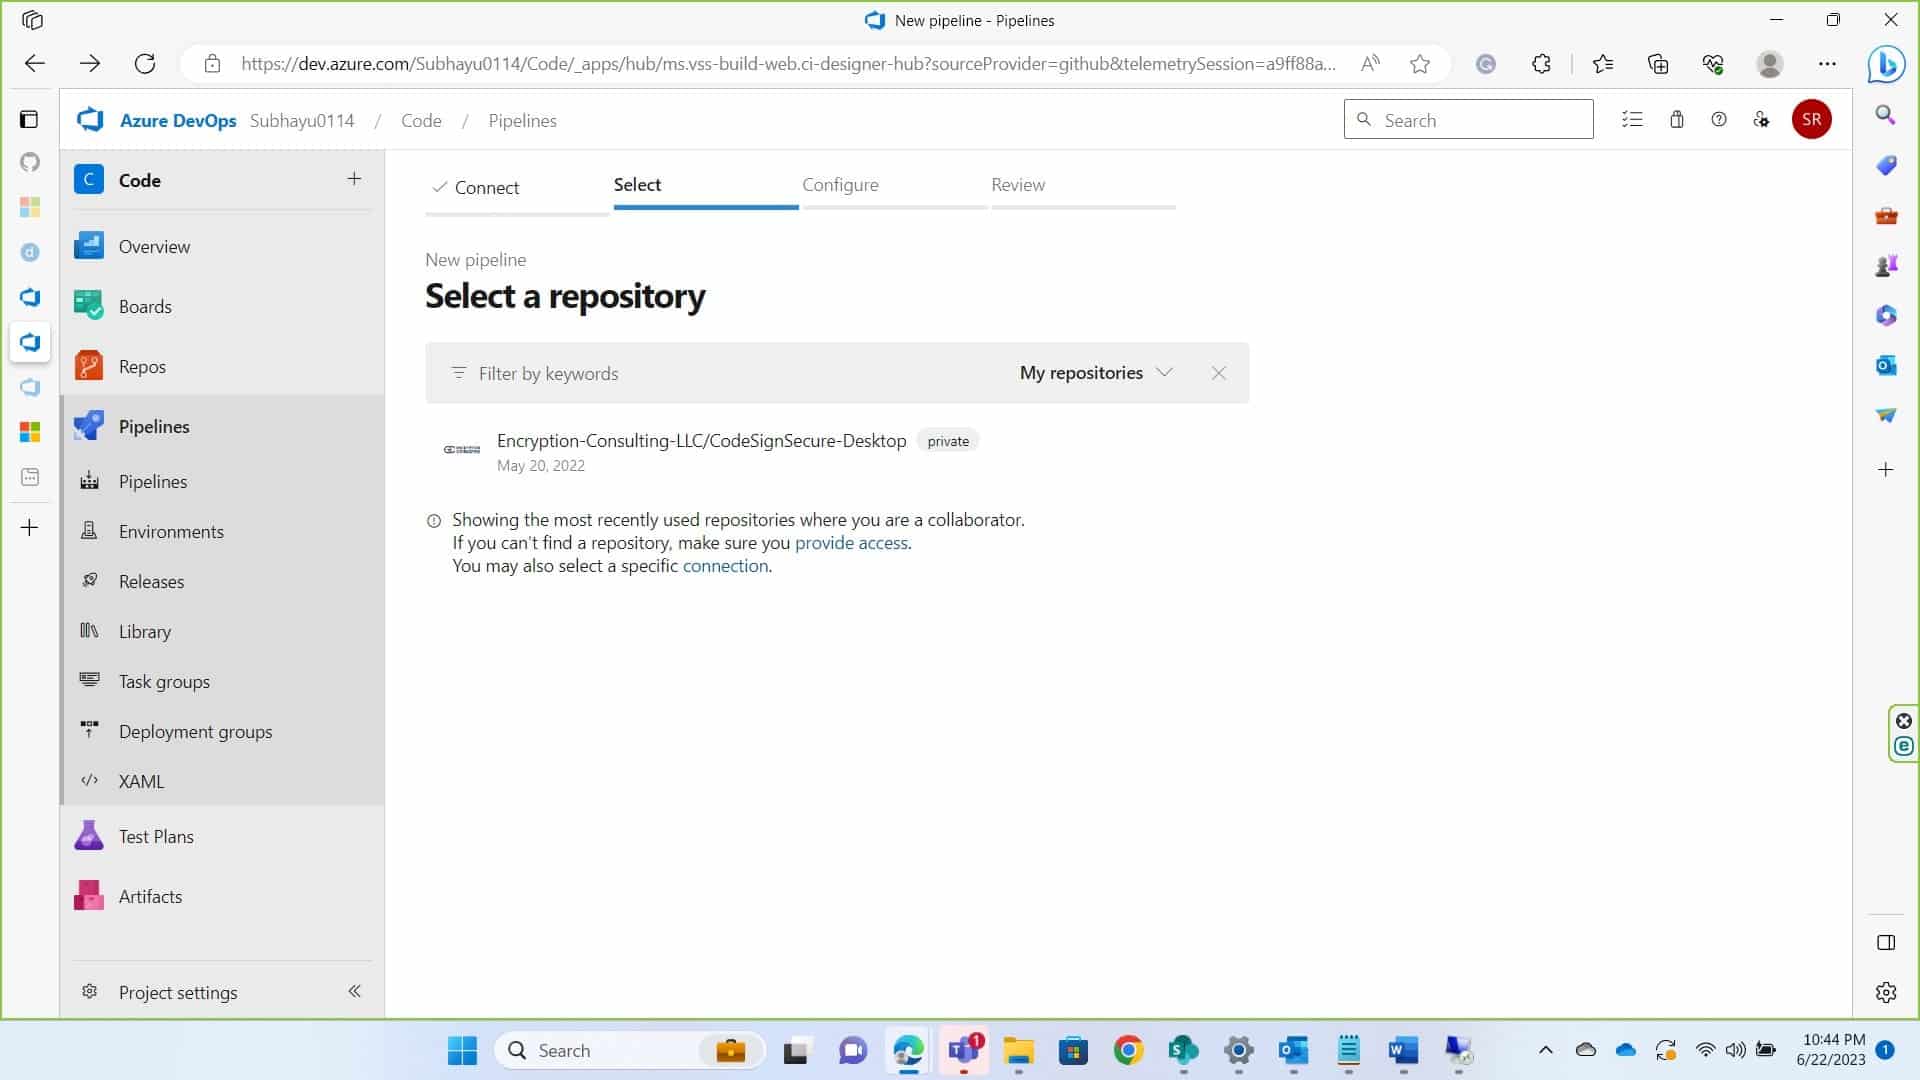
In the next page, in the Connect section, choose where your code is. In this my code is in GitHub and I am proceeding with so. You will require Administrative Privilege of your repository to grant access.
-
Select the repository where you’ve your code.
-
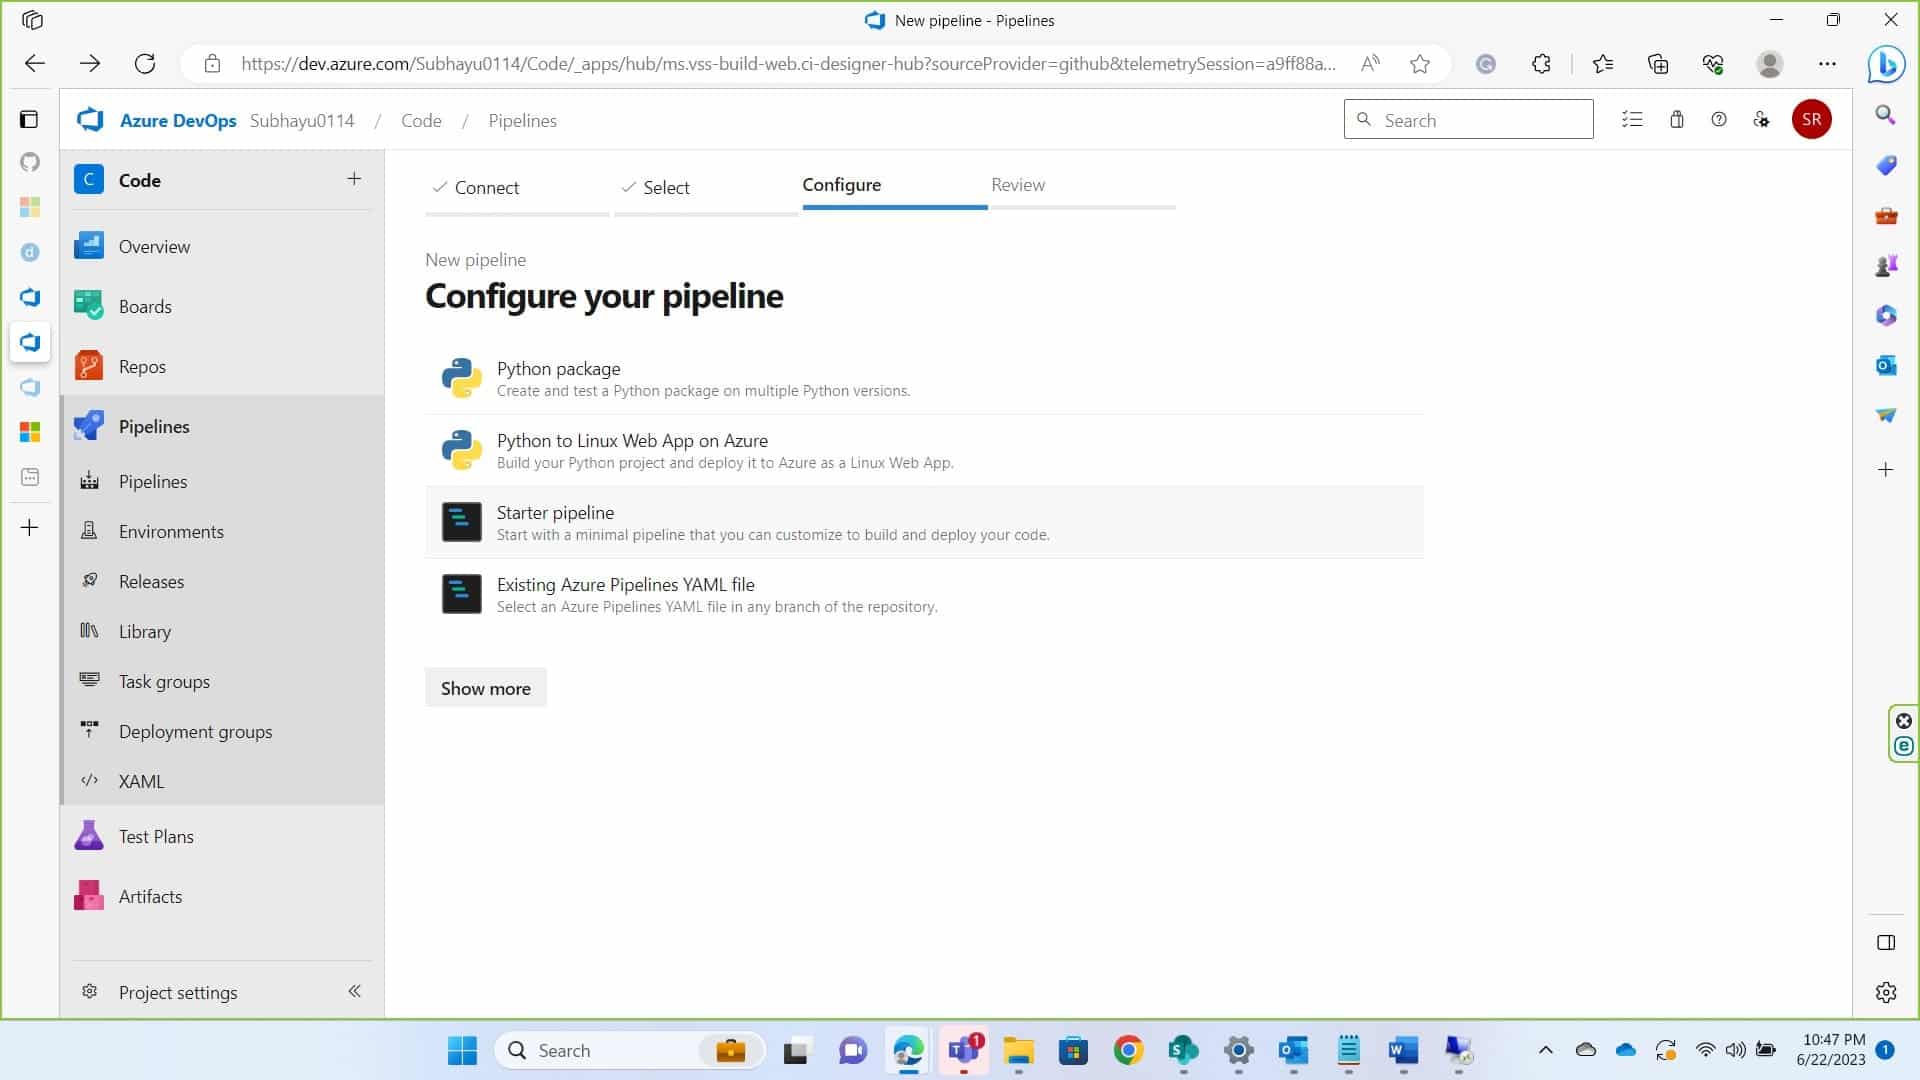
Now in the Configure Section, if you don’t already have .yml file in your repository click on Starter Pipeline, if you do click on Existing Azure Pipeline. For starter pipeline, you may need to create a new branch or commit on the main branch itself it’s your choice.
-
In the editor write the following script
      trigger:


      - <your_branch_name>


      pool:


        name: <your_pool_name> #In this documentation it’s set as Default


      variables:


        varible_name: variable_value


      steps:


      - script: |


        signtool sign /csp "Encryption Consulting Key Storage provider" /kc <Key_name> /fd
      <hashing algorithm> /f <certificate
        location> /tr <time stamping server> /td SHA256 <file path>
Please replace the variables specified under <variable name>. A short description of expected variable is given below.
<key name>: This refers to the cryptographic key used to sign the code. Example – evcodesigning
<hashing algorithm>: You need provide the name of hashing algorithm such as SHA256, SHA384, or SHA512. It must be one of these three values.
<certificate location>: An example of what can be put in this field is C:\testing.pem. The certificate.pem file MUST be included in this input. You can generate a pem file of the certificate for codesigning, if you have the key name using, ECSigningKSP. For doing so follow the commands below:
In your device where you have ECSigningKSP installed and configured, navigate to the folder of ECSigningKSP, which is usually present in “C:\Program Files\Encryption Consulting\SigningKSP”
In your command prompt reach to this directory.
Then use following command to get pem file of the certificate.
ECGetCert.exe <Key_Name> (example: ECGetCert.exe evcodesigning)
Provide the location of the certificate saved.
<time stamp server>: A timestamp server provides proof that a digital signature was performed at a specific time, allowing verification in the future that a file was signed at a particular time. The one we generally use is http://timestamp.digicert.com
<file path>: This is where you provide the path of file that you want to sign. Example C:\<Folder_name>\<File_name>. Make sure you have provided a file name with the proper extension.
My script was:
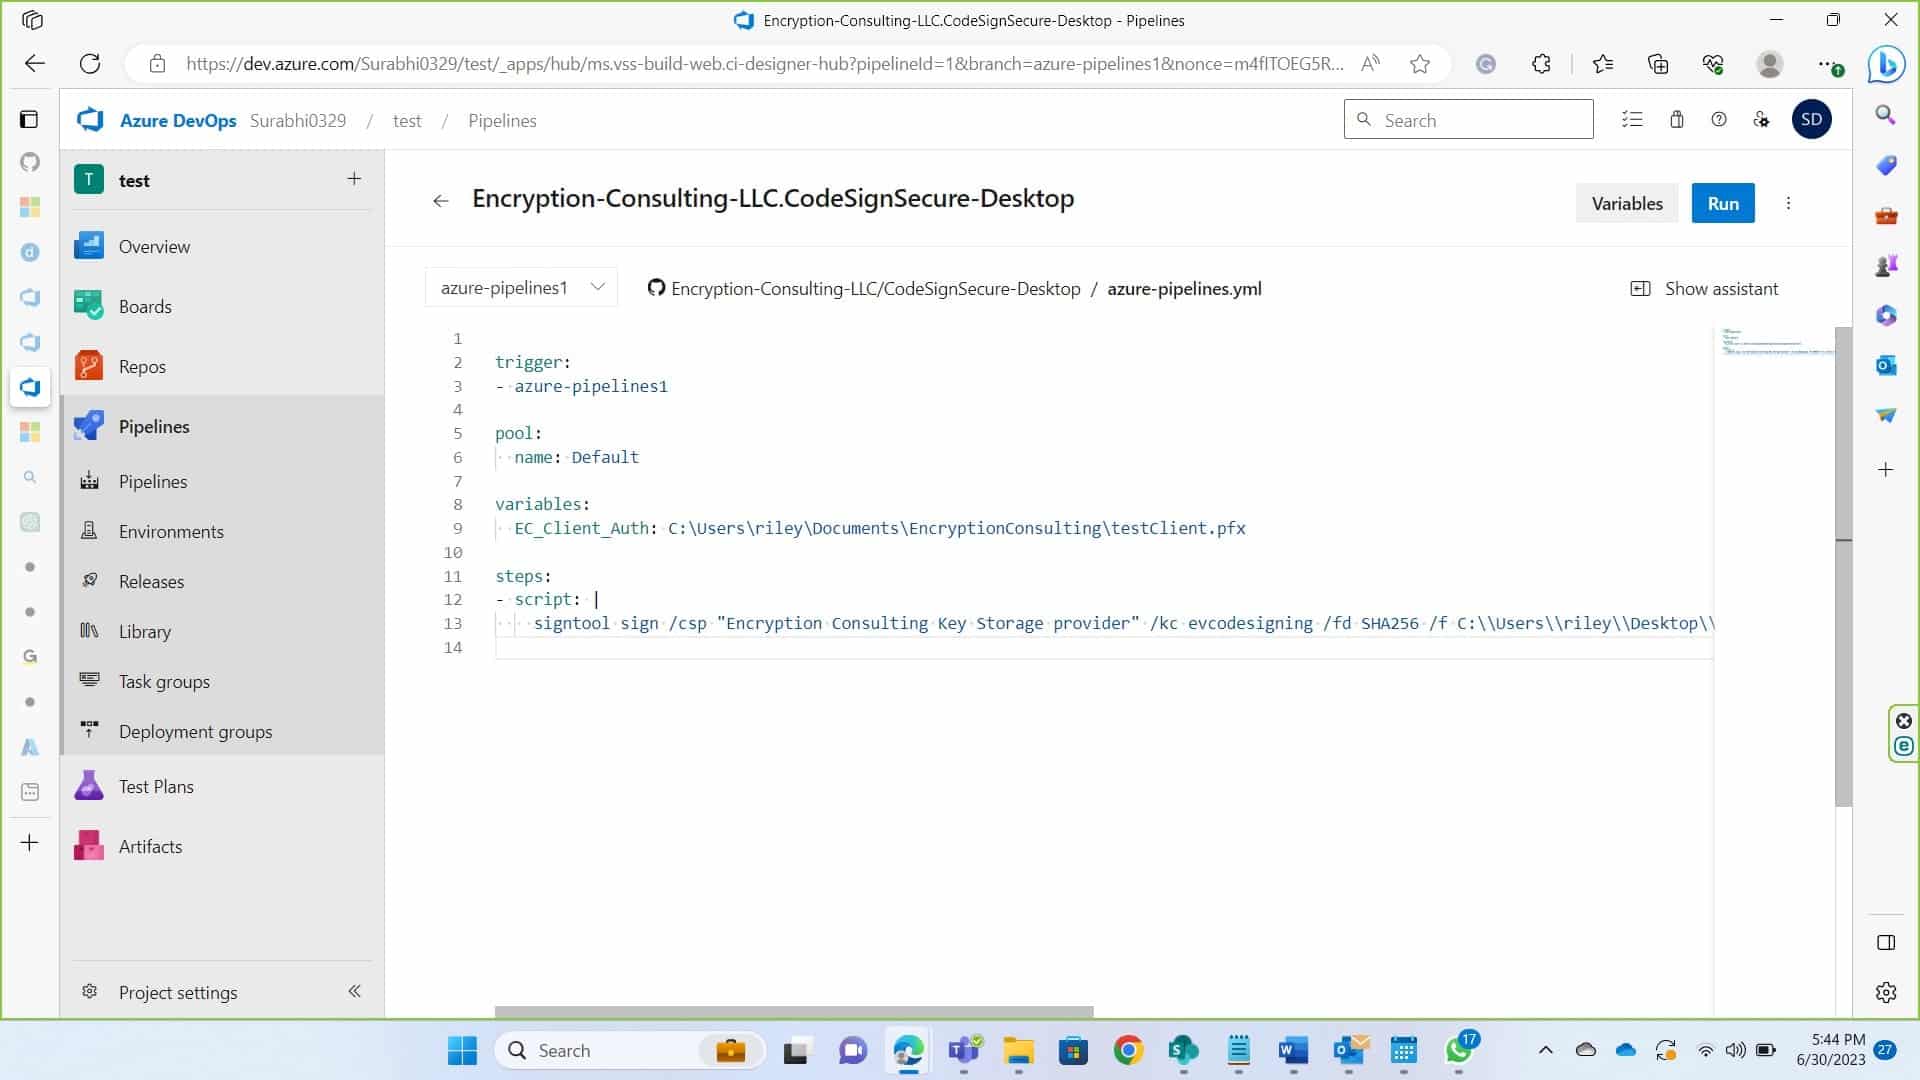
      trigger:


      - azure-pipelines1


      pool:


        name: Default


      variables:


        EC_Client_Auth: C:\Users\riley\Documents\EncryptionConsulting\testClient.pfx


      steps:


      - script: |


        signtool sign /csp "Encryption Consulting Key Storage provider" /kc evcodesigning /fd SHA256 /f
      C:\\Users\\Administrator\\Desktop\\ForTesting\\evcodesigning.pem /tr http://timestamp.digicert.com /td SHA256
      C:\\Users\\Administrator\\Desktop\\ForTesting\\AgentService.exe
When you click save and run, you’ll prompted with branch tag, make sure the name provided here and under trigger in script is same before running the script.
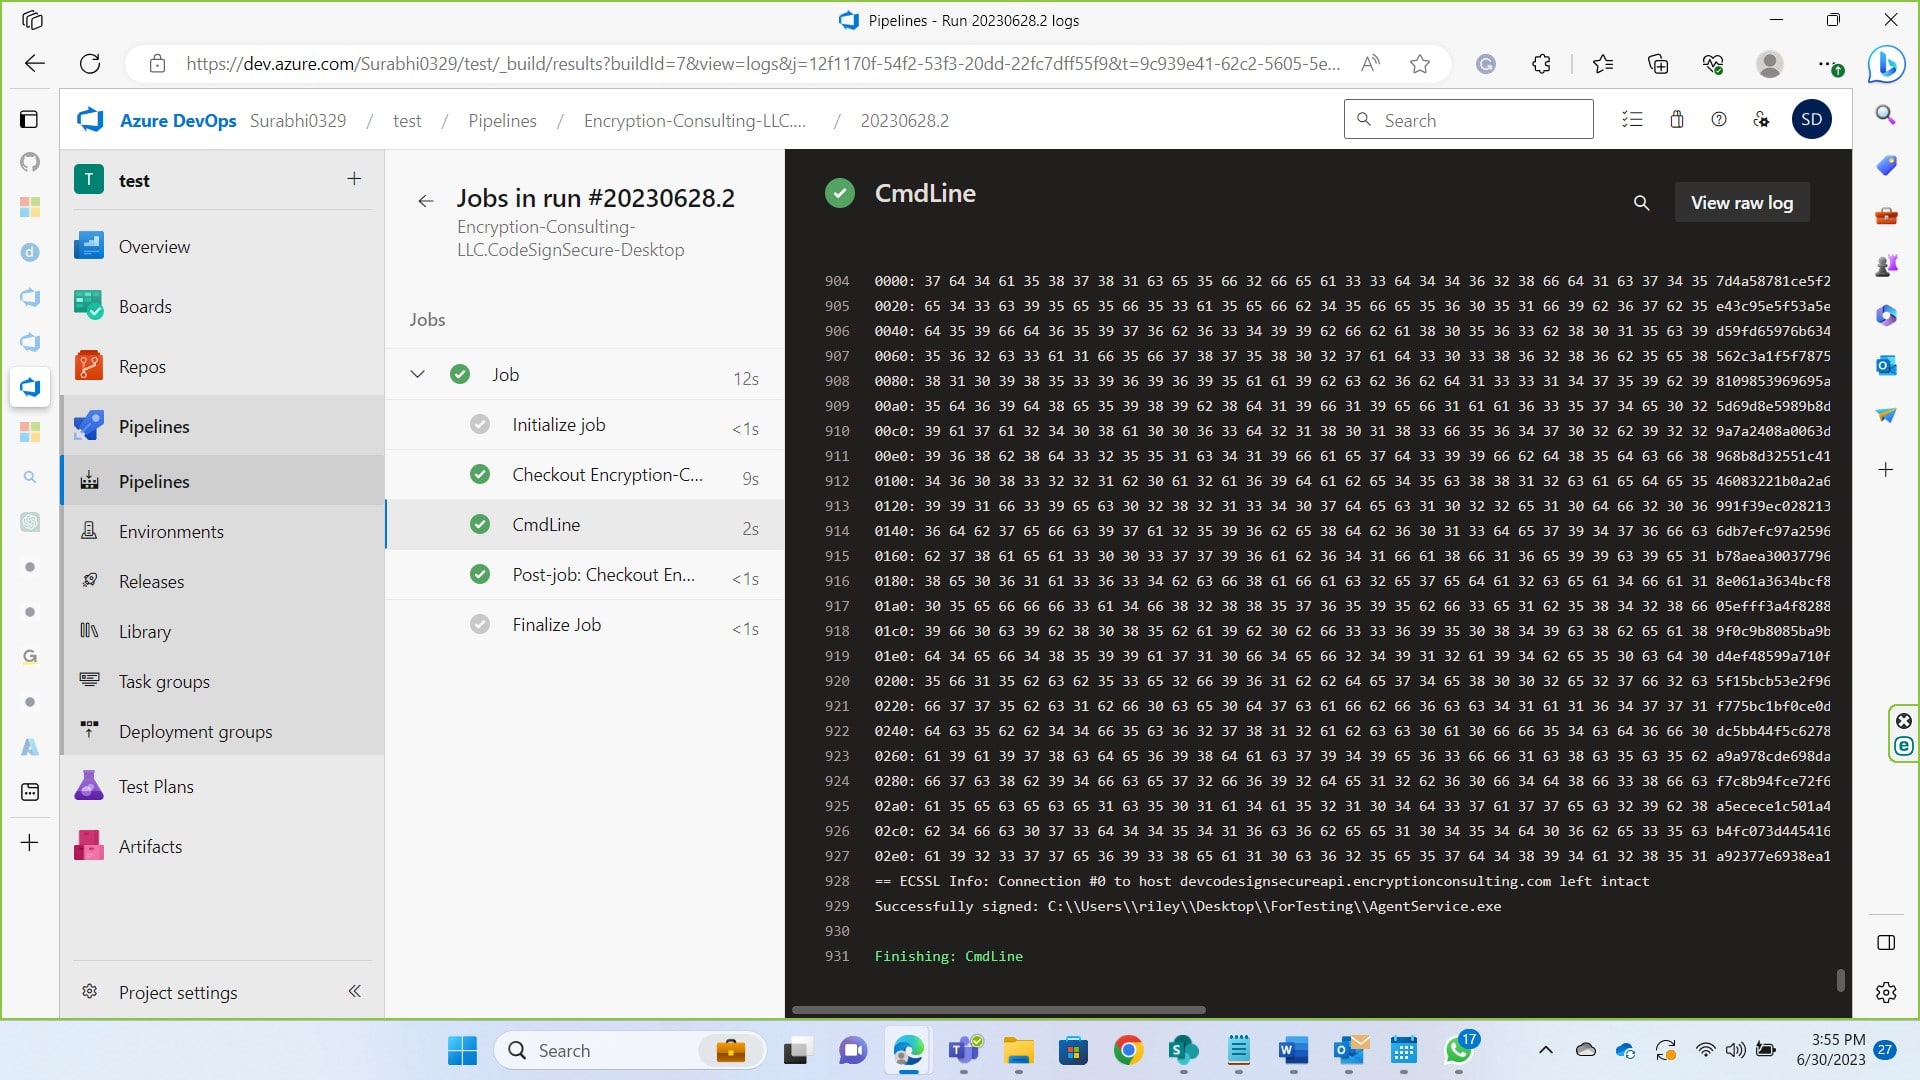
Once the build is successful, you’ll see that your file has been successfully signed.
Conclusion
The article above demonstrates the process of integration your Azure Devops CI/CD pipeline with codesigning. It is a very simple process as you’re just required to set up a runner, connect it with an Azure Devops account and build the pipeline to run the job. Codesigning is crucial in today’s date as malicious software, files continue to grow. Code signing establishes trust between software publishers and end-users, assuring them that the code has not been compromised or altered. You can contact us at [email protected] for any help regarding our code signing solution.