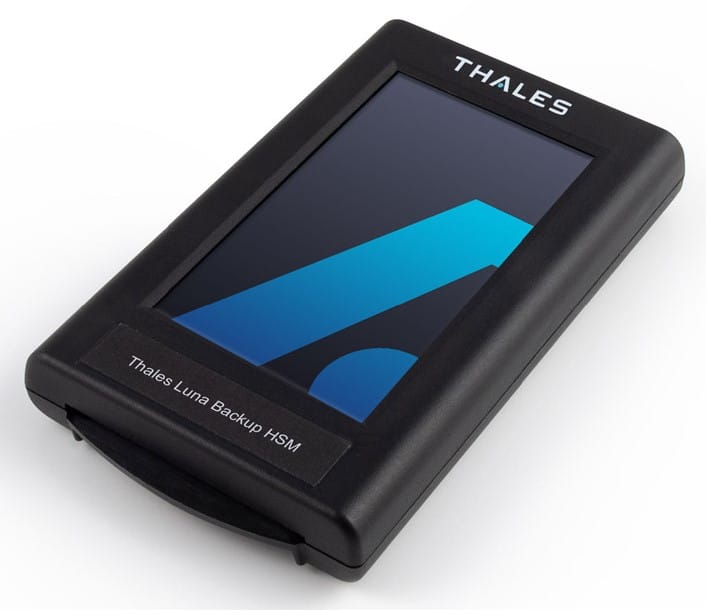
Backup HSMs are an essential part of your key storage ecosystem. They can be used to store to store backups of your cryptographic keys stored on network attached HSMs. This document will guide you in setting up Luna 7 backup HSM.
In order to setup a Luna 7 backup HSM for backup of existing cryptographic material, you have 2 options: You may connect directly to the USB interface on a network attached HSM appliance, or you may connect to a USB port on Luna 7 client. You will need the passwords and/or ped keys associated with the partitions (including the admin partition) and domain in order to perform any sort of backup, so have those materials ready including your ped if you have one.
Ped Based HSMs
Ped Based HSMs use a quorum of ped keys to protect cryptographic data. They also utilize Pin Entry Devices or PEDs in order to allow for local or remote administration functions. You will need your existing Domain (red) keys and Crypto Officer (black) keys.
You will need new or existing Security Officer(blue) keys. If your backup will be conducted remotely, you will need the orange keys from your existing network attached HSM. We do not recommend the reuse of Remote Ped Vector (orange) keys between your existing network attached HSM and backup HSM. This is because, while network attached HSM RPV keys are easily replaceable by the SO; Backup HSM RPV key loss is equivalent to the loss of all stored cryptographic data.
Backup Via Appliance USB port
- First you will need to remove the Backup HSM from secure transport mode. To do so connect to a client workstation running LunaCM and preform the following steps in LunaCM.
lunacm:> slot set -slot <slot_id>
Note: Use the admin partition’s slot ID
lunacm:> stm recover -randomuserstring <string>
Note: Check for an email from Thales to obtain string
- Connect your backup HSM and ped to USB ports on the appliance other than the USB port on the PCIE card. Please see below for reference.

- Connect a Workstation with the Serial to USB cable to the serial com port Highlighted blue above. Once connected, start a putty session using connection type serial over the corresponding com port. You can check Device manager to find the correct com port number.

- Use the following command in putty (hereafter denoted lunash) and keep handy the backup HSM serial number returned.
lunash:> token backup list
- Next, using the following command, establish a connection between the appliance’s local remote ped server instance and the remote PED.
lunash:> hsm ped connect -ip 127.0.0.1 -serial <backup_hsm_serial_number>
- LunaSH will supply you with a 1 time password to establish a secure connection prior the initialization of a orange RPV key. Enter this password on the PED, before proceeding to create an RPV (orange) PED key. Please create multiple orange keys, as they cannot be easily created on backup HSMs. This differs from network attached HSMs!
lunash:> hsm ped vector init -serial <backup_hsm_serial_number>
- Initialize the backup HSM using the command below. Keep in mind you MUST reuse the domain (red) keys from your existing HSM or cloning will not work. For simplicity, reusing the SO (blue) keys is also an option.
lunash:> token backup init -label <backup_hsm_label> -serial <backup_hsm_serial_number>
- If FIPS compliance is required, and already setup on the existing Network attached HSM, first follow the section on FIPS compliance here before proceeding.
- Use the following command in LunaSH to display a list of all present application partitions. Take note of the partitions you wish to clone.
lunash:> partition list
Note: Record partition names for cloning
- Use the following command to clone the partition for the first time to the backup HSM
lunash:>partition backup -partition <source_partition_label> -serial <backup_hsm_serial_number>
- Using the ped insert the new or reused partition SO (blue) PED keys to initialize the backup partition.
- Using the ped insert the partition SO (blue) PED key(s) you just created for the backup partition, to log in.
- Using the ped insert the new or reused Crypto Officer (black) PED key(s) to initialize the CO role on the backup partition.
- Using the ped insert the new or reused Domain (red) PED key(s) for the source partition, to initialize the domain on the backup.
- Using the ped insert the Crypto Officer (black) PED key(s) you just created for the backup partition, to log in.
Configuring Luna 7 backup HSM FIPS Compliance
- In LunaCM Log in as Backup HSM
lunacm:> role login -name so
- Next use this command to set the fips compliance policy
lunacm:> hsm changehsmpolicy -policy 55 -value 1
lunacm:> hsm showinfo
Restore via Appliance USB port
- Connect your backup HSM and ped to USB ports on the appliance other than the USB port on the PCIE card. Please see below for reference
- Connect a Workstation with the Serial to USB cable to the serial com port Highlighted blue above. Once connected, start a putty session using connection type serial over the corresponding com port. You can check Device manager to find the correct com port number.
- Use the following command in putty (hereafter denoted lunash) and keep handy the backup HSM serial number returned
lunash:> token backup list
- Display the list of application partitions. Note the partition you are restoring to.
lunash:> partition list
- Display a list of existing backups on the backup HSM. Not the partition you want to restore from
lunash:> token backup partition list -serial <backup_hsm_serial_number>
- Restore the partition using the following command. Use add to only add new content, or replace to replace all content of the partition
lunash:> partition restore -partition <target_user_partition_label> -tokenpar <source_backup_partition_label> -serial <backup_hsm_serial_number> {-add | -replace}
- If the target partition has already been activated, you will just need the crypto officer challenge secret. Otherwise, follow the following instructions using the ped and ped keys.
- Using the ped insert the RPV (orange key) for the target HSM to initiate the remote connection
- Using the ped insert the Crypto Officer (black key) for the target partition
- Using the ped insert the RPV (orange key) for the backup HSM.
- Disconnect the ped using the command
lunash:> hsm ped disconnect -serial <backup_hsm_serial_number>
Password Based HSMs
Password based HSMs protect cryptographic data with a series of passwords corresponding to various roles of users on the HSM. The SO for the HSM manages the policies and security for the HSM. The domain string is used for cloning and must match to clone to a partition from a backup partition, or for HSMs in an HA group. The Crypto Officer manages cryptographic data within a partition.
Backup Via Appliance USB port
- First you will need to remove the Backup HSM from secure transport mode. To do so connect to a client workstation running LunaCM and preform the following steps in LunaCM
lunacm:> slot set -slot <slot_id>
Note: Use the admin partition’s slot ID
lunacm:> stm recover -randomuserstring <string>
Note: Check for an email from Thales to obtain string
- Connect your backup HSM to USB ports on the appliance other than the USB port on the PCIE card. Please see below for reference
- Connect a Workstation with the Serial to USB cable to the serial com port Highlighted blue above. Once connected, start a putty session using connection type serial over the corresponding com port. You can check Device manager to find the correct com port number.
- Use the following command in putty (hereafter denoted lunash) and keep handy the backup HSM serial number returned
lunash:> token backup list
- Initialize the backup HSM using the command below.
lunash:> token backup init -label <backup_hsm_label> -serial <backup_hsm_serial_number>
- If FIPS compliance is required, and already setup on the existing Network attached HSM, first follow the section on FIPS compliance here before proceeding.
- Use the following command in LunaSH to display a list of all present application partitions. Take note of the partitions you wish to clone
lunash:> partition list
- Use the following command to clone the partition for the first time to the backup HSM
lunash:>partition backup -partition <source_partition_label> -serial <backup_hsm_serial_number>
- Enter the crypto officer password for the source partition
- Enter the SO password for the backup HSM
- Provide the domain string for the new partition. This string should match your existing domain string to preform a backup in the future.
- In LunaCM Log in as Backup HSM
lunacm:> role login -name so
- Next use this command to set the fips compliance policy
lunacm:> hsm changehsmpolicy -policy 55 -value 1
lunacm:> hsm showinfo
- Connect your backup HSM to USB ports on the appliance other than the USB port on the PCIE card. Please see below for reference
- Connect a Workstation with the Serial to USB cable to the serial com port Highlighted blue above. Once connected, start a putty session using connection type serial over the corresponding com port. You can check Device manager to find the correct com port number.
- Use the following command in putty (hereafter denoted lunash) and keep handy the backup HSM serial number returned
lunash:> token backup list
- Display the list of application partitions. Note the partition you are restoring to
lunash:> partition list
- Display a list of existing backups on the backup HSM. Not the partition you want to restore from
lunash:> token backup partition list -serial <backup_hsm_serial_number>
- Restore the partition using the following command. Use add to only add new content, or replace to replace all content of the partition
lunash:> partition restore -partition <target_user_partition_label> -tokenpar <source_backup_partition_label> -serial <backup_hsm_serial_number> {-add | -replace}
- In this order enter: the crypto officer password for the target partition. The crypto officer password for the backup partition.
Configuring Luna 7 backup HSM FIPS Compliance
Restore via Appliance USB port
Conclusion
Backup HSMs allow you to rest easy in case of hardware failure and natural disaster related losses. Backup HSMs can also be used to store cryptographic data for transport. Whatever your use case, using you back HSM with these instructions should be efficient and easy.
Backup HSMs are an essential tool in providing reliability and recovery functions for your cryptographic data. By following the instructions, you can backup data from you existing Luna 7 network HSM to a Luna 7 backup HSM or restore data to a Network HSM using data stored on a backup HSM.