CircleCI Integration Guide
Integrating CodeSign Secure with CircleCI streamlines your CI/CD workflows by automating the signing process. This guarantees each build is signed securely and efficiently, minimizing manual mistakes and bolstering the reliability of your software supply chain.
In this guide, we will show you how to sign using Microsoft’s Signtool with Encryption Consulting’s KSP and a CircleCI self-hosted runner on a Windows machine.
Set up CodeSign Secure KSP
The Encryption Consulting Key Storage Provider (KSP) for Windows is a software component that extends the Microsoft Cryptography API: Next Generation (CNG) framework. Its primary purpose is to enable Windows applications, such as signtool.exe, to interact seamlessly with the cryptographic keys and certificates stored within an HSM.
Step 1: Download the EC KSP
- Log in to the CodeSign Secure portal and navigate to the Signing Tools section to download “EC KSP for Windows.”
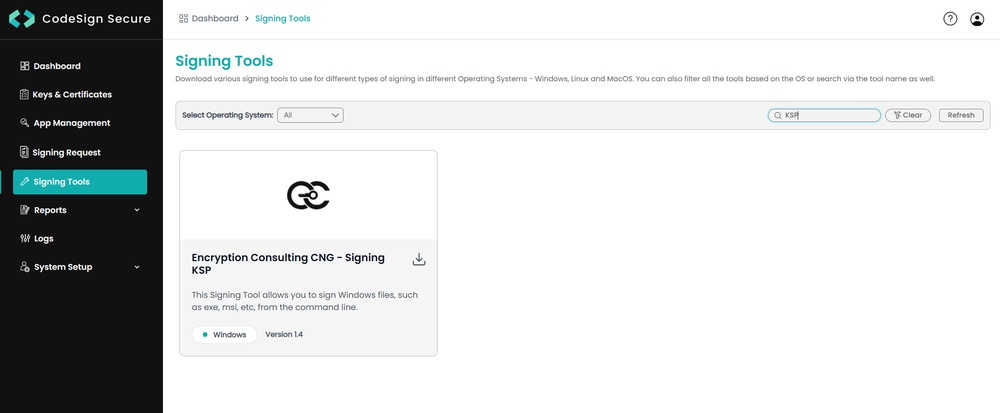
- Extract the zip file to get the “Setup.msi” file.
Step 2: Install the EC KSP
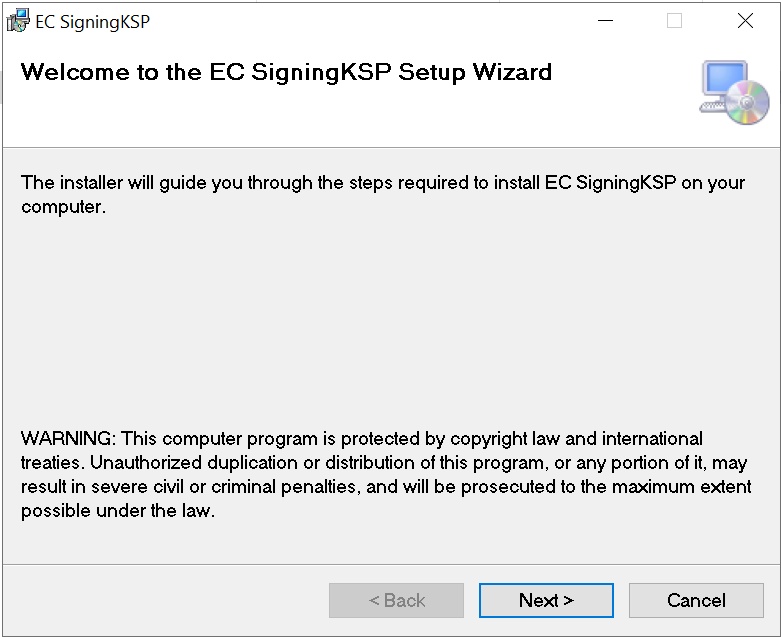
- Run the “Setup.msi” installer with Administrator privileges.
-
Follow the on-screen prompts of the installation wizard.
- Accept the End-User License Agreement.
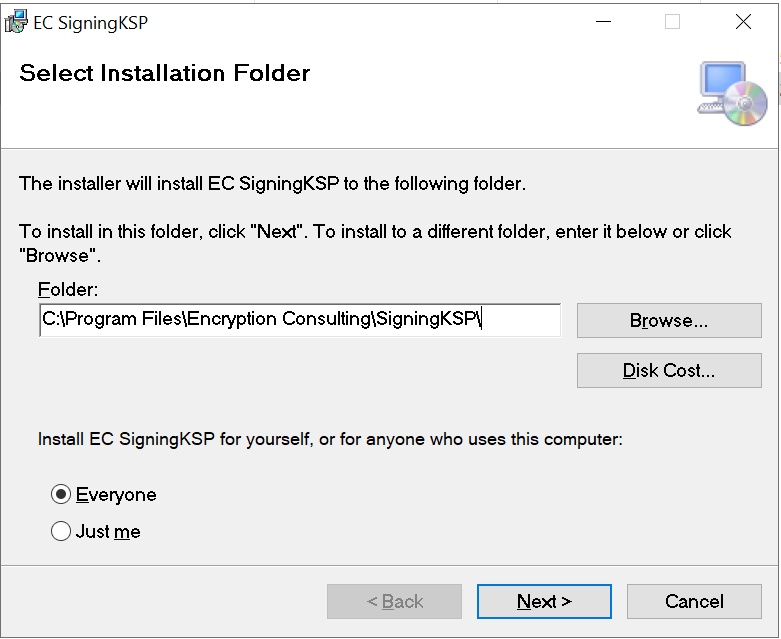
- Choose the installation directory (the default is C:\Program Files\Encryption Consulting\SigningKSP).
- Choose whether you want to install the KSP for Everyone or just for the current user.
-
Enter the prompted details such as:
- Username: The username/email that you use to log in to the CodeSign Secure portal.
- Code: The secret code that you set at the time of setting up the CodeSign Secure solution.
- IdentityType: Keep this field as default (2).
- CodeSign Secure URL: The URL to access the portal (remember to add “/api/” at the end of the URL).
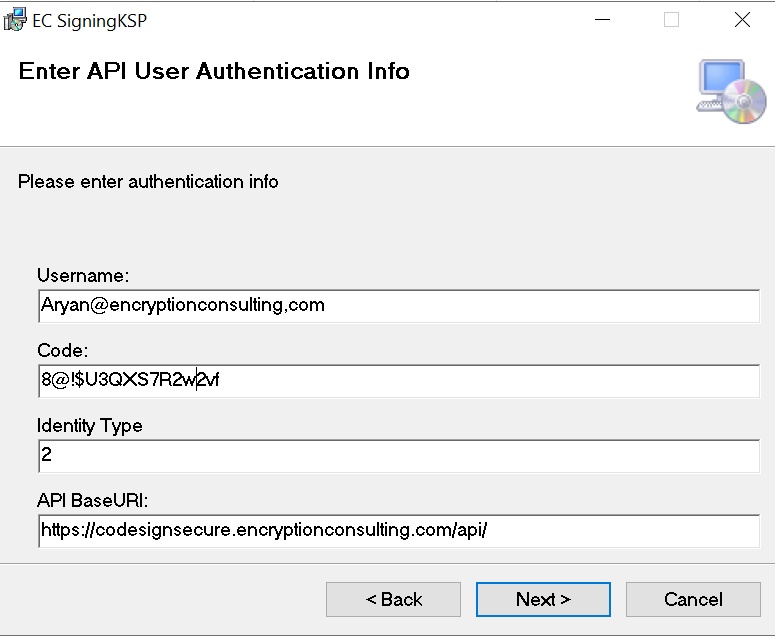
- Click Next and confirm the installation.
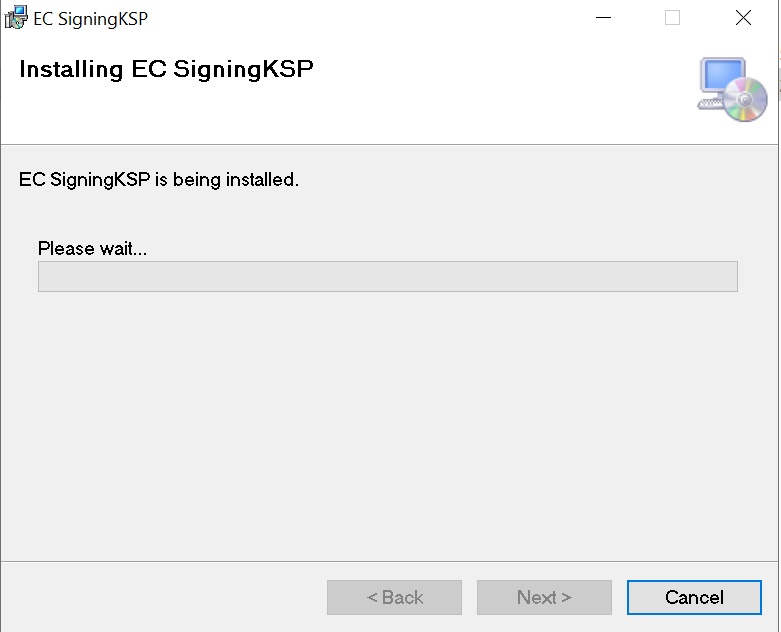
Step 3: Configure the Registry Editor settings
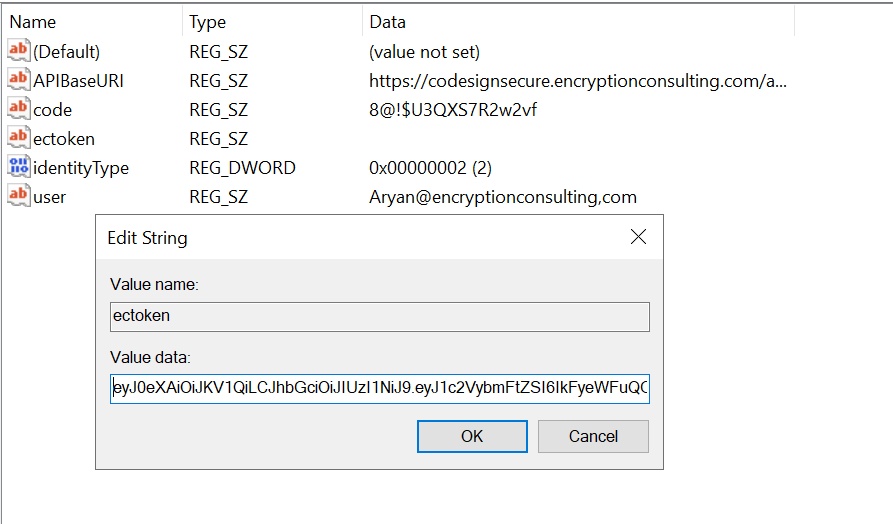
- Open the Registry Editor and navigate to HKEY_CURRENT_USER > Software > Encryption Consulting > SigningKSP directory.
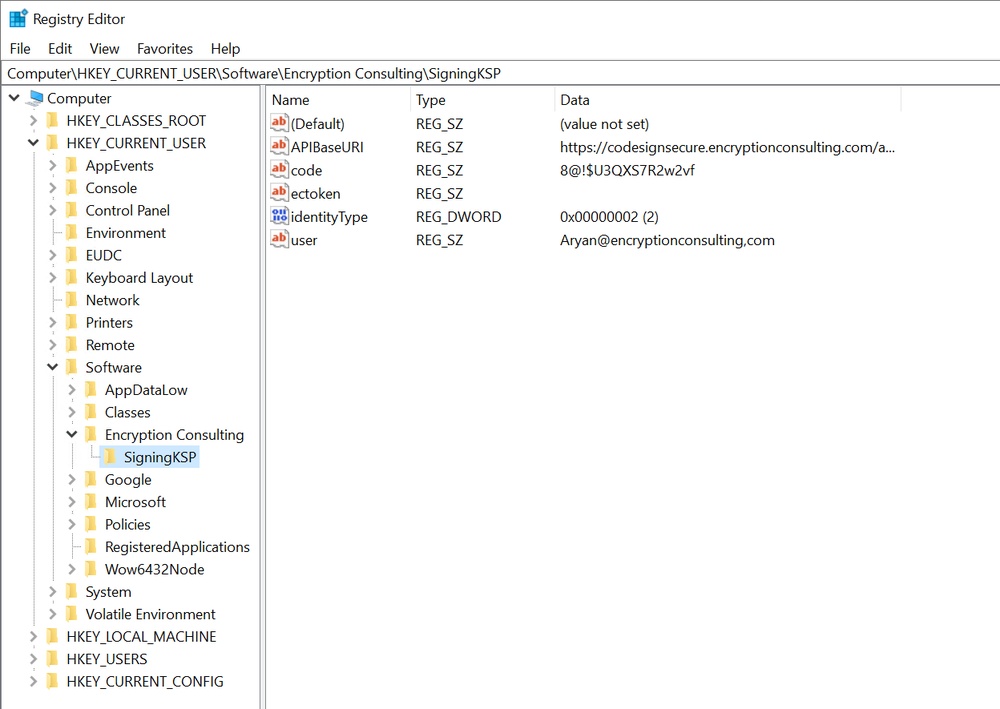
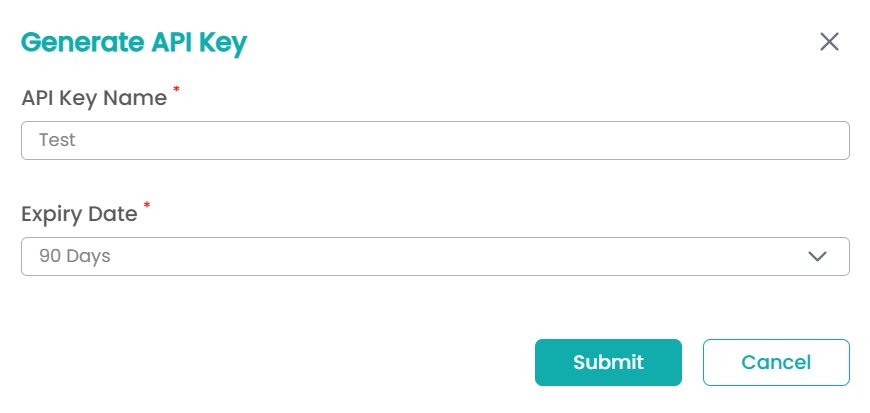
- Now open the CodeSign Secure portal and navigate to System Setup > User. Select the “Generate API Key” option.
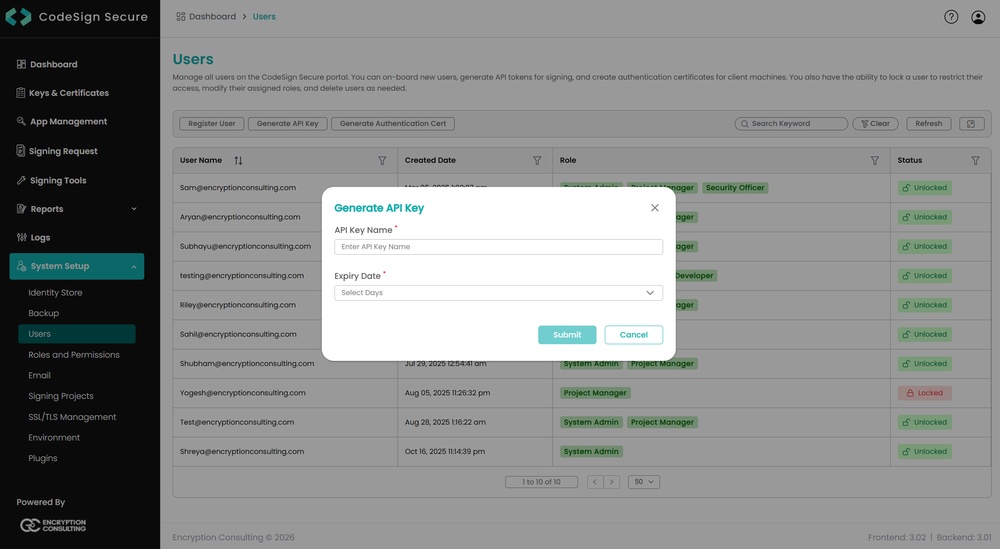
- Create a token for your account by providing a name and the validity period. Remember to copy the token as it will be shown only once.
- Add this token to the “ectoken” field in the Registry Editor.
Set up P12 Authentication Certificate
Setting up a P12 Certificate involves configuring your environment variables to authenticate your client machine with Encryption Consulting’s CodeSign Secure.
Step 1: Create a Machine Authentication Certificate
- Open the CodeSign Secure portal and navigate to System Setup > User. Select the “Generate Authentication Cert” option.
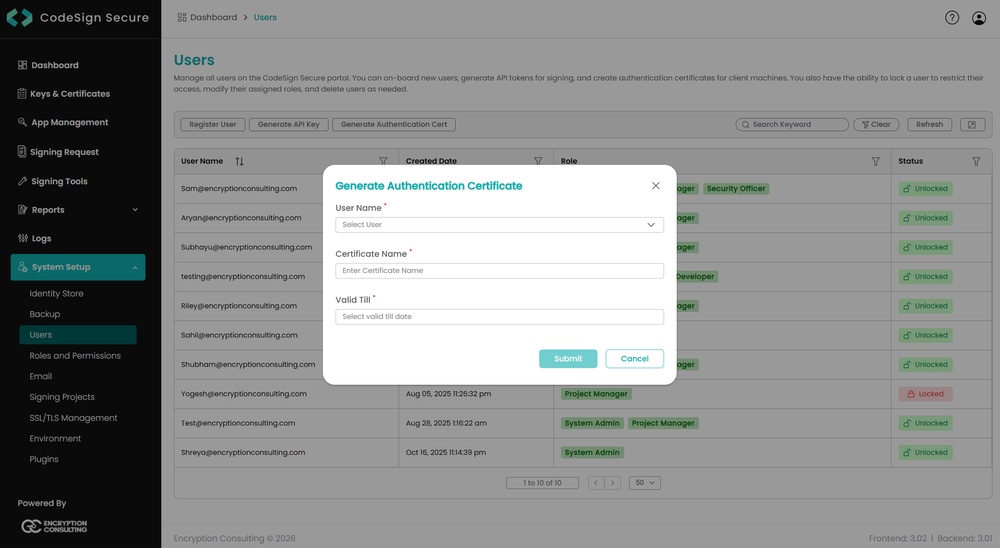
- Select the user name from the drop down and enter the details like certificate name and its expiry date.
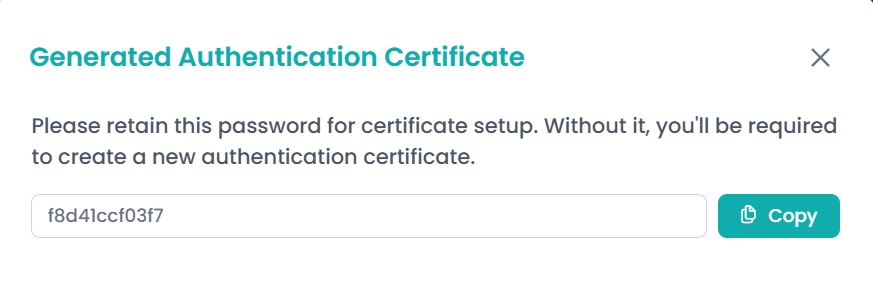
- It will then provide you with a .pfx certificate file and also display the password to the certificate file.
NOTE: This password will be displayed only once. So you must copy and store it safely to perform the authentication with the CodeSign Secure server.
Step 2: Configure the Environment Variables
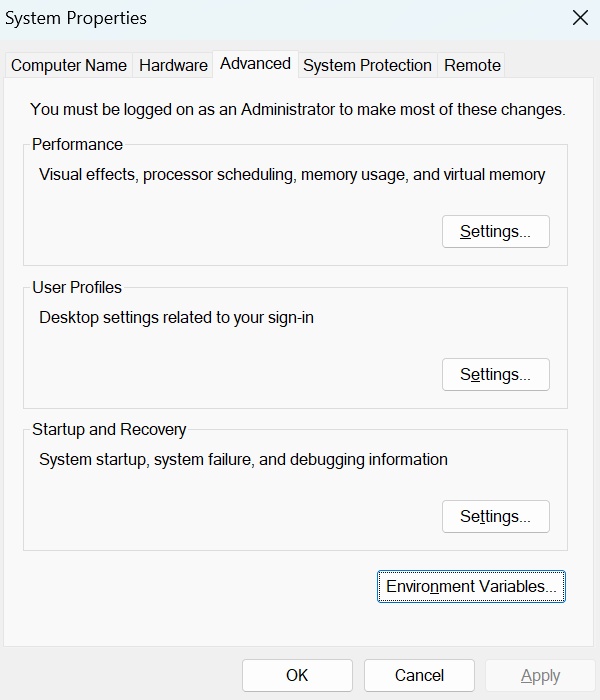
- Open the Environment Variables from your Start Menu.
-
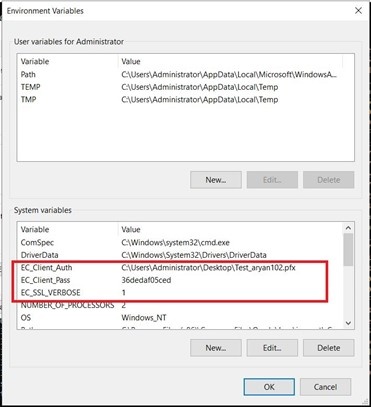
Add new system variables by clicking on the New button. Provide the following variable name and its corresponding details.
- EC_Client_Auth: Corresponds to the path of your SSL Authentication certificate, which can be created from CodeSign Secure.
- EC_Client_Pass: Corresponds to the password of your certificate, which is provided at the time of creation of the certificate.
- EC_SSL_VERBOSE: Corresponds to the setting to either enable (1) or disable (0) the debugging output for EC KSP.
Set up Signtool for Signing
Setting up signtool for code signing involves ensuring that the Signtool.exe utility is available on your machine and configured to correctly interact with Encryption Consulting’s cryptographic provider that provides access to your code signing certificate’s private key.
Step 1: Download and Install Windows SDK
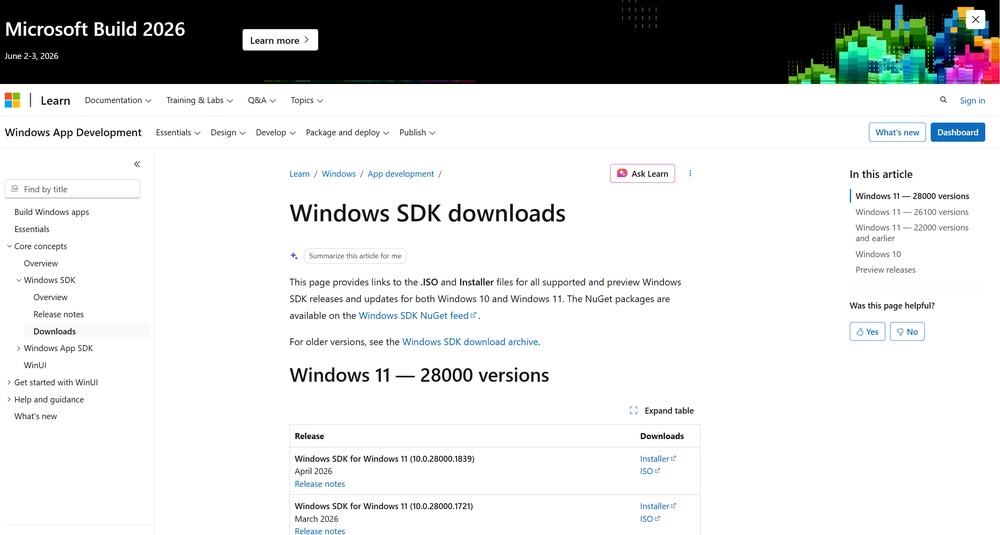
- Using the following download link, download the Windows Software Development Kit: Windows SDK downloads – Windows apps | Microsoft Learn
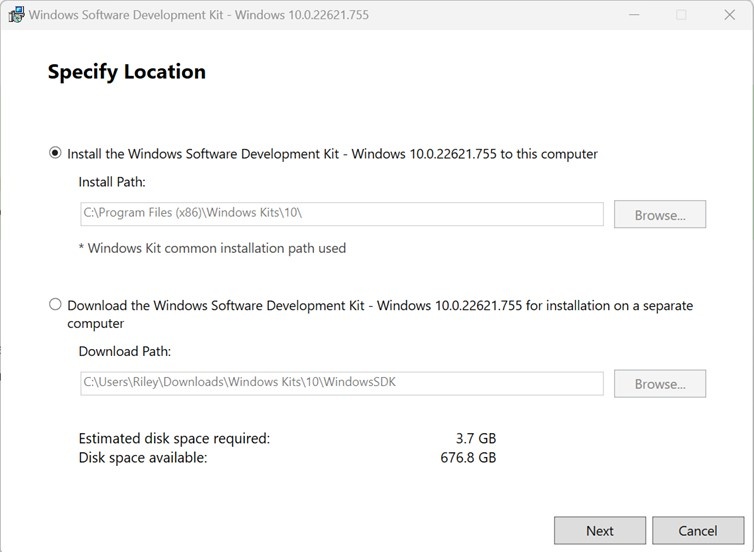
- Open the installer once downloaded and select “Next” on the first screen to keep the default settings.
-
Follow the on-screen prompts of the installation wizard.
- Accept the Windows Kits Privacy notice.
- Accept the End-User License Agreement.
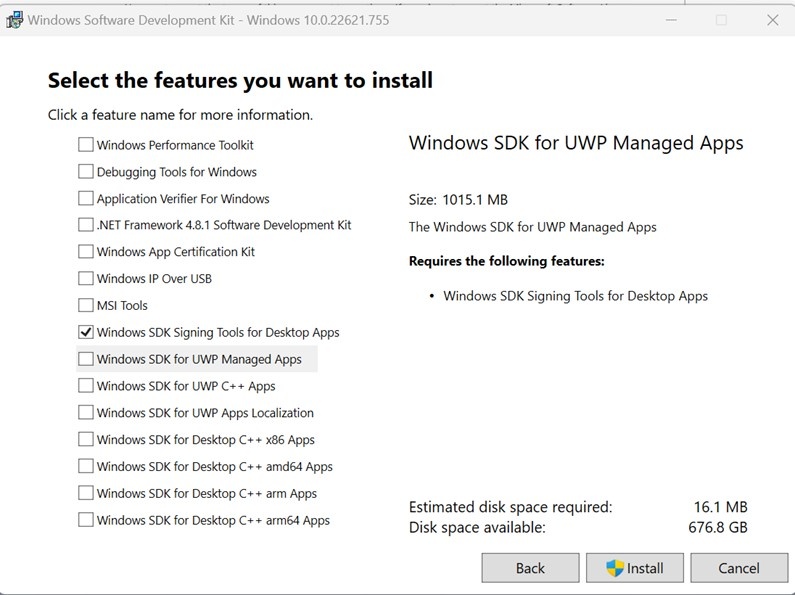
- Deselect everything except “Windows SDK Signing Tools for Desktop Apps” and select “Install”.
- Go to the following path where the tools should have been downloaded to: “C:\Program Files (x86)\Windows Kits\10\bin”. Select the desired version directory and check whether the “signtool.exe” file is present.
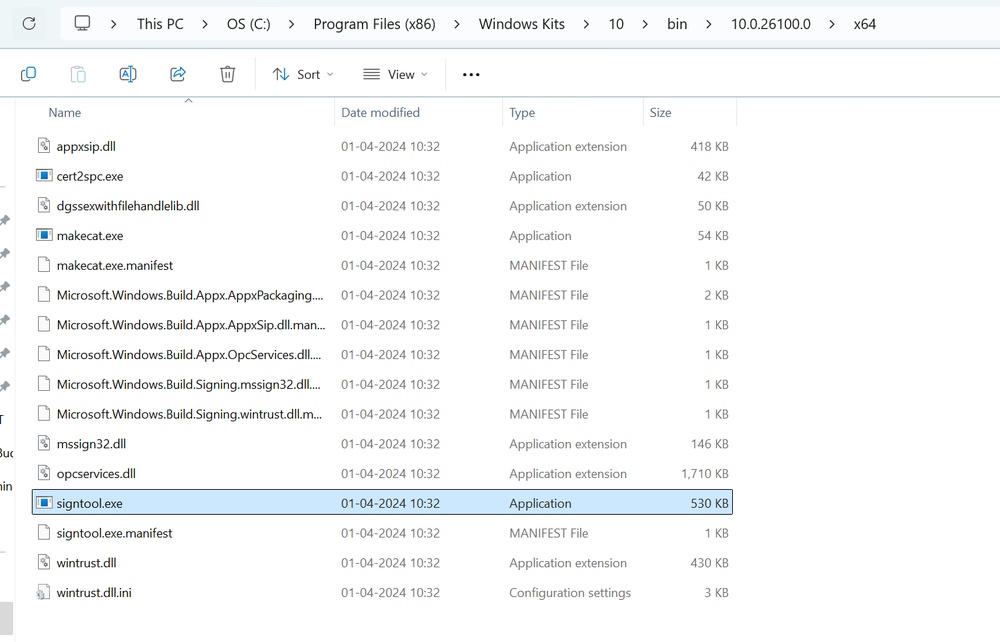
- Ensure you are in the x64 directory and copy this directory path.
Step 2: Add Path to Signtool.exe in Environment Variables
- Open the Environment Variables from the Start Menu.
- Scroll down through the system variables on the bottom table until you find PATH in the variable names.
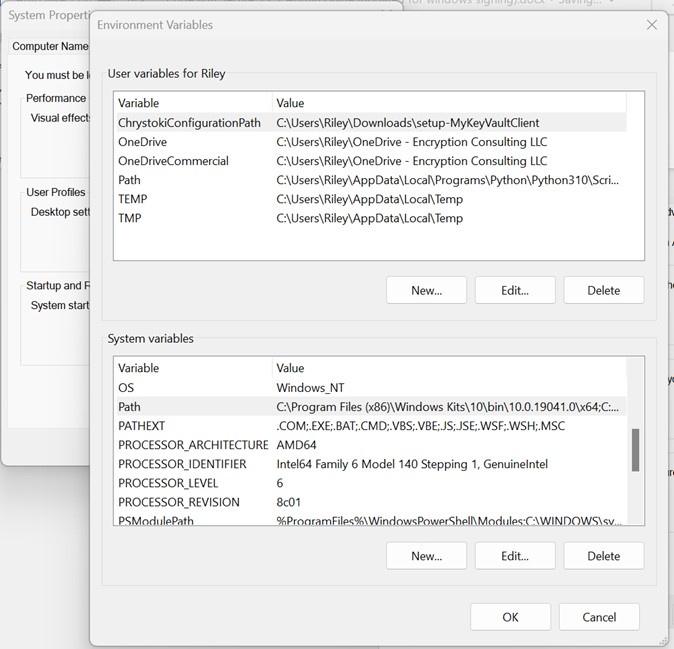
- Double-click on PATH in System Variables and select New on the left of the screen. Paste your copied directory path of “signtool.exe” into the new selection.
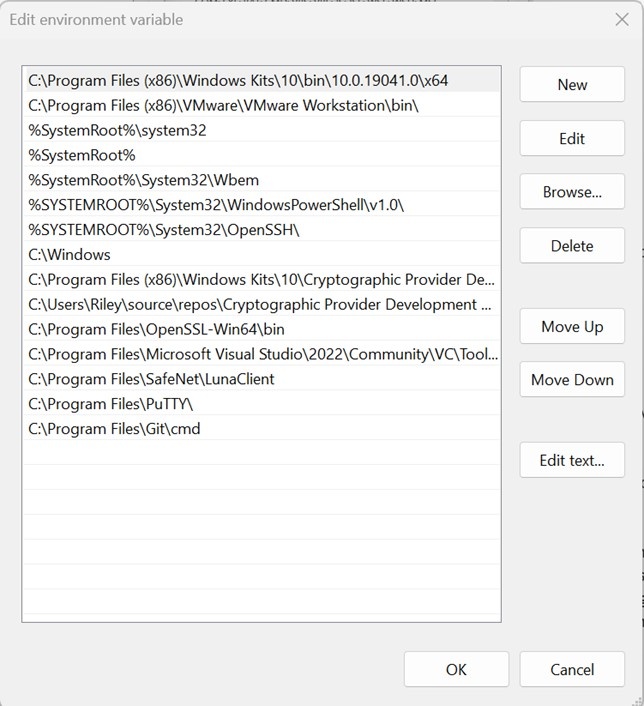
- Select OK at the bottom to exit the Environment Variables page.
Set up CircleCI
Setting up CircleCI requires setting up the organization, configuring your project, and specifically your build machines with the runners and pipelines for signing files using signtool on a Windows machine.
Create a CircleCI organization
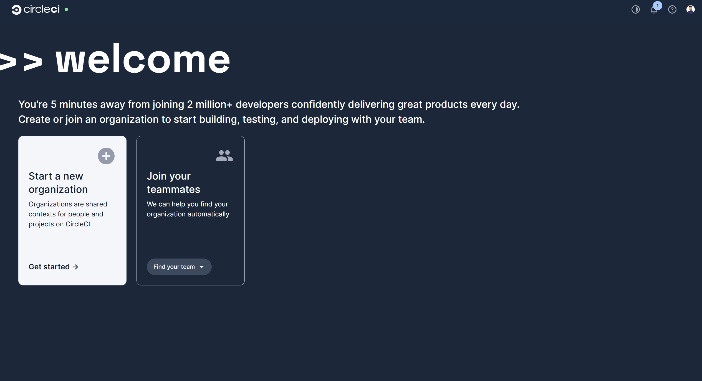
- Navigate to CircleCI and log in with your account. It will then show you the options to either create a new Organization or choose an already created one. In this guide, we will be creating a new organization.
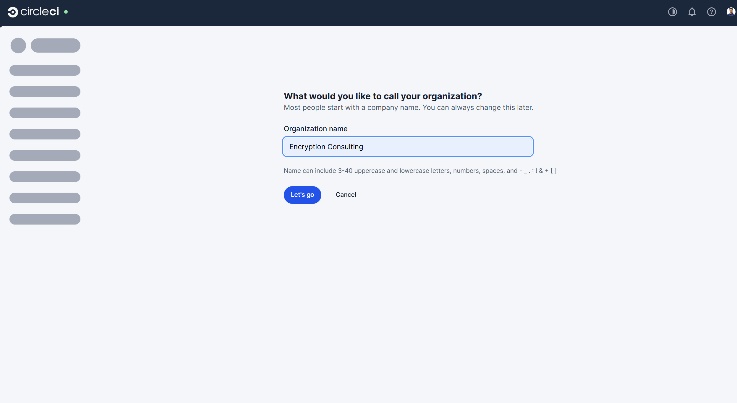
- Enter the unique name of the organization.
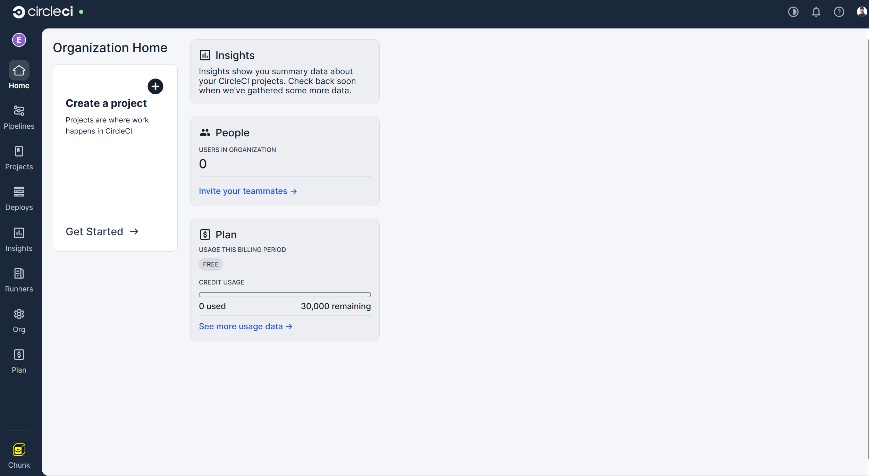
- It will then take you to the Home page of your organization in the CircleCI account.
Create a Resource Class for a Self-Hosted Runner
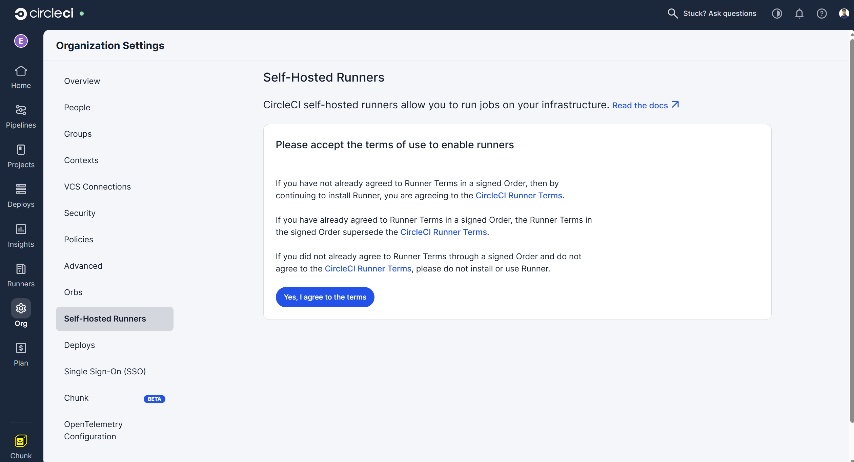
- Select the “Runners” section from the left sidebar.
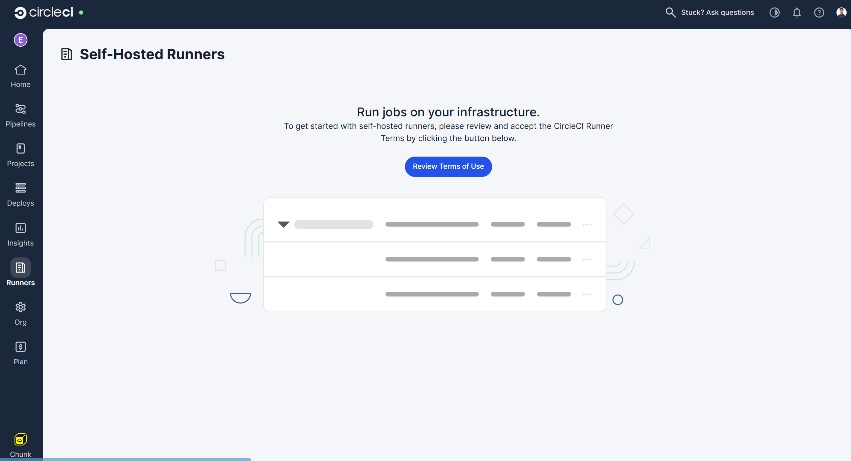
- It will first ask you to review and confirm the terms and conditions, after which you will be able to create a resource class for the runner.
- It will then redirect you back to the Runners section to create a resource class.
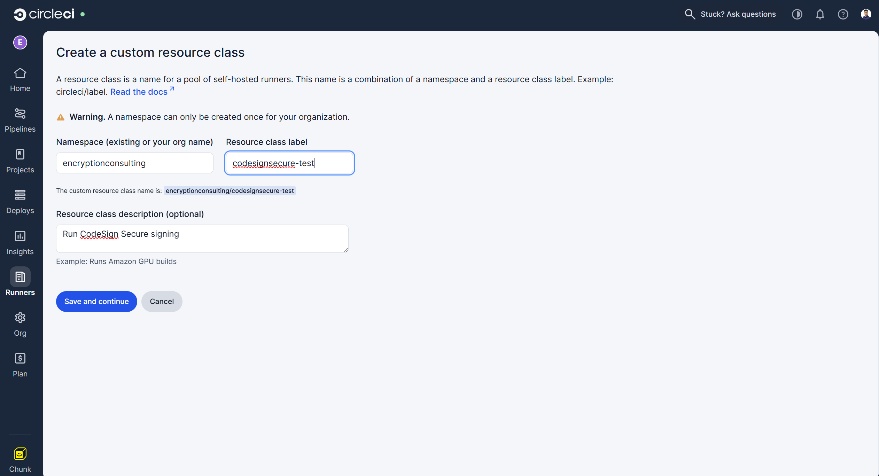
- Click “Save and Continue,” and it will then provide you with the authentication token.
NOTE: Copy and store this token safely as we will be needing it in the next steps to authenticate the runner with the CircleCI pipeline.
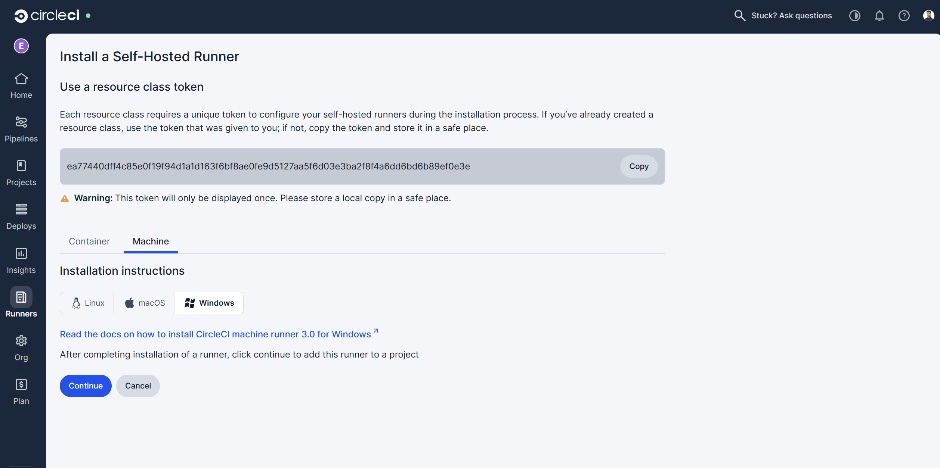
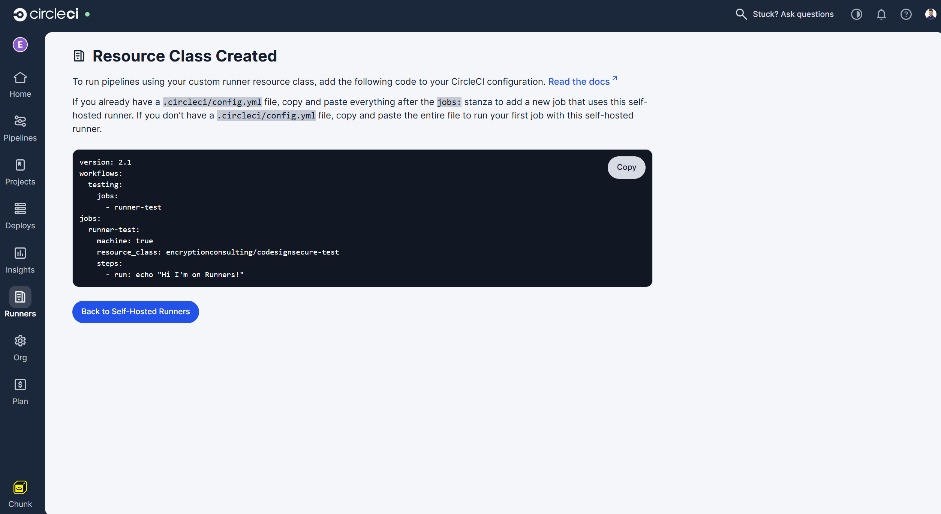
- Click “Continue” to add this runner to your organization.
Install the Runner on your Windows Machine
After we are done getting a token, we need to install a self-hosted runner on our machine. This is the machine where Signtool and the EC Signing KSP are installed and configured.
- Download the “Install-CircleCIRunner.ps1” script from GitHub on this machine.
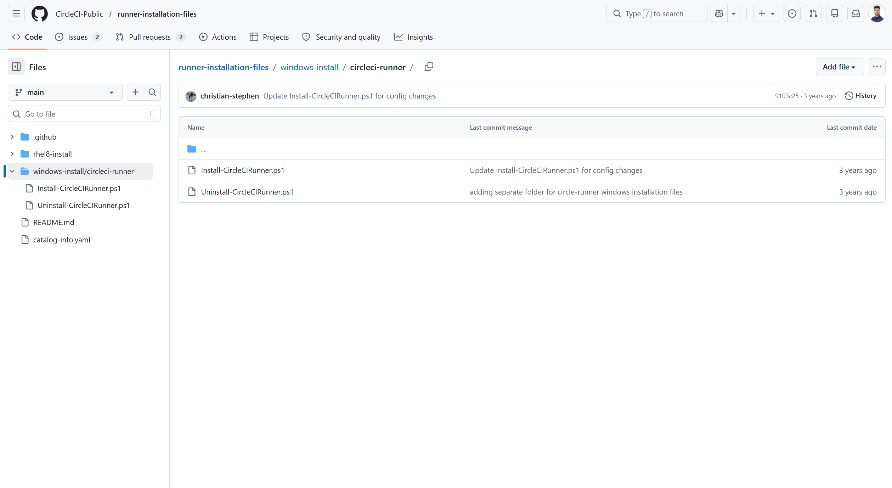
- Open PowerShell as an administrator and navigate to the directory where you placed the script file.
- Run the following command:
Set-ExecutionPolicy Bypass -Scope Process -Force; [System.Net.ServicePointManager]::SecurityProtocol = [System.Net.ServicePointManager]::SecurityProtocol -bor 3072;
./Install-CircleCIRunner.ps1
- As part of the installation, the configuration file for the machine runner (runner-agent-config.yaml) will open in Notepad. Fill in the requested information. The configuration file is located in the installation directory, C:\Program Files\CircleCI, by default.
- Enter the authentication token that we created while creating the Resource class.
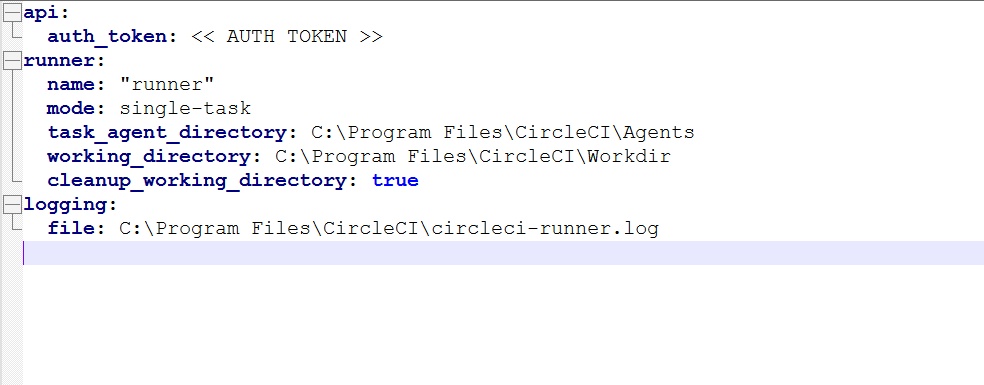
- After completing the runner setup, it will automatically start and start looking for jobs.
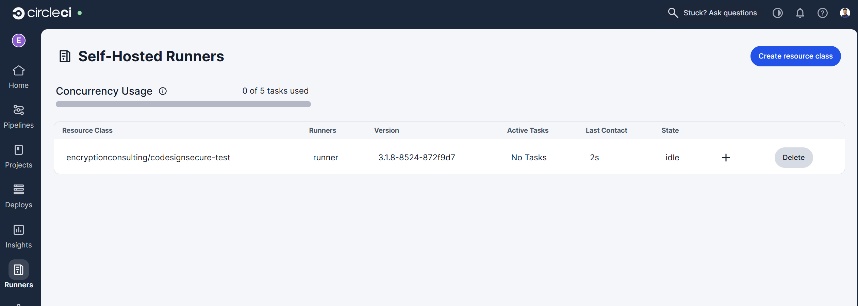
- You will be able to see a runner in the CircleCI page.
Create a project and set up a Pipeline
Now we go back to the Organization Home page to create a project and initialize the pipeline.
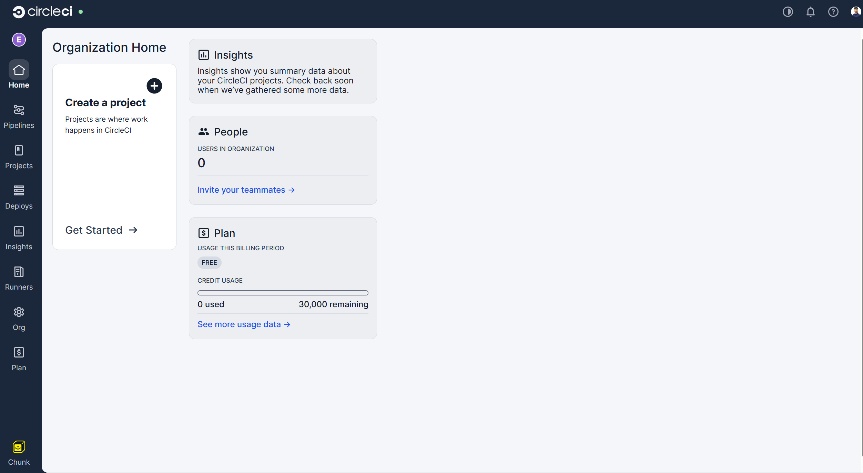
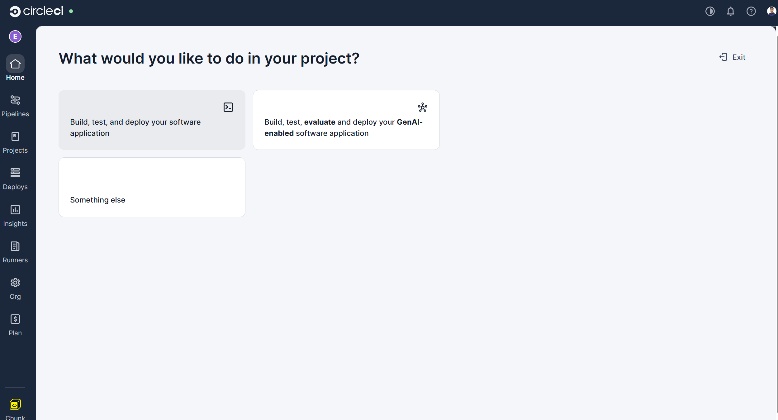
- Click on “Create a project” and select the “Build, test, and deploy your software application” option.
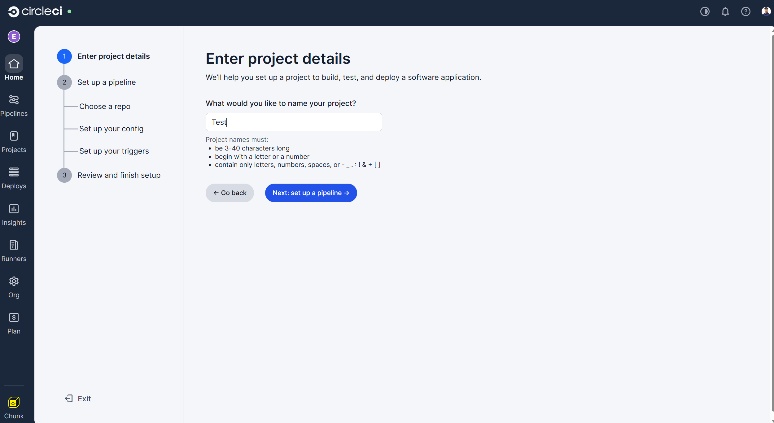
- Enter the project name and click the “Next: set up a pipeline” option.
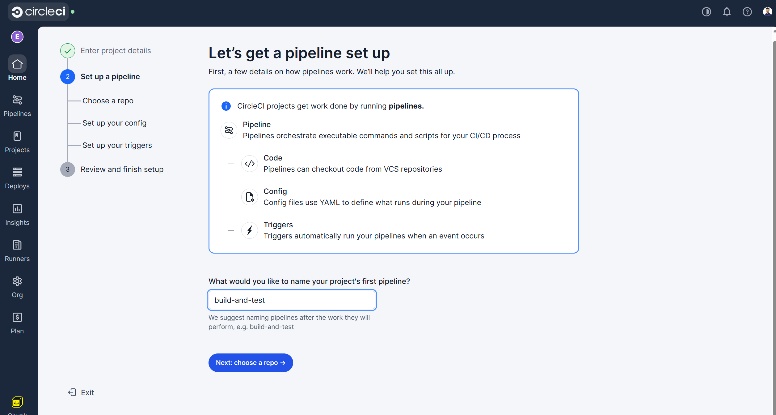
- Provide the name of the pipeline and click the “Next: choose a repo” option.
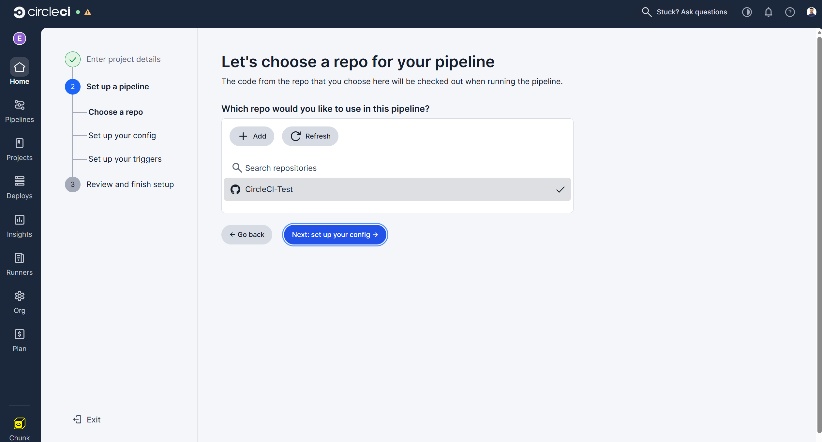
- You can choose which repo to connect to your pipeline. We will be using a GitHub repo for this guide.
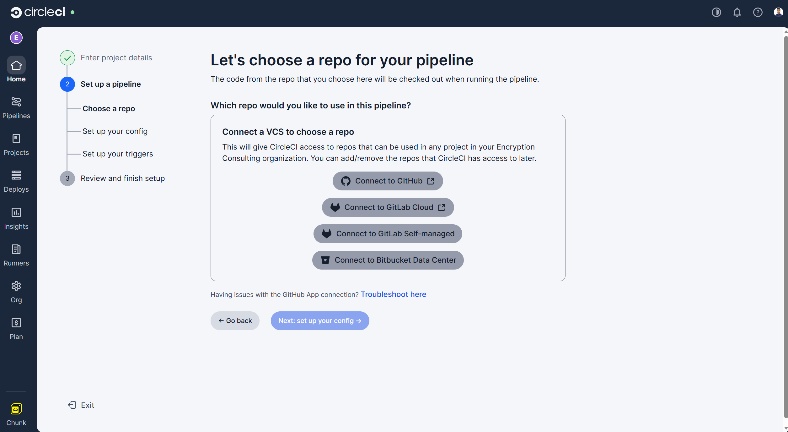
- Select the repo after connecting your GitHub account with the CircleCI Pipeline.
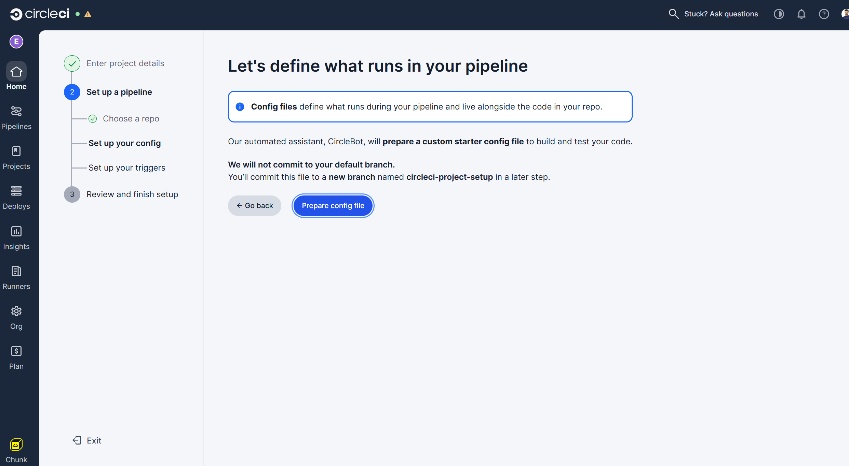
- Click on the “Prepare config file” option to push a sample config yaml file to a new branch in your connected repository.
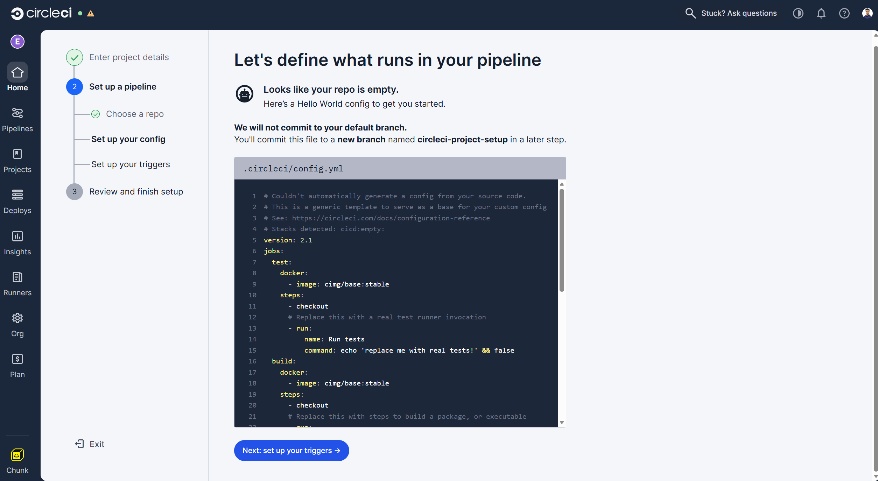
- It will then show you a sample repo. Click on the “Next: set up your triggers” option.
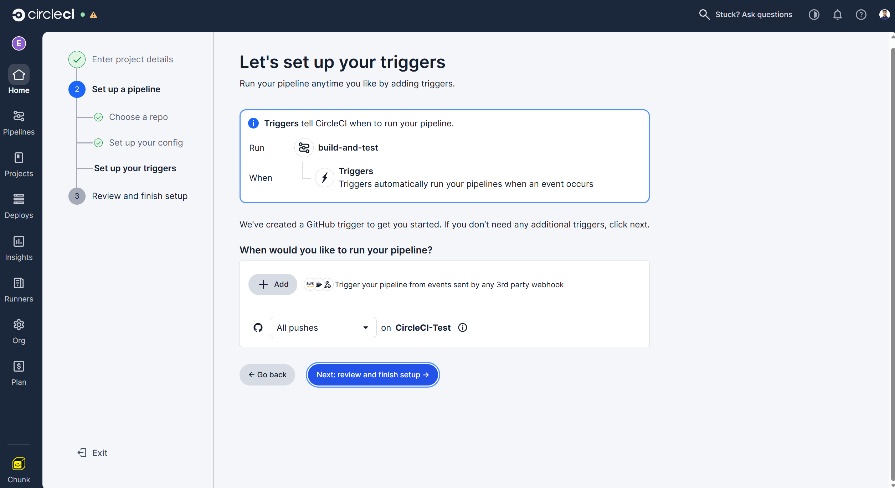
- You can set the triggers as per your requirement. We will leave this as the default, with the pipeline running on every new commit. Click on the “Next: review and finish setup” option.
- Review your setup and click on the “Commit config and run” option.
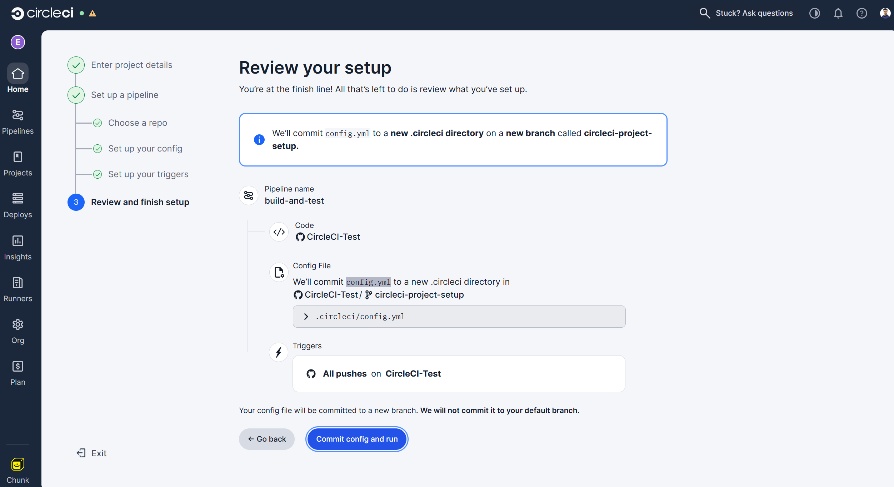
- It will run the pipeline with this sample config file to test the pipeline.
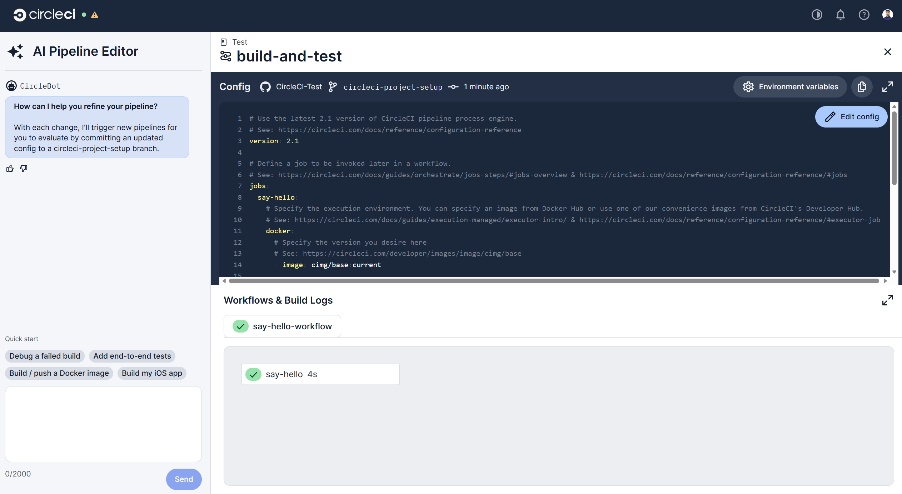
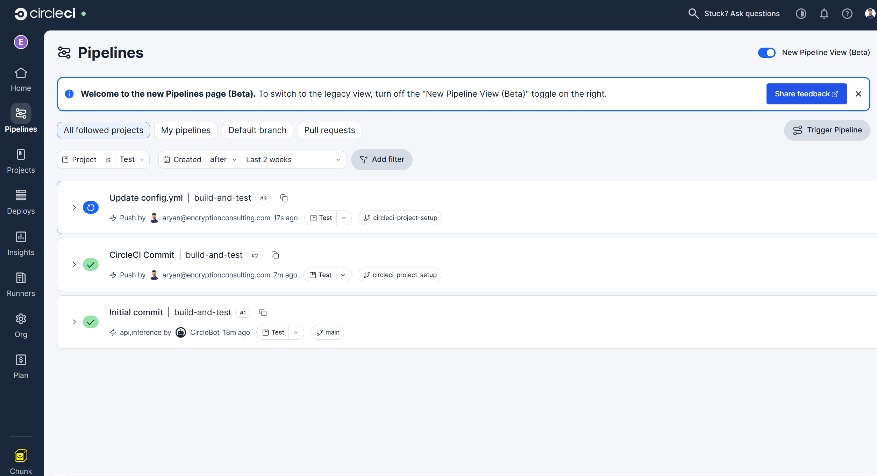
- You can view your pipeline from the “Pipelines” section from the left sidebar.
Update the Pipeline configuration
Now we will be updating the config.yml file on our repo branch to run the signtool command and perform the signing.
Follow the structure below of the config.yml to run the signtool command via the CircleCI pipeline:
version: 2.1
jobs:
  runner-test:
    machine: true
    resource_class: <namespace>/<resource-class>
    steps:
      - checkout
      - run:
          name: "Sign using PowerShell"
          shell: powershell.exe
          command: |
            & "<PATH TO signtool.exe>" sign /csp "Encryption Consulting Key Storage provider" /kc "<KEY ALIAS>" /fd SHA256 /f "<PATH TO THE CERTIFICATE FILE>" /tr http://timestamp.digicert.com /td SHA256 "<PATH TO THE FILE TO BE SIGNED>"
workflows:
  testing:
    jobs:
      - runner-test
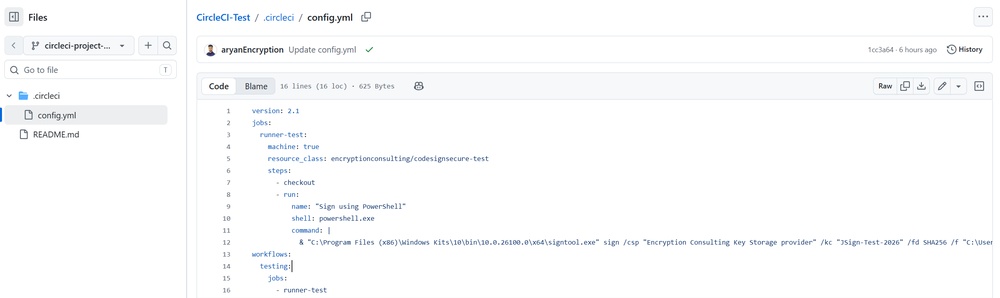
Here is a working config.yml file for your reference to match the details that we used in the earlier steps for the resource class and signtool:
version: 2.1
jobs:
  runner-test:
    machine: true
    resource_class: encryptionconsulting/codesignsecure-test
    steps:
      - checkout
      - run:
          name: "Sign using PowerShell"
          shell: powershell.exe
          command: |
            & "C:\Program Files (x86)\Windows Kits\10\bin\10.0.26100.0\x64\signtool.exe" sign /csp "Encryption Consulting Key Storage provider" /kc "Test-2026" /fd SHA256 /f "C:\Users\Administrator\Downloads\Test-2026.crt" /tr http://timestamp.digicert.com /td SHA256 "C:\Users\Administrator\Downloads\sample.ps1"
workflows:
  testing:
    jobs:
      - runner-test
When you commit this updated config file to your repository branch, the runner should start the pipeline automatically.
Run the CircleCI Pipeline
Once the file is committed, you will see a new pipeline run in the Pipeline section.
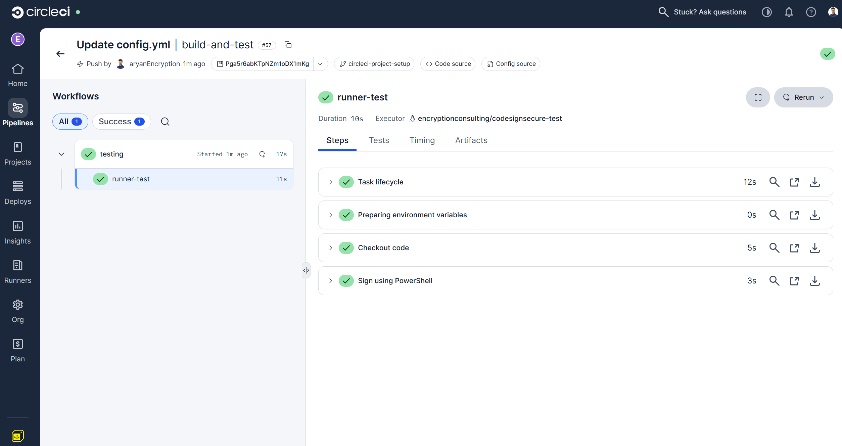
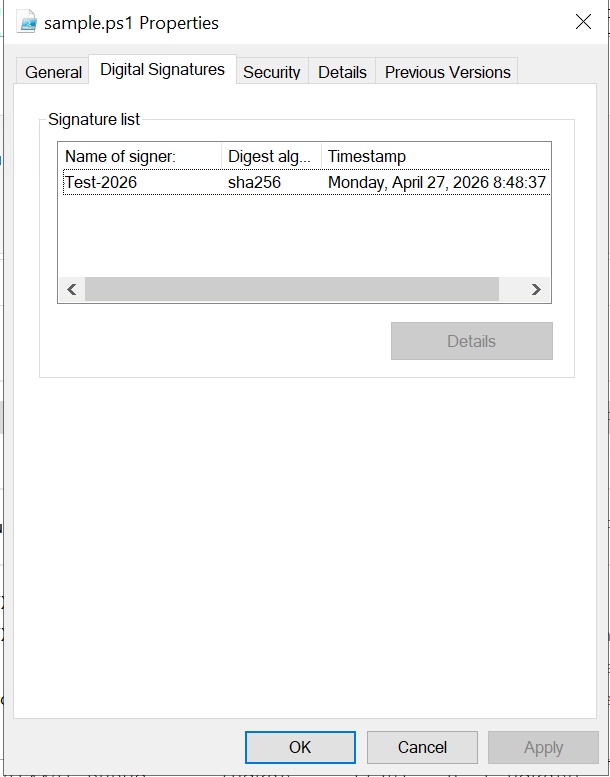
On successful completion of the pipeline, you can check the properties of the file that was to be signed for a valid signature.