
Jar Signing (JarSigner) Integration Guide
CodeSign Secure can sign Java archive (.jar) files using the JarSigner utility that ships with the Java Development Kit, backed by Encryption Consulting’s Key Storage Provider (KSP). The signing key remains inside the HSM at all times and every operation is logged centrally, giving you strong key custody and a complete audit trail without changing the way your Java build process already works.
JarSigner does not talk to the HSM directly. Instead it reads its signing certificate from a keystore, and by pointing it at the Windows personal certificate store it picks up the certificate you install from CodeSign Secure. Once that certificate has been associated with the Encryption Consulting KSP, every private key operation JarSigner requests is transparently routed to the HSM. This is why the workflow below installs and prepares the certificate before any signing takes place.
In this guide, we will walk through the complete workflow — from installing the Encryption Consulting KSP through to signing a .jar file and verifying the result with the JarSigner verifier.
Set up CodeSign Secure KSP
The Encryption Consulting Key Storage Provider (KSP) for Windows is a software component that extends the Microsoft Cryptography API: Next Generation (CNG) framework. Its primary purpose is to enable Windows applications, including the Java keystore bridge used by JarSigner, to interact seamlessly with the cryptographic keys and certificates stored within an HSM.
Step 1: Download the EC KSP
- Log in to the CodeSign Secure portal and navigate to the Signing Tools section to download “Encryption Consulting CNG-SigningKSP” (also listed as “EC KSP for Windows”).
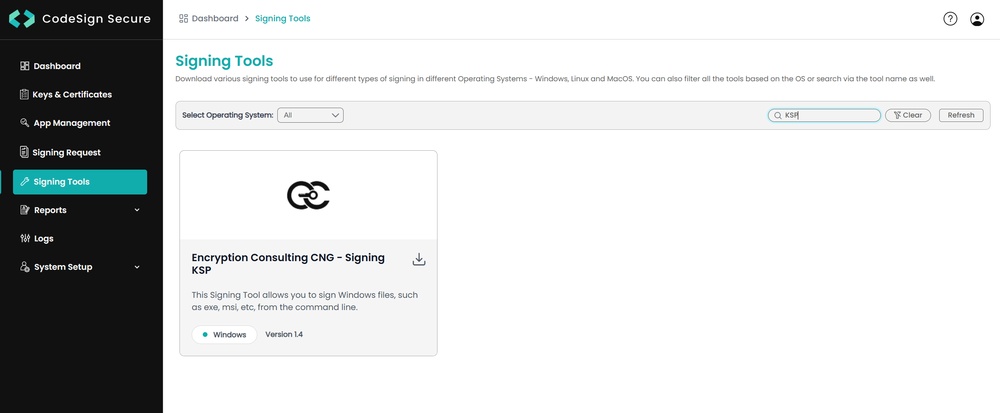
- Extract the zip file to get the “Setup.msi” file.
Step 2: Install the EC KSP
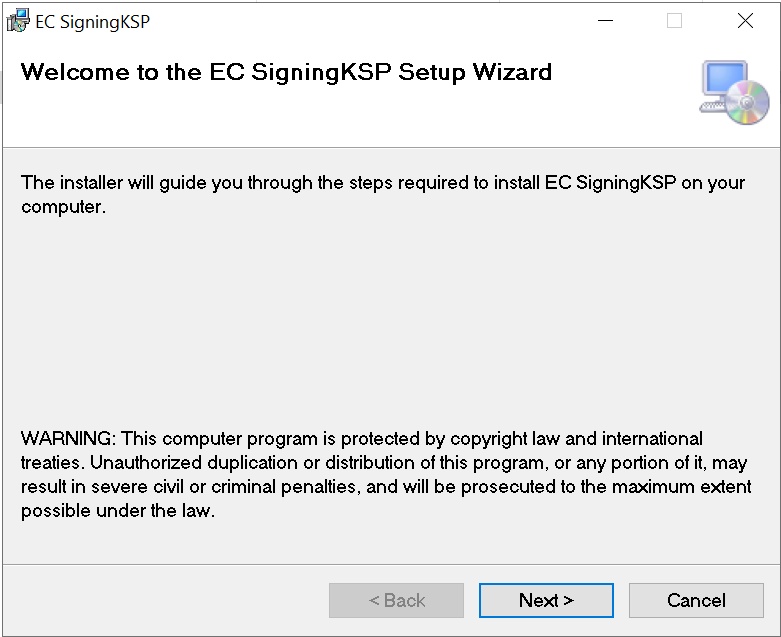
- Run the “Setup.msi” installer with Administrator privileges.
-
Follow the on-screen prompts of the installation wizard.
- Accept the End-User License Agreement.
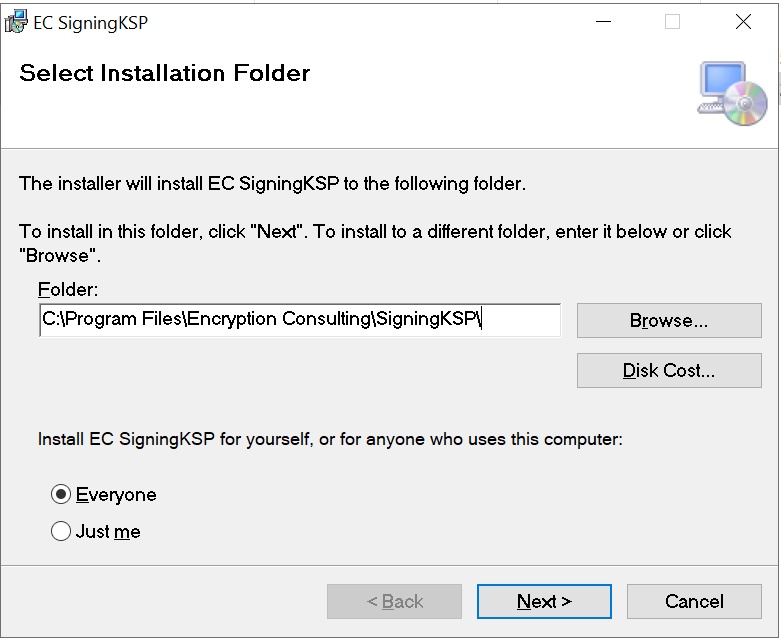
- Choose the installation directory (the default is C:\Program Files\Encryption Consulting\SigningKSP).
- Choose whether you want to install the KSP for Everyone or just for the current user.
-
Enter the prompted details such as:
- Username: The username/email that you use to log in to the CodeSign Secure portal.
- Code: The secret code that you set at the time of setting up the CodeSign Secure solution (this is the code defined in your conf.ini configuration file).
- IdentityType: Keep this field as default (2). If your deployment authenticates against a local identity store, set this to 1 as described in the product documentation.
- CodeSign Secure URL: The URL to access the portal (remember to add “/api/” at the end of the URL). Leave the API BaseURL unchanged if it is already populated correctly.
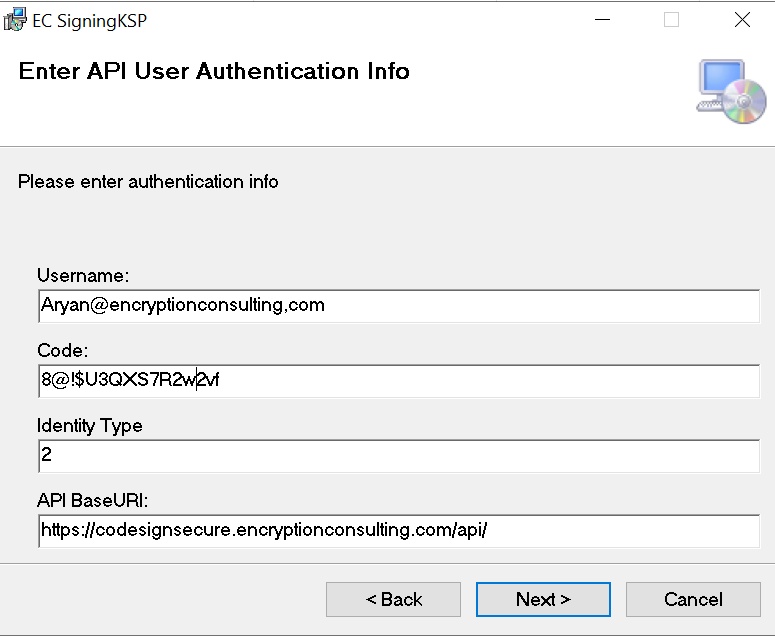
- Click Next and confirm the installation. When Windows asks whether you want to allow this program to make changes to your PC, click Yes.
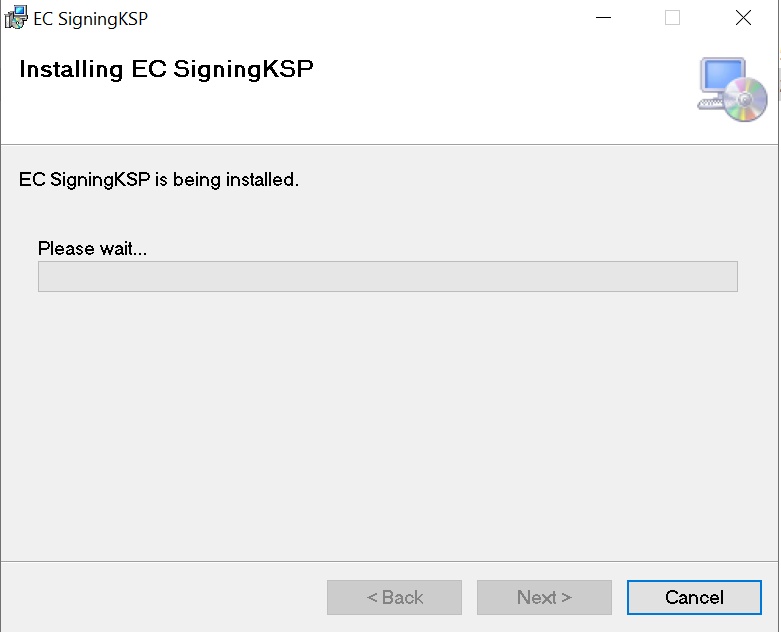
Step 3: Configure the Registry Editor settings
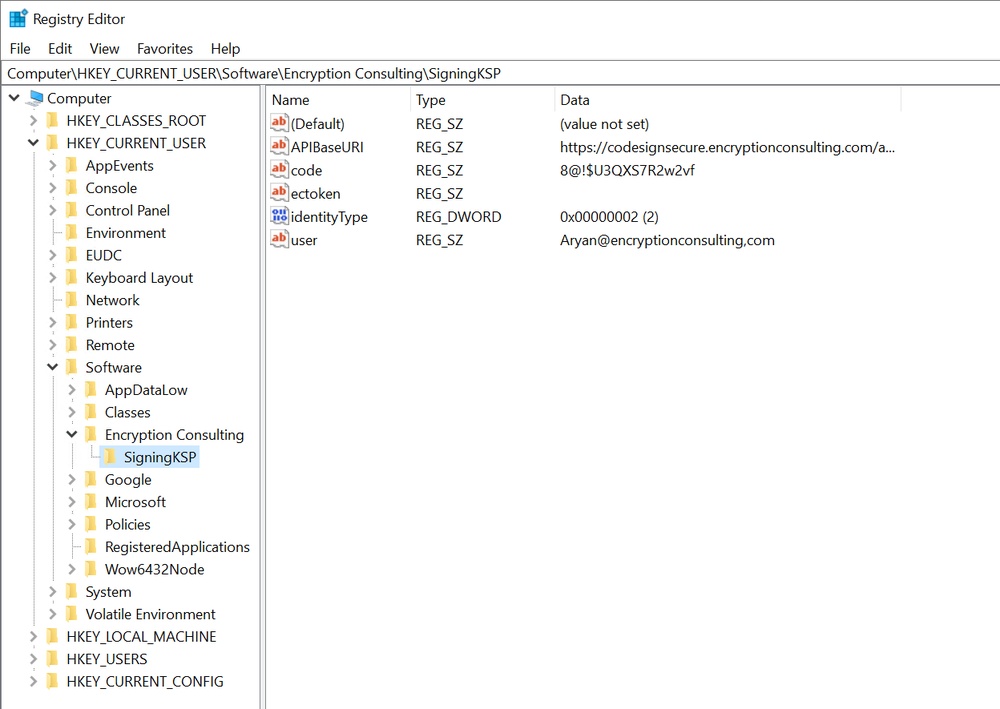
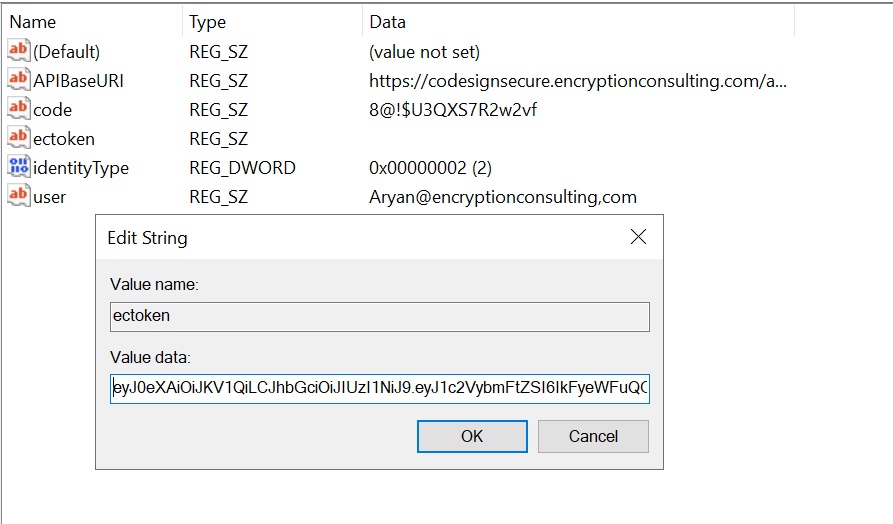
- Open the Registry Editor from the Start menu and navigate to HKEY_CURRENT_USER > Software > Encryption Consulting > SigningKSP.
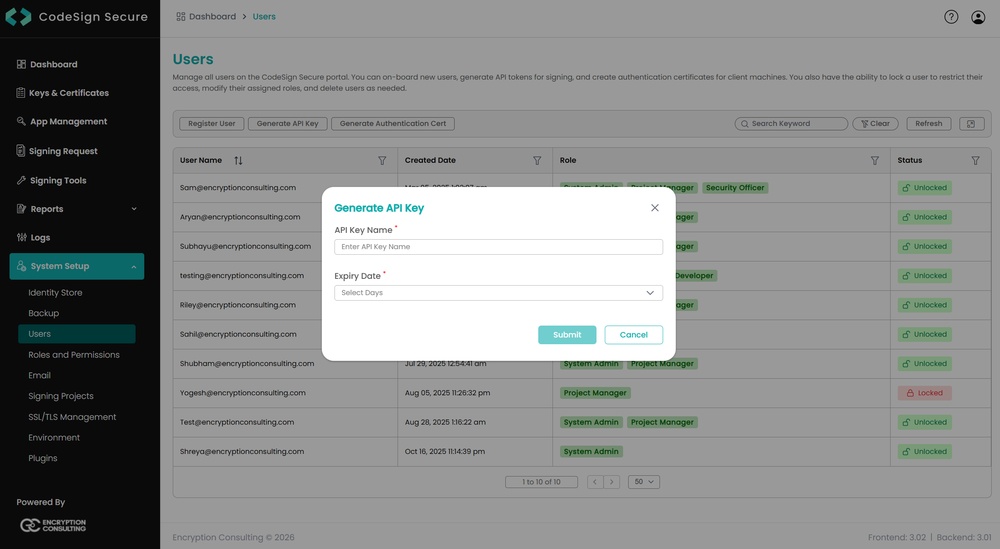
- Now open the CodeSign Secure portal and navigate to System Setup > User. Select the “Generate API Key” option.
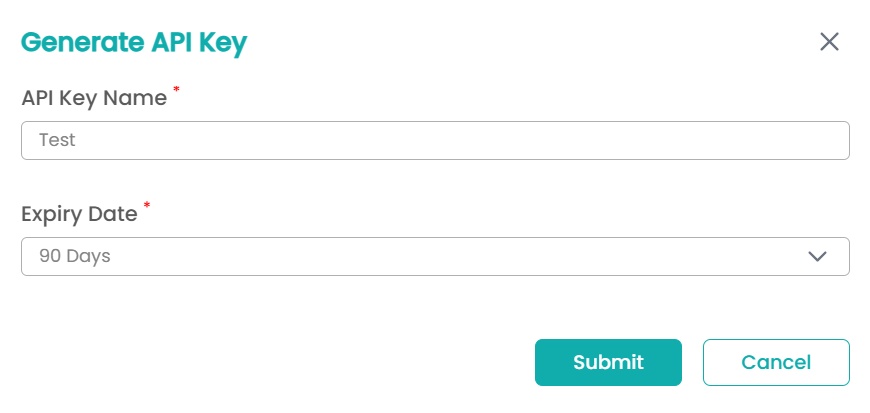
- Create a token for your account by providing a name and the validity period. Remember to copy the token as it will be shown only once.
- Add this token to the “ectoken” field in the Registry Editor.
Set up P12 Authentication Certificate
Setting up a P12 Certificate involves configuring your environment variables to authenticate your client machine with Encryption Consulting’s CodeSign Secure.
Step 1: Create a Machine Authentication Certificate
- Open the CodeSign Secure portal and navigate to System Setup > User. Select the “Generate Authentication Cert” option.
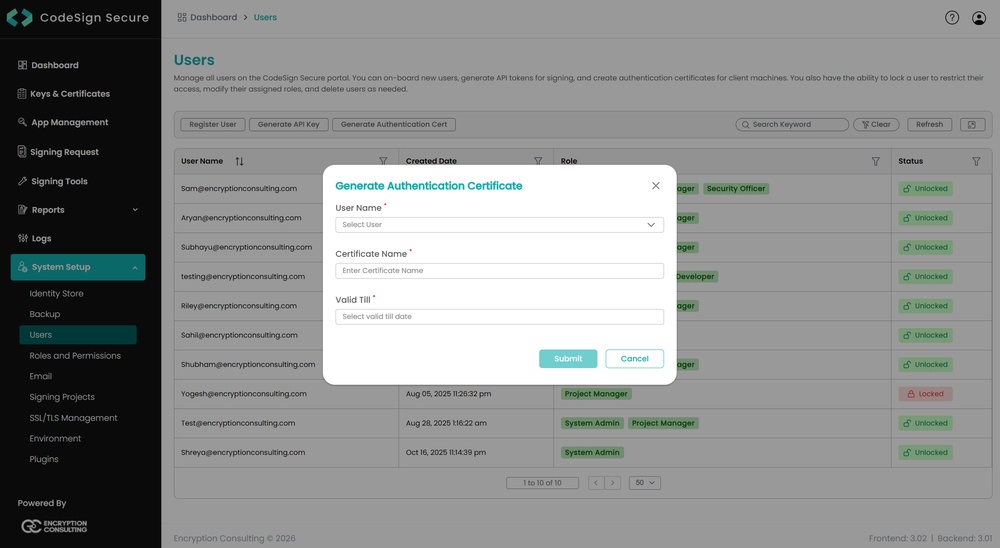
- Select the user name from the drop down and enter the details like certificate name and its expiry date.
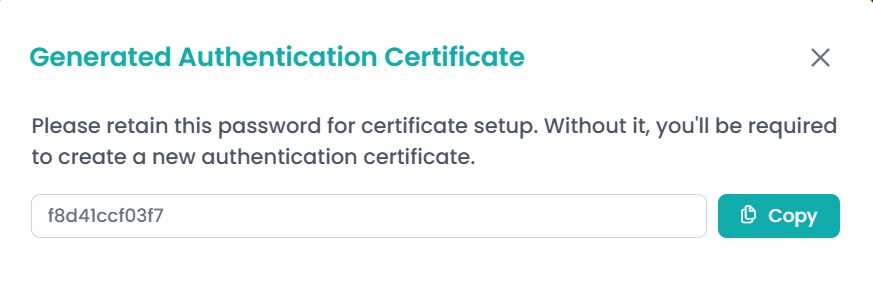
- It will then provide you with a .pfx certificate file and also display the password to the certificate file.
NOTE: This password will be displayed only once. So you must copy and store it safely to perform the authentication with the CodeSign Secure server.
Step 2: Configure the Environment Variables
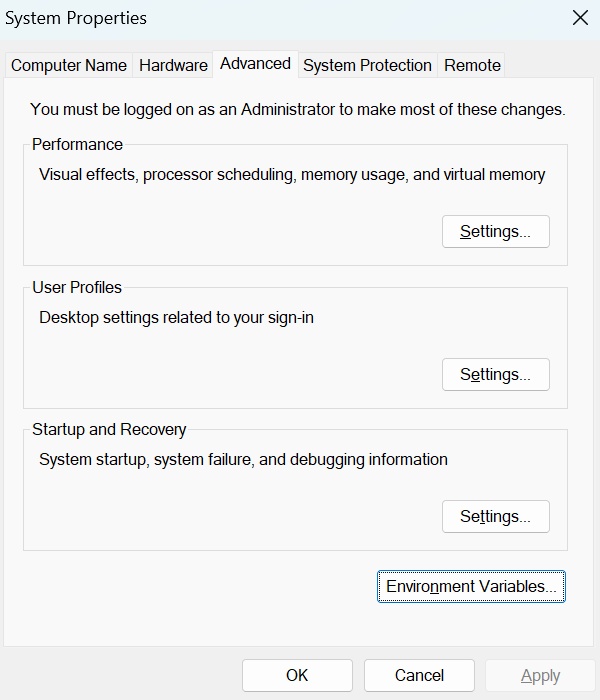
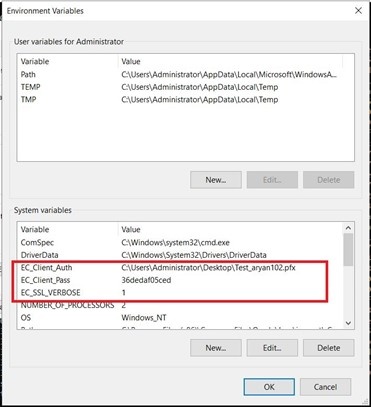
- Open the Environment Variables from your Start Menu.
-
Add new system variables by clicking on the New button. Provide the following variable name and its corresponding details.
- EC_Client_Auth: Corresponds to the path of your SSL Authentication certificate, which can be created from CodeSign Secure.
- EC_Client_Pass: Corresponds to the password of your certificate, which is provided at the time of creation of the certificate.
- EC_SSL_VERBOSE: Corresponds to the setting to either enable (1) or disable (0) the debugging output for EC KSP.
Install Java
Signing jar files is performed with the JarSigner tool, which is distributed as part of the Java Development Kit. Java must be installed for it to work.
Step 1: Download and Install the JDK
You can download and install Java from the official Oracle Java downloads page.
Run the installer and complete it with the default options unless your organization requires otherwise.
Step 2: Locate the JarSigner Executable
Navigate to Java’s JDK installation and go inside the bin folder. This is usually located at the following path, where the JDK version in the folder name will match the release you installed:
C:\Program Files\Java\jdk-20\bin
There you will find the JarSigner application, “jarsigner.exe”. Make a note of this path — the signing command in Section 6 must be executed from this directory.
You can drag the application to the command line to get its path, or simply navigate to that folder using cmd.
NOTE: You can confirm the installation succeeded by running “java -version” in a command prompt.
Install the Signing Certificate in the Certificate Manager
JarSigner reads its signing certificate from the Windows personal certificate store, so the signed certificate issued by CodeSign Secure must first be installed there.
Step 1: Start the Certificate Install
Open the CodeSign Secure portal and navigate to the Keys and Certificates section. Click on the certificate you wish to use and then click on Install Certificate.
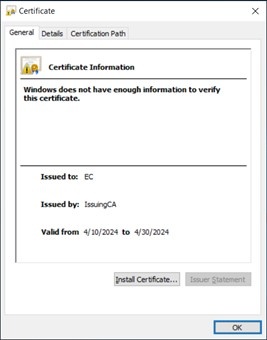
Step 2: Select the Store Location
Select “Current User” and click Next.
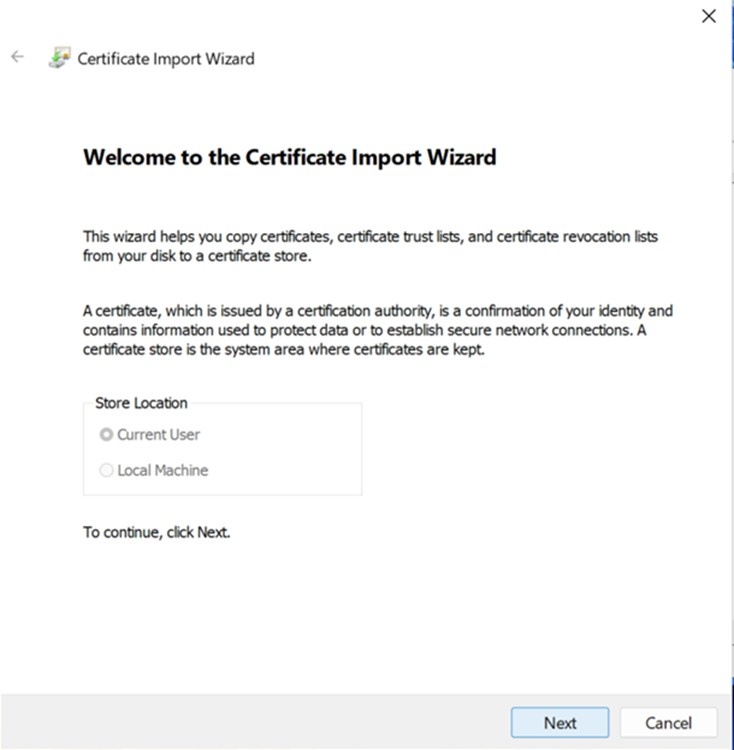
Step 3: Choose the Certificate Store
Select “Place all certificates in the following store”.
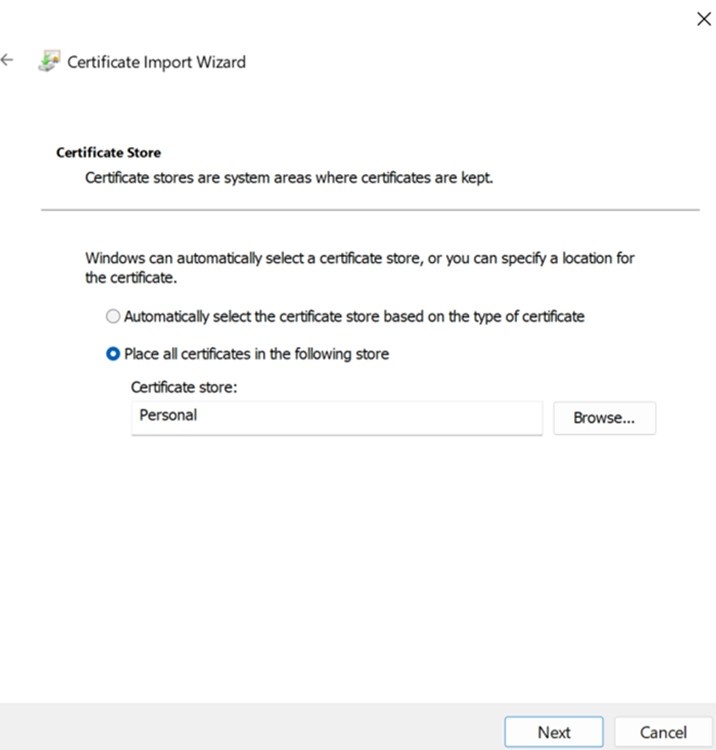
Click on Browse and select Personal. Then click Next.
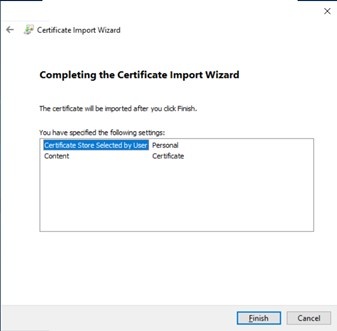
Step 4: Complete the Wizard
Click Finish on “Completing the Certificate Import Wizard”.
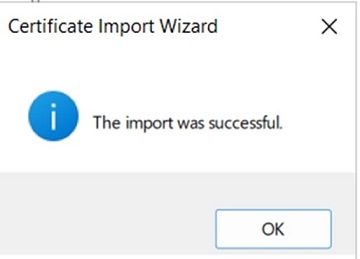
The certificate will be successfully imported.
Associate the Certificate with the EC KSP
After importing the certificate, we need to assign it a private key. At this point Windows holds the certificate but does not know which provider holds the matching private key. The certutil repairstore command binds the certificate to the Encryption Consulting Key Storage Provider, so that when JarSigner signs with this certificate the operation is routed to the HSM.
Step 1: Open the Certificate Manager
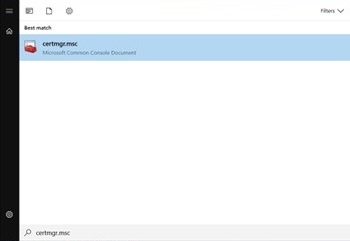
From Start, search “certmgr.msc” and open it.
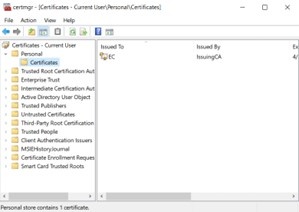
Click Personal and then click Certificates.
Step 2: Copy the Certificate Thumbprint
You would be able to see your installed certificate. Click on the certificate and go to the Details tab.
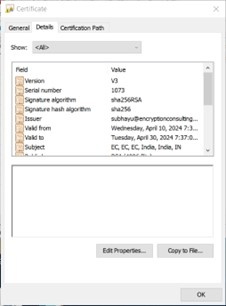
Scroll down to Thumbprint and copy the thumbprint of this certificate.
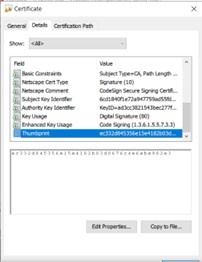
NOTE: Remove any spaces from the copied thumbprint value before using it in the command below, as the Certificate Manager displays it in space-separated pairs.
Step 3: Run the Certutil Repairstore Command
Open CMD as an administrator and run this command. Modify the command with the thumbprint of your certificate.
certutil -f -repairstore
  -csp "Encryption Consulting Key Storage Provider"
  -user "My" <thumbprint of your certificate>
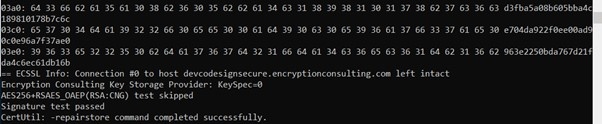
After successfully running the above command, we can now use this certificate for signing the files.
Sign the Jar File Using JarSigner
The signing command is assembled from a handful of parameters. Each is described below, followed by the complete command.
Step 1: Gather the Command Parameters
- In cmd, we will first specify our store type. We are doing so by using -storetype Windows-My. This is where our KSP comes into play.
- Specify the signing algorithm with -sigalg SHA256withRSA. You can use whichever signing algorithm you choose.
- Specify the Time Stamp Server with -tsa http://timestamp.digicert.com.
- Specify the jar file you wish to sign.
- Specify the “Issued to” name of the certificate. You can find this in the Certificate Manager against the certificate you imported.
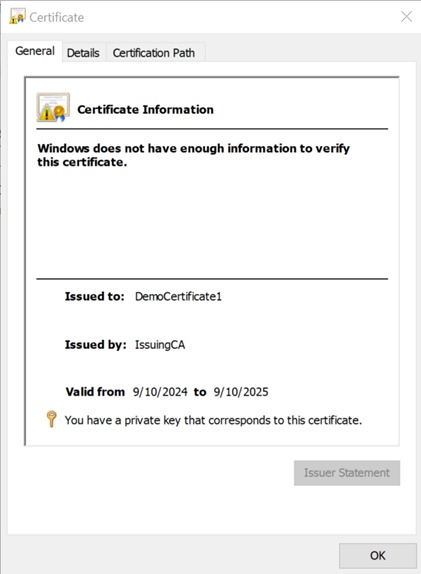
Step 2: Run the JarSigner Command
Altogether the command somewhat looks like the following. This needs to be executed from the directory where the JarSigner application is located.
<Enter jarsigner.exe file path>
  -storetype Windows-My
  -sigalg SHA256withRSA
  -tsa http://timestamp.digicert.com
  <the path to the .jar file to be signed>
  "<Enter Issued to Name>"
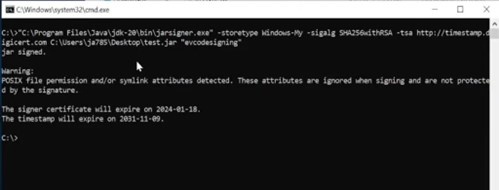
An example command is as below:
jarsigner -storetype Windows-My -sigalg SHA256withRSA
  -tsa http://timestamp.digicert.com
  C:\Users\ja785\Desktop\test.jar "evcodesigning"
Step 3: Parameter Reference
The following are the parameters and their meaning in the command:
| Flag | Description |
|---|---|
| -storetype | The keystore type to read the signing certificate from. This should always be Windows-My, which directs JarSigner to the Windows personal certificate store where the Encryption Consulting KSP is registered. |
| -sigalg | The signing algorithm to be used when signing, for example SHA256withRSA. You can use whichever signing algorithm you choose, provided it matches your certificate’s key type. |
| -tsa | (Optional) The URL of the timestamping authority to be used, for example http://timestamp.digicert.com. Timestamping allows the signature to remain valid after the certificate expires. |
| <jar file> | The path to the .jar file to be signed. |
| <alias> | The “Issued to” name of the certificate, which JarSigner uses as the keystore alias. This must match the certificate exactly. |
Verify the Signature
We can run the JarSigner verifier to check if the jar file has been signed or not. It is done in the same directory as that of the signer.
Step 1: Run the JarSigner Verifier
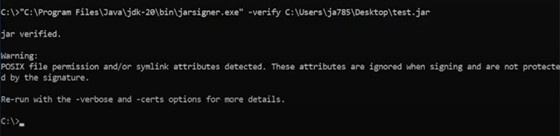
From the same directory as the JarSigner application, run the verifier against the signed jar file with the command below.
jarsigner -verify <the path of the signed .jar file>
A successfully signed archive reports that the jar has been verified, and lists the signer certificate and timestamp details.
Step 2: Cross-Check in CodeSign Secure
Open the CodeSign Secure portal and navigate to Reports > Signing Request Report, where every signing request performed through the KSP is recorded for audit purposes. Confirm that a signing request appears for the certificate you used.